
I flew into Gimhae on a Friday night, confident I’d just grab a SIM card from “the airport counter” the way every forum post online told me to. I had not checked the time. The LG U+ desk was closed. The KT desk was closed. Every telco window on the arrivals floor was dark, and the next option was a convenience store on floor 1 that only sold T-money, not a travel SIM. I spent the next hour on the light rail to Sasang with a dead phone and a map printed in a friend’s handwriting on the back of a receipt. Do not do that to yourself.
This is the guide I wish I’d read before I landed. It walks you through pre-booking a SIM and T-money bundle for Busan Gimhae, where to pick it up once you land, and the little mistakes that cost people an evening of their trip.

- In A Hurry? My Top Picks
- The Mistake Most First-Timers Make
- Why Pre-Booking Beats Winging It at Gimhae
- SIM Card, eSIM, or Pocket Wi-Fi — What Actually Works in Busan
- Exactly How the Pickup Works at Gimhae
- How T-money Actually Works (and Why It’s Non-Negotiable in Busan)
- How to Top Up in Busan
- Where You’ll Use the SIM on Day One in Busan
- The 3 Bundles I’d Actually Book
- 1. Busan Airport: Traveler SIM and Public Transportation Card — from
- 2. Korea Unlimited Data SIM Card Pick Up at Korea Airports — from around
- 3. South Korea eSIM (3–30 days, up to 45GB) — from
- Gimhae vs Incheon — Which SIM Bundle to Book
- What About KTX Between Seoul and Busan?
- Getting from Gimhae to the City Once You’re Connected
- How Much Data Do I Actually Need?
- Where T-money Doesn’t Work (So You Don’t Try)
- A Few Last Things I Wish Someone Had Told Me
- Planning the Rest of Your Korea Trip
In A Hurry? My Top Picks
- Busan Airport: Traveler SIM and Public Transportation Card — from $12. The one bundle I recommend for every Gimhae arrival. Unlimited 4G plus a T-money card, ready in five minutes at the LG U+ counter. Check availability.
- Korea Unlimited Data SIM Card Pick Up at Korea Airports — from around $8. Smaller-bag option if you only need data and plan to buy a T-money card from any convenience store for a dollar. Check availability.
- South Korea eSIM (3–30 days) — from $5. If your phone supports eSIM, this is the fastest path — no physical card, activate on the plane, walk out of Gimhae connected. Check availability.
The Mistake Most First-Timers Make
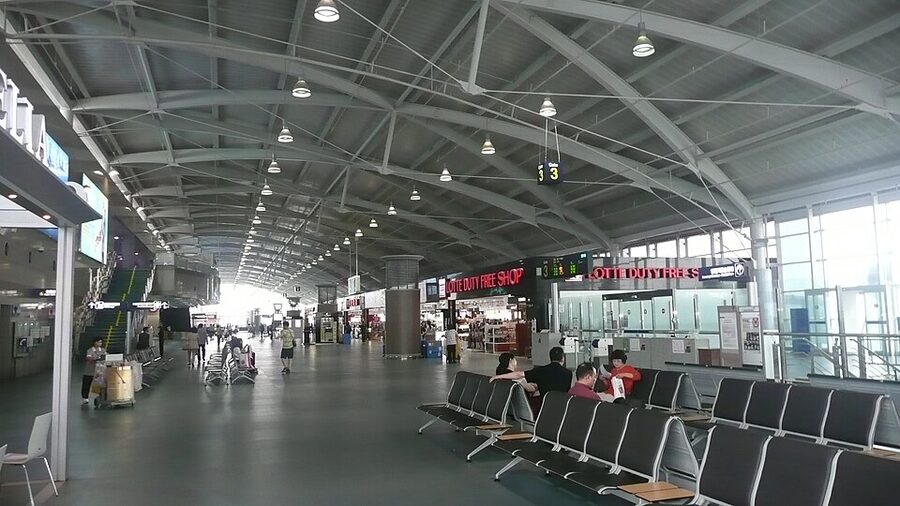
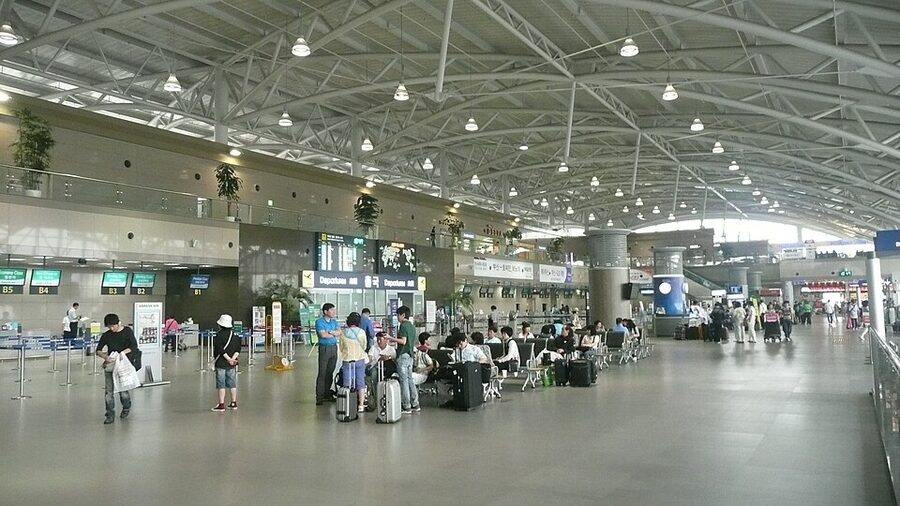
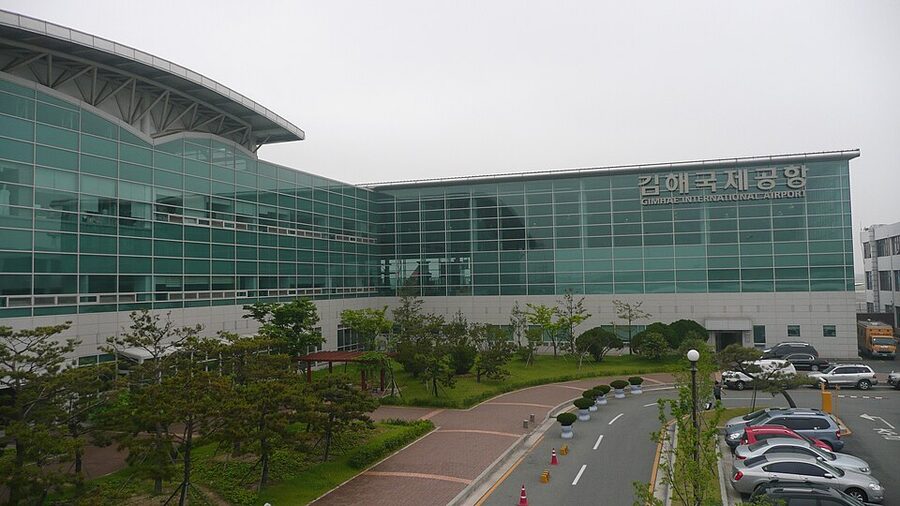
Gimhae is not Incheon. It runs a slimmer schedule, a slimmer terminal, and a slimmer late-night staff. The two mistakes I see travellers make over and over are the same two that tripped me up on my first visit.
Mistake one: assuming the telco counter stays open for your flight. The LG U+ desk near the international arrivals exit is usually the one handling pre-booked traveller SIM pickups. It keeps reasonable hours, but “reasonable” in Korean airport terms means it closes well before the last flight lands. If you arrive after around 10pm, the counter may already be shuttered. Pre-booking does not magically reopen it. You have to read the voucher’s operating hours and plan around them — or pick an eSIM that does not need a counter at all.
Mistake two: buying a SIM at a random pop-up kiosk before checking your booked voucher. I almost did this on a later trip. A pop-up SIM seller was working the taxi queue outside arrivals, I panicked, and I nearly paid twice for the same thing. If you’ve pre-booked the bundle, walk past the pop-ups and find the LG U+ counter. The voucher you’ve already paid for is sitting there with your name on it.
Korea is a nearly cashless country. A T-money card matters the moment you step off the light rail or board a city bus. The SIM matters the moment you try to call a Kakao Taxi or pull up directions to your first hotel. Pre-booking both together is the single best five-minute decision you can make before your plane lands at Gimhae.
Why Pre-Booking Beats Winging It at Gimhae
You can technically buy everything walk-in at Gimhae. LG U+ handles on-the-spot SIM sales during open hours, 7-Eleven and CU on the basement arrivals floor sell T-money cards, and vending machines near the light rail entrance sell the Korea Tour Card version. Walk-in works during the day. It stops working at night, and it’s always more expensive.
Pre-booking wins on four fronts:
- Price is locked in lower. The pre-book bundle is around $12 for unlimited 4G plus a T-money card. Buying the same SIM walk-in from the same LG U+ counter can run $25 to $40 depending on duration and plan.
- The queue is shorter. Pre-booked pickup has its own lane. Walk-in traffic shares the queue with plan changes, activation issues, and first-timers asking about international roaming.
- Free cancellation is built in. The bundle lets you cancel up to 24 hours before pickup with no penalty. If your flight gets delayed a day, you reschedule instead of re-buying.
- You land with a working phone. No five-minute form to fill out, no passport photocopying, no payment fumbles. You hand over the voucher, they swap the SIM, you walk out connected.
SIM Card, eSIM, or Pocket Wi-Fi — What Actually Works in Busan
There are three real options at Gimhae. Each has a use case.
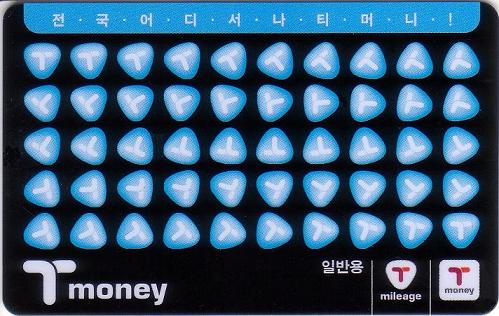
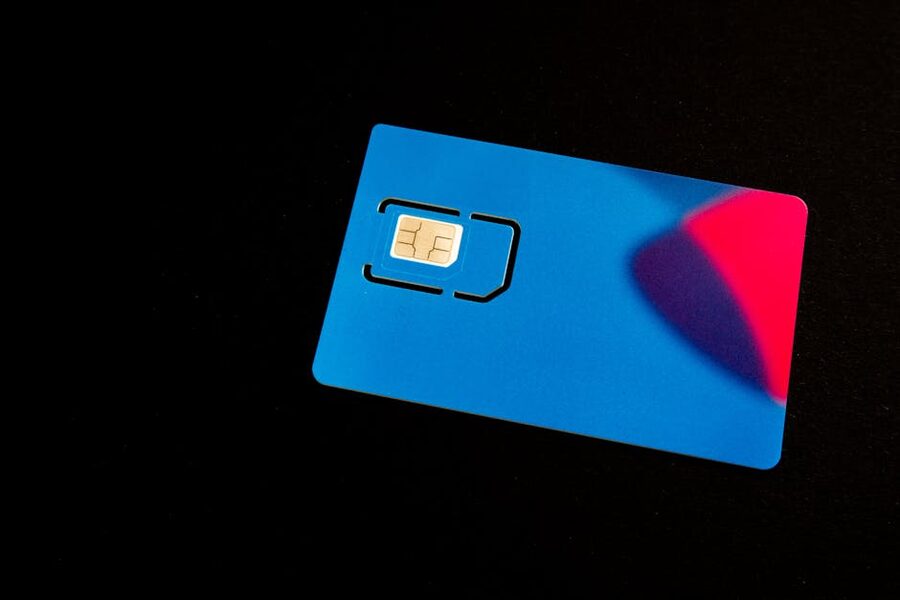
Physical SIM. The LG U+ traveller SIM is the classic. Unlimited 4G, works the second it’s slotted in, includes a T-money card in the same bundle. If your phone supports eSIM and you still choose physical, it’s usually because you want the T-money card included. That’s a legitimate reason. The bundled card is a standard T-money, not a tourist-only version, and it works everywhere a local T-money works.
eSIM. If your phone is iPhone XS or newer, most Samsung Galaxy S20-series or later, or any Pixel from the last few years, you can run an eSIM instead. You scan a QR code from the booking email before you even land, and data starts flowing the moment you connect to the airport Wi-Fi and switch the line on. No counter, no voucher queue, no “sorry, closed” sign. The downside: you still need a T-money card, so you’ll be buying that separately from any 7-Eleven or CU for about ₩2,500.
Pocket Wi-Fi. I rarely recommend these anymore unless you’re travelling as a group of four or more, or you’re bringing a laptop that needs tethering for work. They’re heavier than a SIM, require returning at the airport on departure, and charge by the day. For a solo traveller or a couple, the SIM or eSIM always wins.
Exactly How the Pickup Works at Gimhae
Step by step from touchdown:
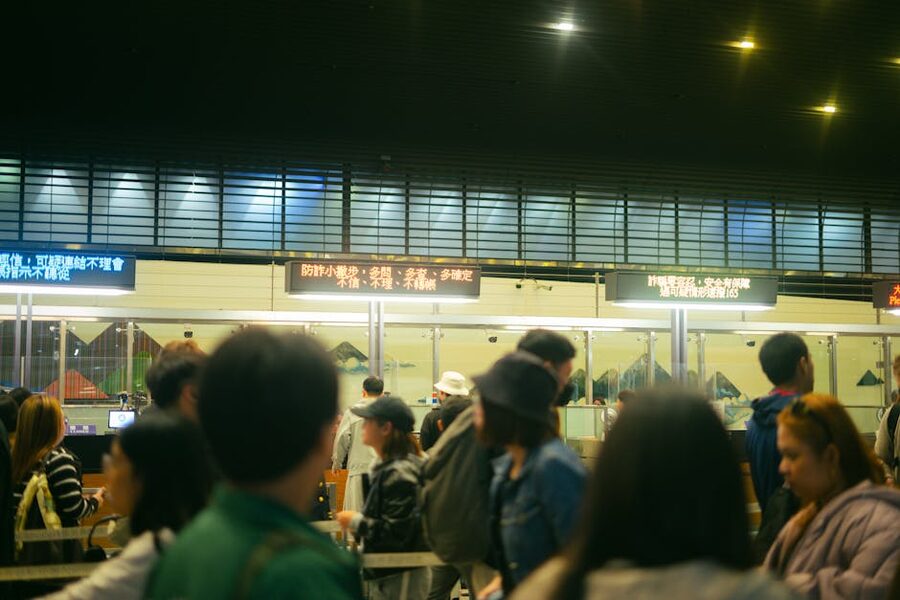
- Immigration first. Koreans moved to a passport e-gate system for eligible nationalities a few years back. US, UK, Australian, Canadian, and many EU passport holders can use the auto-gates on first entry. It shaves 15 minutes off the queue.
- Baggage claim. Grab your bag on floor 1 international arrivals. The carousels here are small, fast, and mostly painless. If nothing comes out, the lost baggage desk is in the same hall.
- Exit customs and look left. You’re now in the public side of arrivals. Scan for a small LG U+ or KT branded desk — usually a white counter with a blue or magenta sign. If you pre-booked, this is your target. Bring up your confirmation email.
- Hand over voucher and passport. They’ll match your booking, swap your SIM, hand you a T-money card in its branded plastic sleeve, and confirm the data cap and expiry. Takes five to ten minutes.
- Test the SIM before you leave the counter. Make sure data is live. Send one message, open Naver Maps, confirm you’re not on roaming. If something’s off, fix it right there — once you’re on the light rail it’s a 30-minute trip back.
If you’ve booked the eSIM instead, your “pickup” happens in your phone settings. Scan the QR, toggle the line on, turn off your home-country SIM or set it to voice-only roaming, and go.
How T-money Actually Works (and Why It’s Non-Negotiable in Busan)
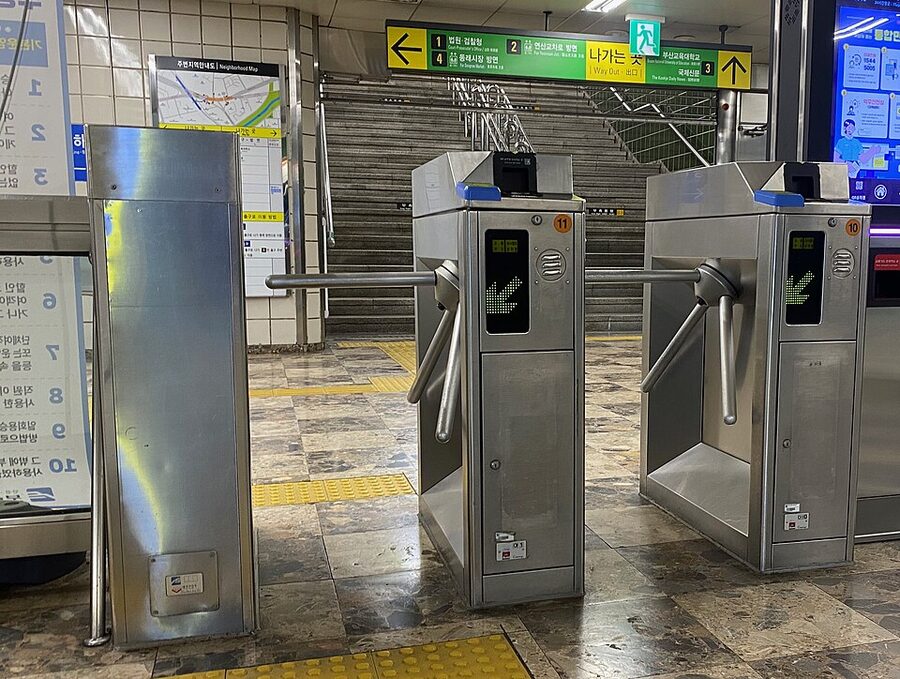
T-money is the national contactless transit card. It works on every Busan subway line, every Busan city bus, the Busan–Gimhae Light Rail between the airport and the city, regional KTX at select stations, and most local taxis. Crucially for travellers flying into Busan and out of Seoul, the same card works on the Seoul subway and all Seoul buses too. Buy it once in Busan, use it in Seoul on day five, no extra setup.
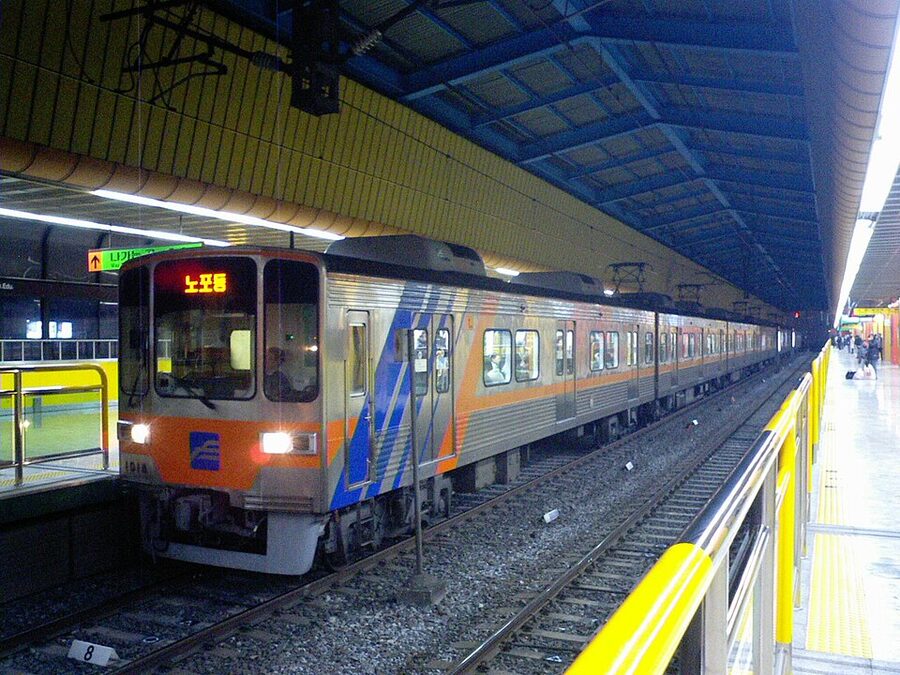
Fares on T-money are set lower than cash fares — typically about ₩100 cheaper per subway ride and the same discount on buses. Transfers between subway and bus within 30 minutes of tapping off are free, which adds up fast across a week. If you ride the subway and a bus four times a day for seven days, the card effectively pays for itself twice over versus buying paper tickets.
How to Top Up in Busan
You can top up at any subway station using the automatic reload machines. They accept Korean banknotes (₩1,000, ₩5,000, ₩10,000, ₩50,000) and some accept contactless credit cards. I reload ₩10,000 at a time because it’s enough for a day of moves and I can always feed another note in at the next station. The machines now have English menus on all Busan lines, and the interface is the exact same as the Seoul machines, so muscle memory transfers.
Convenience stores also top up. Walk in, hand the cashier your T-money and a banknote, say “chungjeon” (recharge) or just point, they tap it on their reader and you’re back in business. CU, GS25, 7-Eleven, Emart24, Mini Stop — all of them handle it.
Where You’ll Use the SIM on Day One in Busan
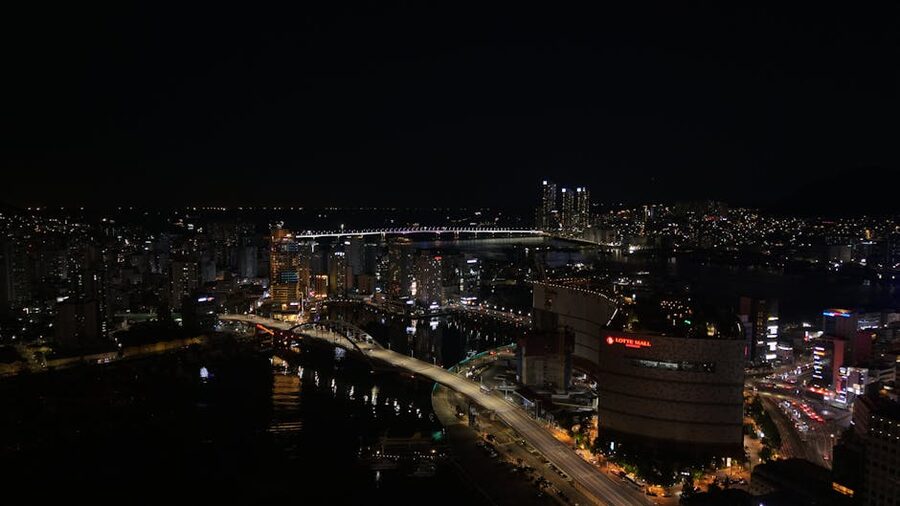
A typical day-one arrival in Busan looks like this: land at Gimhae, grab your SIM and T-money at the airport, take the light rail into Sasang, transfer to Busan Subway Line 2 to wherever your hotel is. You’ll use data for:
- Kakao Taxi. Kakao is the dominant ride-hail in Korea. It works across both Busan and Seoul, fares are metered, and paying in cash or on a registered card is straightforward. You’ll want this open the first time you step out of your hotel.
- Naver Maps or KakaoMap. Google Maps is partially crippled in Korea — it can show you pins but not step-by-step walking directions in many neighbourhoods, and transit directions are incomplete. Use Naver Map or KakaoMap from day one. Both are in English.
- Papago. Naver’s translator. Far better than Google Translate for Korean. I use it on menus, on train signs, and in conversation with older shopkeepers who don’t speak English.
- Restaurant reservations. Catch Table is the main reservation app. Many of the tasting-menu spots and popular Korean BBQ places in Busan take bookings only through it.
The 3 Bundles I’d Actually Book
Here’s my short list. I’ve sorted by the option that best fits the most common Gimhae arrival pattern, not by marketing claims.
1. Busan Airport: Traveler SIM and Public Transportation Card — from $12
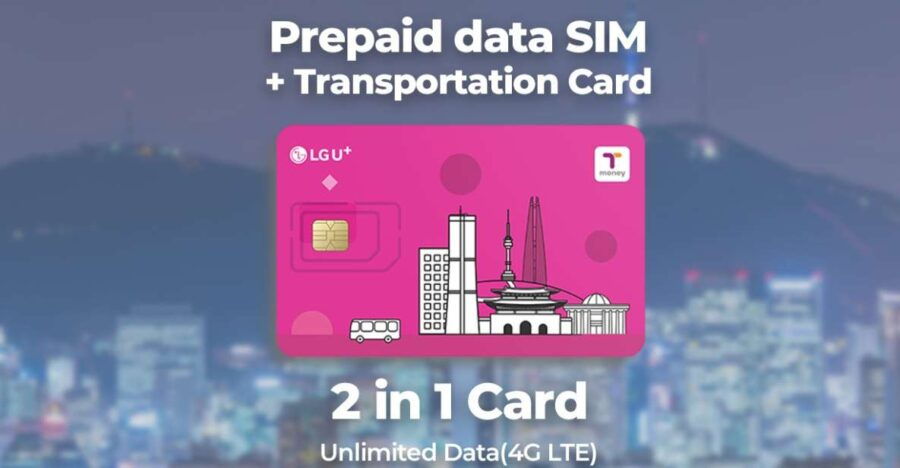
This is the flagship Gimhae pickup bundle. Unlimited 4G, a T-money card in the same envelope, and English-speaking greeters at the LG U+ counter. I walk through the picks and timing in our full review, but the short version is this is the option with the fewest ways to go wrong. Pre-book, land, pick up, walk out connected.
2. Korea Unlimited Data SIM Card Pick Up at Korea Airports — from around $8
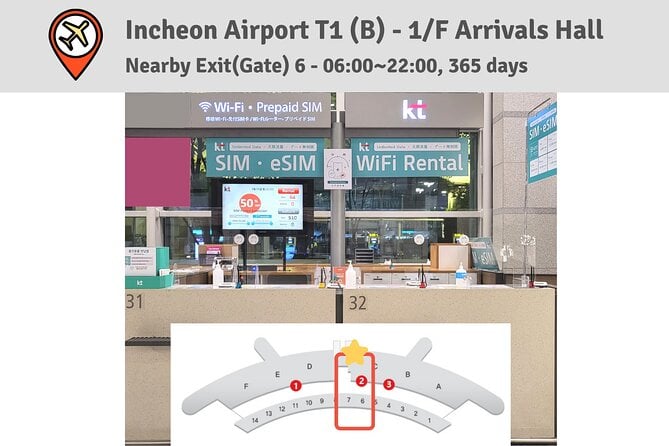
If you don’t need the bundled T-money, this is a cheaper path — unlimited data, same counter chain at Korean airports, roughly half the price of the full bundle. It’s the pick I’d make on a second or third Korea trip when I’ve already got a T-money in my wallet from last time. Our full review covers which counters stock it at Gimhae versus the other airports.
3. South Korea eSIM (3–30 days, up to 45GB) — from $5
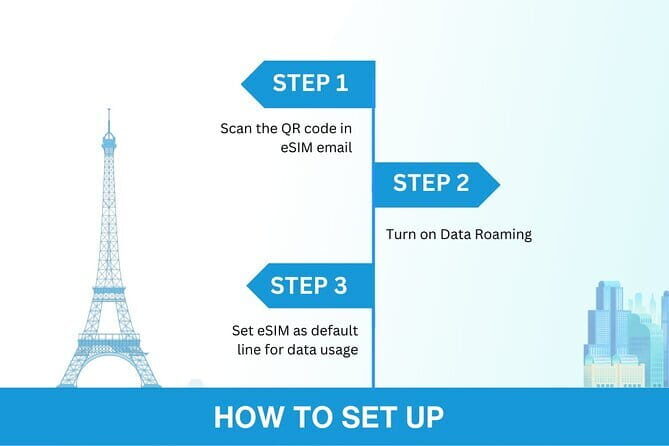
The smart option if your phone is eSIM-compatible. Scan a QR code from your booking email, and data’s live the moment you land. The trade-off: you’ll still need a physical T-money card, which you can grab for about ₩2,500 from any Gimhae convenience store or subway machine. I break down the eSIM activation steps in our full review.
Gimhae vs Incheon — Which SIM Bundle to Book
Lots of travellers fly into one Korean airport and out of the other. Here’s how to handle it.
Flying in via Gimhae, out via Incheon: Book the Busan SIM bundle. It’s set up for Gimhae pickup, and you can keep using the same SIM and T-money card for your onward Seoul leg. The T-money works in both cities — same card, same tap, no reissue.
Flying in via Incheon, out via Gimhae: Book the Incheon bundle instead. I cover that pickup in detail in how to book an Incheon Airport SIM and T-money card. The card and SIM will still work when you reach Busan five days later — the same rule in reverse.
Flying in Incheon and out Incheon, via Busan in the middle: Still book the Incheon bundle. You don’t need a second SIM for the Busan leg. One card does the whole country for up to 30 days.
The key is the counter is only for pickup, not for geography. Whichever airport you land at first is the one you book for. Once you have the SIM and the T-money card, you can ride every subway and bus in Korea without a second thought.
What About KTX Between Seoul and Busan?
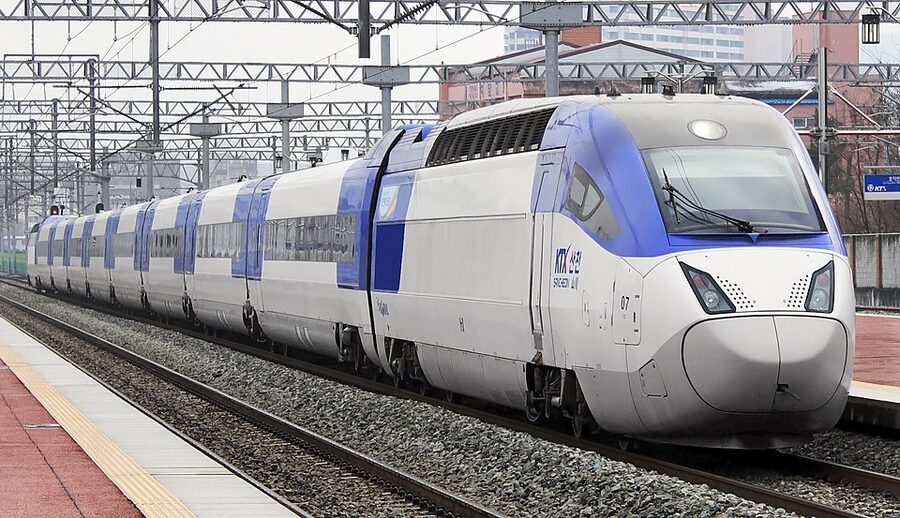
Plenty of travellers skip the second flight and take KTX from Seoul to Busan or vice versa. If that’s you, you can book KTX seats through the Korail app once your SIM is live and data is working. T-money doesn’t cover the KTX fare — you pay separately — but it covers the subway ride from Busan Station to your hotel after you step off the train.
Practical notes: book KTX at least a day ahead on weekends, especially during cherry blossom season and the first week of November for autumn foliage. Seats sell out. The scenery east of Daejeon is worth a window seat if you can get one.
Getting from Gimhae to the City Once You’re Connected
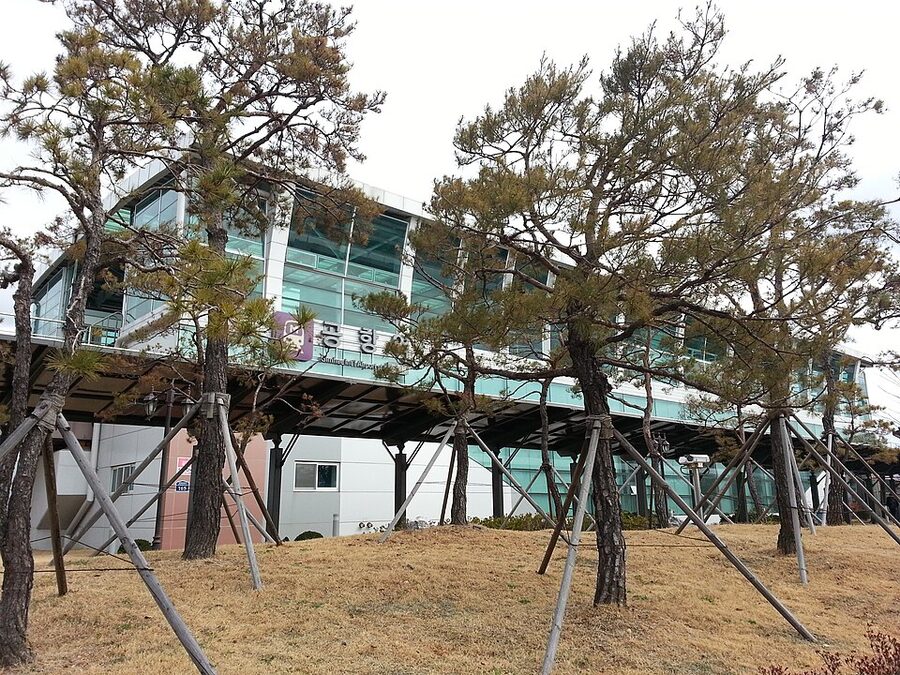
Once your SIM and T-money are sorted, your three practical options for reaching central Busan are:
Busan–Gimhae Light Rail. The fastest and cheapest. Tap in with T-money, ride to Sasang (10 minutes), cross to Subway Line 2, ride to Seomyeon or Haeundae depending on where you’re staying. Total door-to-door: 45 to 70 minutes depending on your hotel. Cost: under ₩3,000. Trains run every six to ten minutes from about 5:30am to midnight.
Airport limousine bus. Costs around ₩7,000, takes 40 to 60 minutes to hotels in Seomyeon, Haeundae, and Gwangalli. Pay with T-money or cash. The route stops at major hotels, so it can be a good call if you’re arriving with a big suitcase.
Kakao Taxi or metered taxi. The fastest if you’ve got traffic on your side. Ballpark ₩25,000–₩40,000 to central Busan depending on district and time of day. Pay the meter with T-money, a debit card, or cash. A taxi after midnight has a surcharge of about 20%.
How Much Data Do I Actually Need?
Most travellers overestimate data needs. My rough rule of thumb for Korea:
- Light use (maps, messaging, some translation): 1–2 GB per week.
- Medium use (all of the above plus moderate social media and photo uploads): 5–10 GB per week.
- Heavy use (Netflix on the KTX, FaceTime home every day, uploading Reels in real time): unlimited or 30 GB+.
The $12 Busan bundle is unlimited 4G, so it covers all three tiers without needing to count megabytes. The eSIM product has tiered capped plans — pick the 30-day 45GB option if you’re a heavy user or planning to share the hotspot with travel companions. I’ve never come close to 45GB on a two-week Korea trip, even with full Reels upload and a few FaceTime calls thrown in.
Where T-money Doesn’t Work (So You Don’t Try)

T-money is everywhere for transit, but it isn’t a full debit card. Places it doesn’t work:
- Traditional markets like Jagalchi and Bupyeong Kkangtong. Most stalls are cash-only or accept domestic Korean debit cards. Bring banknotes.
- Some small pojangmacha tents. The street food stands that set up after dark are almost always cash.
- Parking meters in some older lots. Newer city lots accept T-money, older ones don’t.
- Taxi tips (which aren’t a thing). Koreans don’t tip, so the drivers don’t take tip payments on T-money. Round-ups occasionally happen informally, but the norm is to pay exactly what the meter says.
You’ll still want ₩30,000 to ₩50,000 in cash in your wallet at any given time. ATMs that accept foreign cards are at Gimhae arrivals (before you leave the airport) and in every major subway station in Busan. Global ATMs marked in English are the easiest — most Lotte, KB, Shinhan, and Woori branches have at least one.
A Few Last Things I Wish Someone Had Told Me

- Test your SIM before you leave the airport. This is the single biggest trick. If Naver Maps loads and you can place a Kakao Taxi pin on a map, you’re set. If nothing loads, go back to the counter.
- Keep your old SIM somewhere safe. The airport counter hands yours back in a little card holder. Don’t lose it — you’ll need it on your flight home to take calls from whoever’s picking you up.
- Register T-money at a subway office if you’re staying long. Unregistered T-money works fine for 30 days of travel. If you want to recover a lost card’s balance, you need to register it. Otherwise don’t bother.
- The tourist 1-to-3 day passes are usually worse value. Buy a standard T-money with pay-as-you-go fares. The short tourist passes only make sense if you’re riding more than six subway rides per day, which is rare.
- Keep your data SIM ejector pin in your passport sleeve. Korea is a network of tiny, helpful counters that can swap a SIM in 30 seconds if you’ve got a pin. Without one, everyone scrambles.
Planning the Rest of Your Korea Trip
Once you’ve got your SIM and T-money sorted, the rest of a Korea first-timer’s plan falls into place. If your route is the classic Gimhae in, Incheon out, you’ll want the Seoul side of the trip dialled in too. My guide to booking an Incheon SIM and T-money card is the mirror of this article for the Seoul end — it covers the same bundle structure for arrivals at Incheon. If your arrival happens to be a quick pre-Busan transfer rather than a full stopover, our Incheon airport private transfer guide walks through the best way to move from Incheon to central Seoul once you’re connected.
Coming into Seoul with a long layover before continuing on? Our Seoul layover tour guide covers what to do when you’ve got four to ten hours between flights. For travellers who want a more meaningful introduction to Korea’s border history on that same Seoul leg, the DMZ tour with a North Korean defector meet-up is the single most powerful day trip I’ve done in Korea — and it’s the kind of thing that needs a working SIM to coordinate logistics with the tour operator on the morning of your visit.
Once your phone works and your card taps, the country opens up fast. Gimhae to Haeundae on the light rail, Haeundae to Seomyeon on the subway, Seomyeon to Busan Station for KTX, KTX to Seoul, and you’re at a layover lounge with your Kakao Taxi booked to the hotel — all on the same SIM and the same T-money. Five minutes at the Gimhae counter saves you the entire logistical choreography I had to improvise on my first trip.
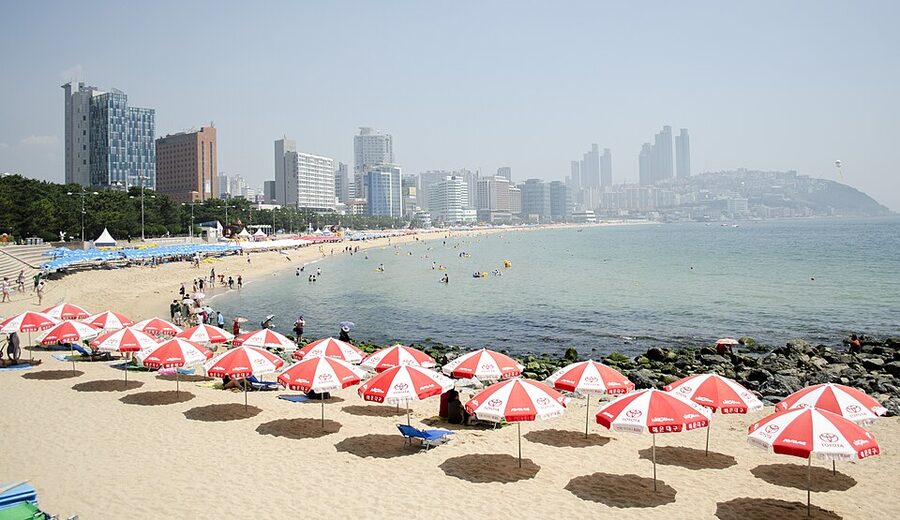
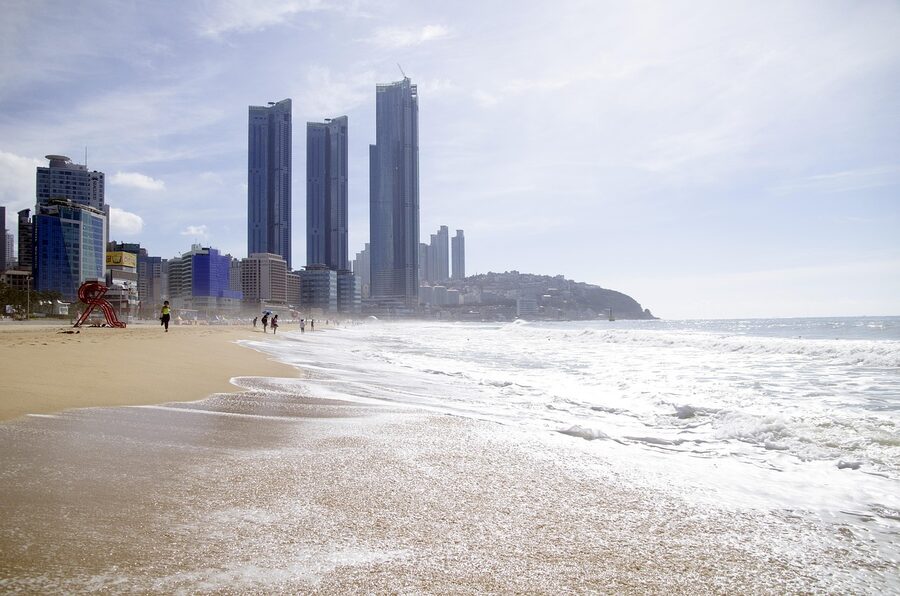
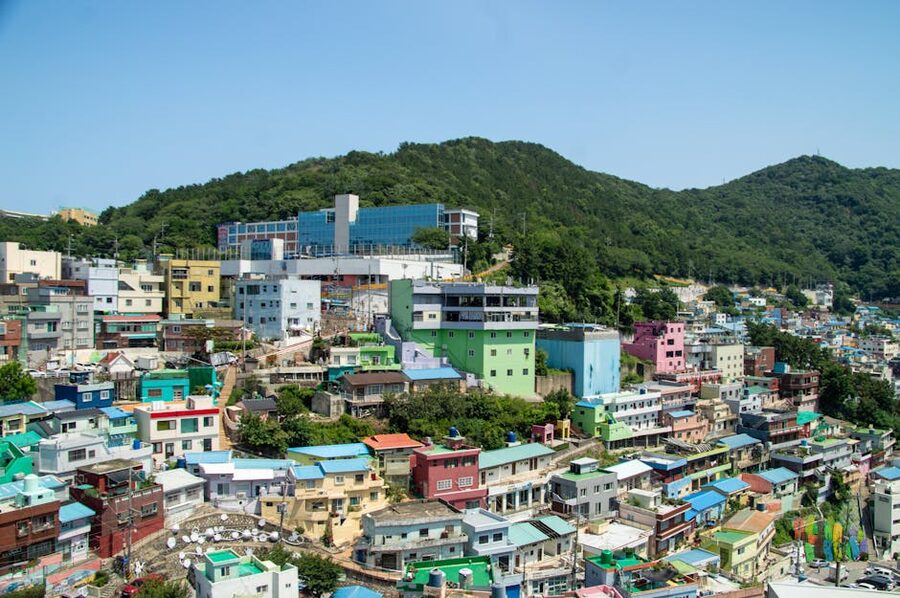
Once you’re tapped in and riding Busan’s subway, the natural next moves: a full-day Busan city tour covers Gamcheon, Taejongdae, and the Haeundae coastline in one hit, the Busan-to-Gyeongju day trip adds the UNESCO temple route, and a Busan night tour is the obvious second evening. If you’re island-hopping south, Jeju Island day tours cover what you’ll want to prioritise once the Gimhae ferry puts you there.