
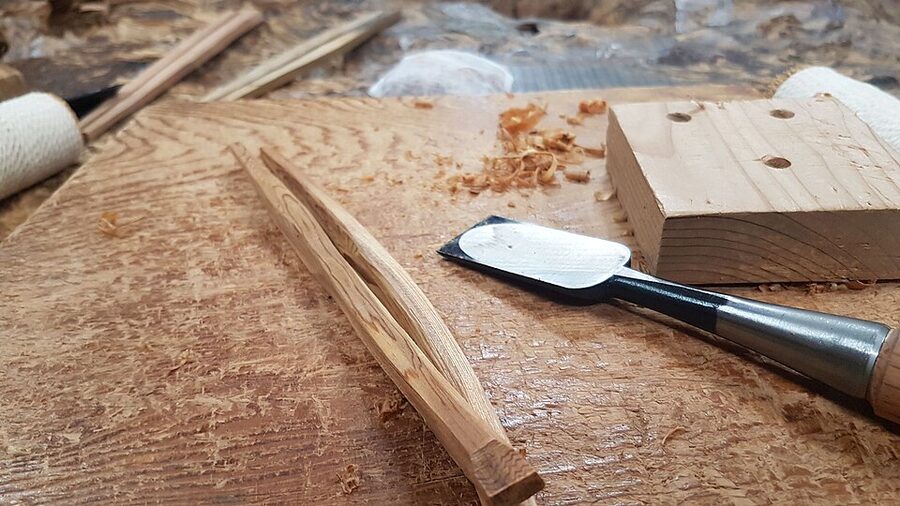
“Chopstick making workshop” is underselling it. You’re not gluing two sticks of bamboo together — you’re sanding a pair of hardwood chopsticks from square-edged blanks, under the eye of a Ginza artisan with 30 years of experience. By the end of the hour you’ll understand why every Japanese family treats these utensils as personal objects, not tableware.
Booking is straightforward once you know where to go. The Ginza workshop is the flagship option, but there are two Kyoto alternatives in Gion if you’re basing yourself in the old capital instead. This guide walks through all three, with a bias toward the Tokyo version because the title says Tokyo and because Ginza has the most artisan depth.
In a Hurry? Here Are My Top Picks
1. Chopstick Making Workshop in Ginza — $25. The Tokyo flagship. Hardwood blanks, a senior artisan, and an hour that ends with chopsticks you’ll actually use.
2. Kyoto Gion Chopstick Making Workshop with Engraving — $15.25. The Kyoto Viator option with the best engraving step. Cheaper, geisha-district setting, and the instruction leans traditional.
3. Kyoto Gion Chopsticks Making Class — $15. The GetYourGuide sibling in Gion. Same hour-long format, more flexible slots, with engraving baked into the price.
- In a Hurry? Here Are My Top Picks
- What the Workshop Actually Is
- Why Ginza Specifically
- How the Hour Actually Goes
- Picking Your Wood
- The Best Tours to Book
- 1. Chopstick Making Workshop in Ginza —
- 2. Kyoto Chopstick Making Workshop in Gion with Engraving — .25
- 3. Kyoto Gion Chopsticks Making Class —
- Ginza vs Gion: Which City’s Version Should You Pick?
- What It Costs and What’s Included
- Booking Timing and What to Actually Expect
- A Short History of Japanese Chopsticks
- What You’ll Take Home
- Combining It With Other Tokyo or Kyoto Plans
- Kyoto Day Plans Around the Workshop
- Practical Logistics
- Care and Keeping the Chopsticks You Made
- Who Shouldn’t Book This
- Booking Final Notes
- Other Craft Experiences Worth Considering
What the Workshop Actually Is
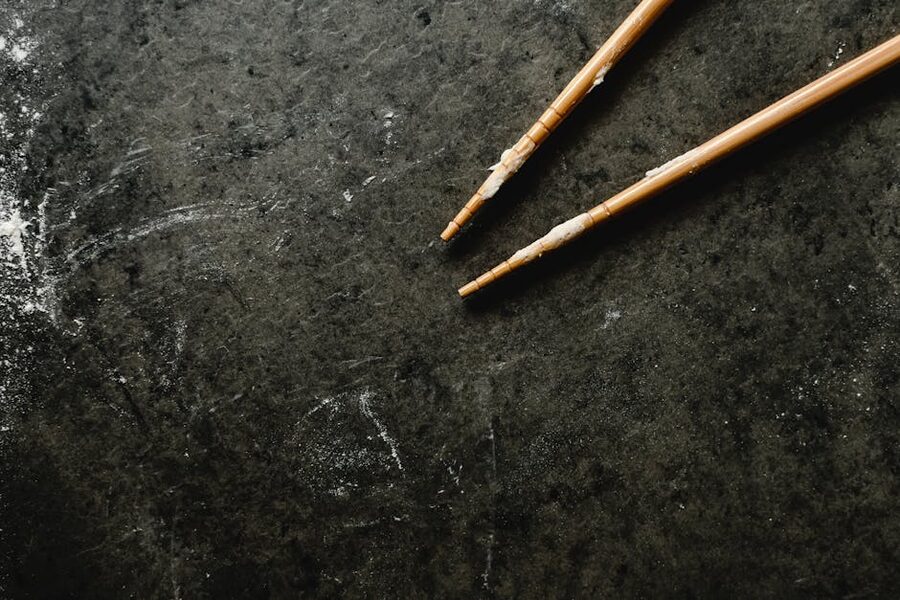
A hashi workshop in Japan (hashi is the Japanese word for chopsticks) is a short, hands-on class where you shape and finish a pair of wooden chopsticks from pre-cut blanks. You don’t start from a log — nobody has three days. But you do start from a pair of square-edged wooden sticks that look nothing like chopsticks yet.
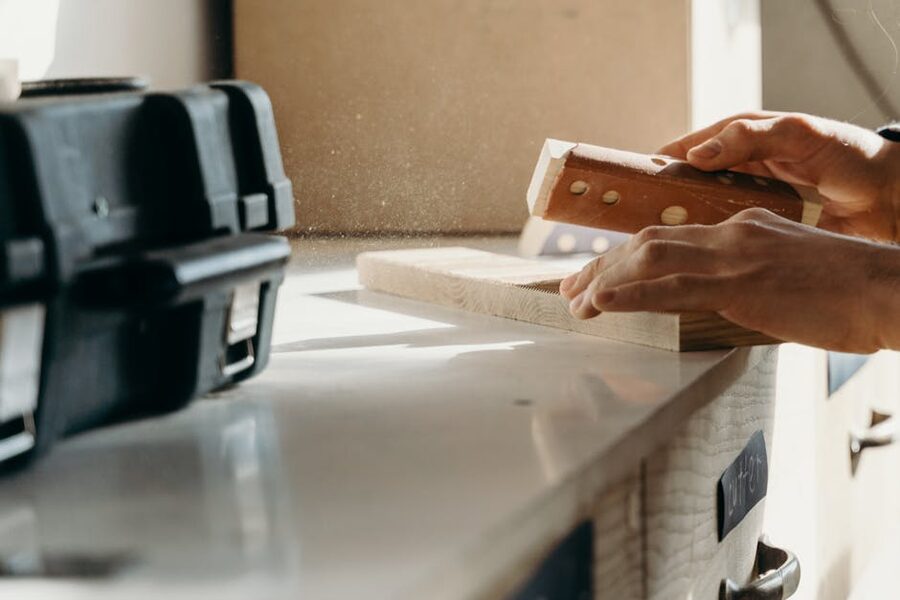
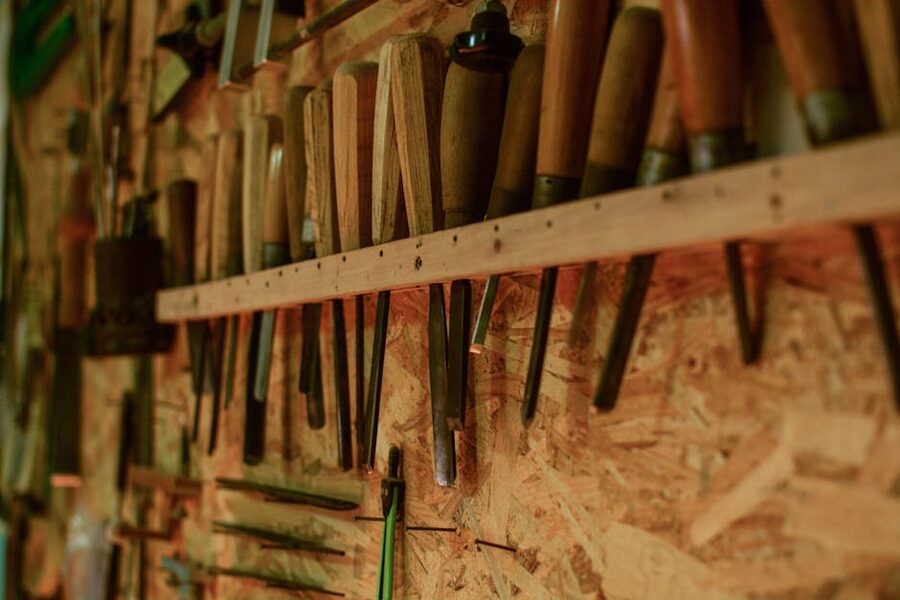
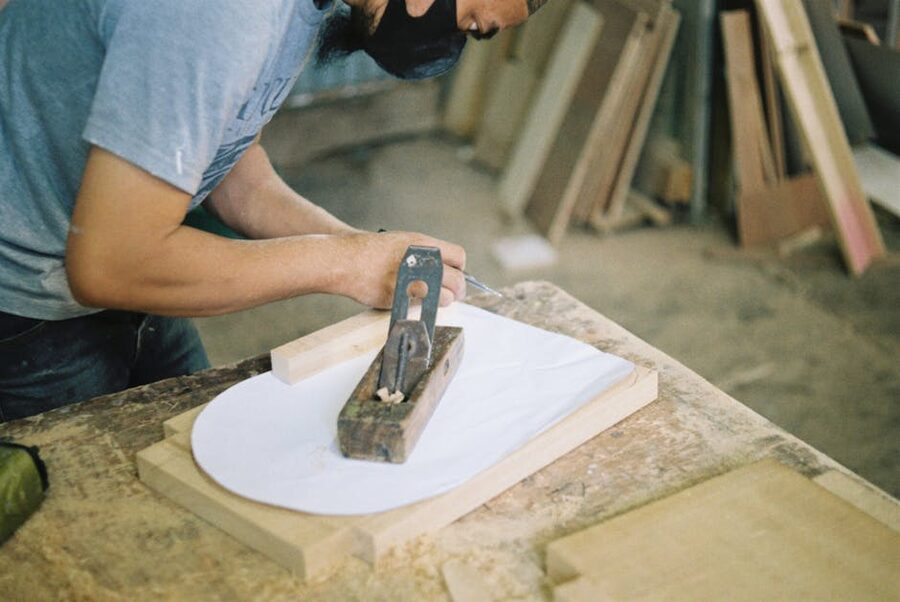
The tools are the same ones Japanese artisans have used for centuries. A knife block called a kanna-dai, two or three grades of sandpaper, sometimes a small plane, and often a fine file for finishing. No power tools. The whole point is that your hands do the shaping.
The finished chopsticks are functional. You eat with them. And because you made them yourself, they’re probably the only pair you’ll ever own that someone didn’t mass-produce.
Why Ginza Specifically
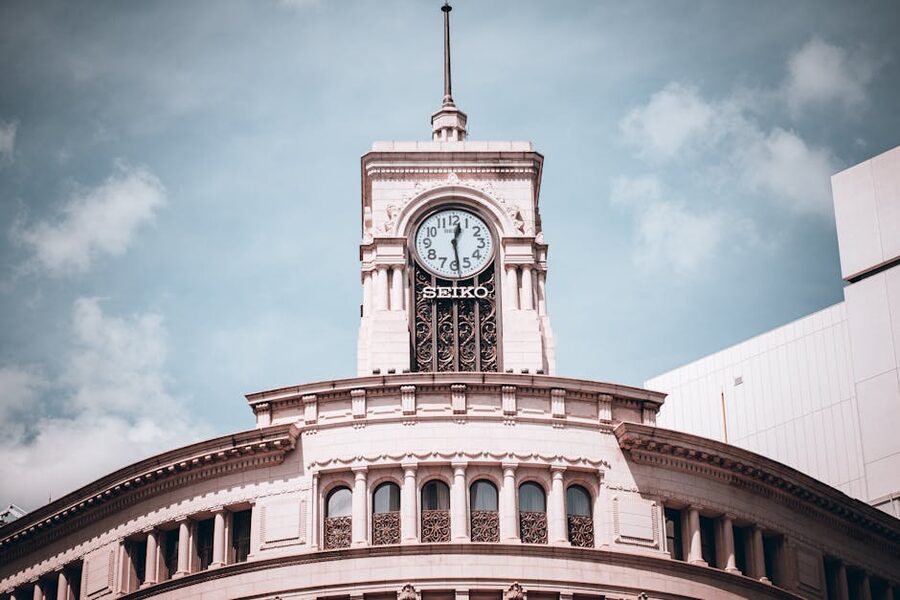
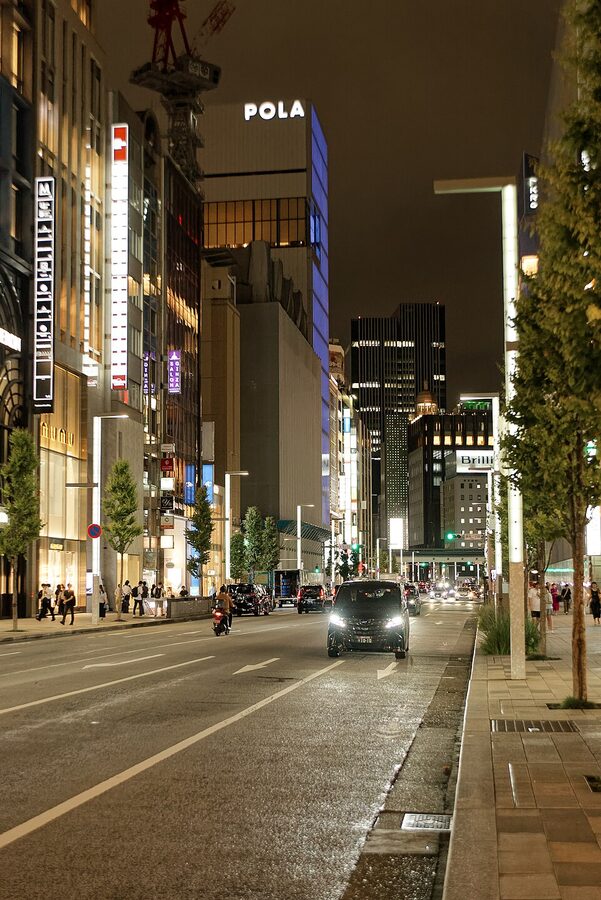
Ginza is the luxury shopping district of Tokyo, but tucked between the department stores and jewellers there’s a deep bench of traditional craft studios. Chopsticks, fans, brushes, tea whisks — the old-school ateliers never left. They just raised their prices and kept going.
That matters for you because the instructor quality is noticeably higher in Ginza than in more touristy parts of Tokyo. The person running your class probably trained for 8-10 years under a senior artisan before they were allowed to teach. They’re not a gap-year traveller reading from a script.

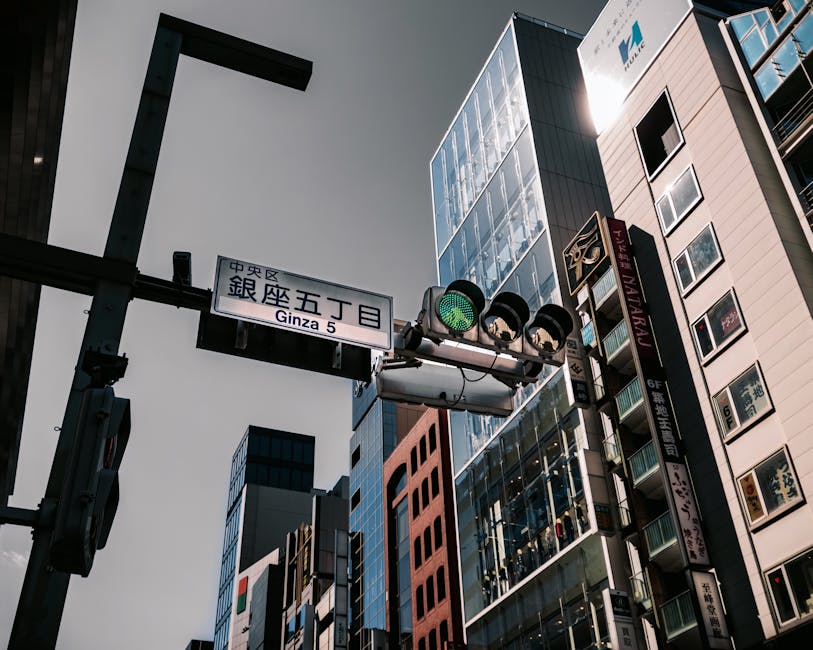
Getting there is easy. Ginza Station is on the Ginza, Marunouchi, and Hibiya lines — walk ten minutes from any of them. If you’re already at Tokyo Station it’s a single stop on the Marunouchi line, or a 12-minute walk straight down Yaesu-dori.
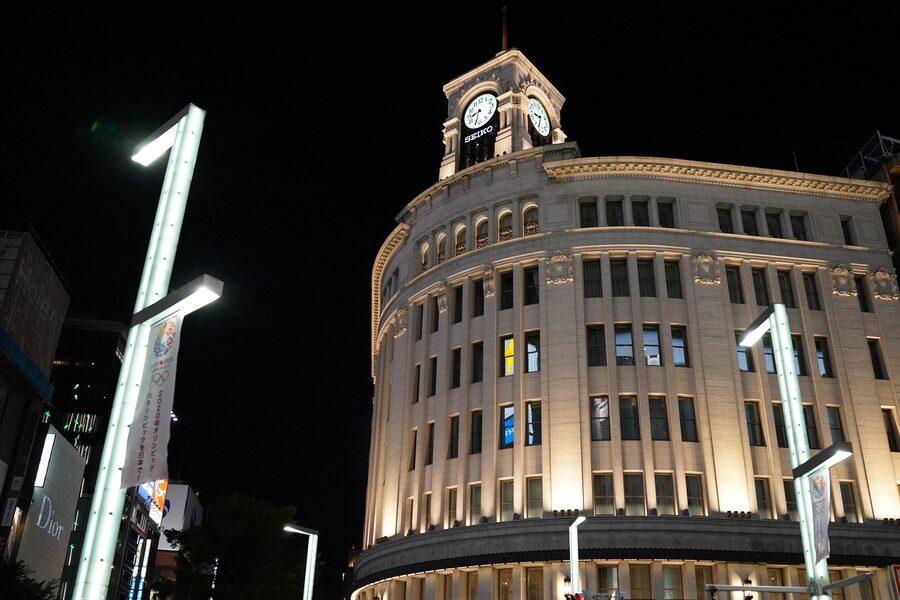
The workshops tend to cluster between the Wako building and Showa-dori, so once you emerge at street level the rest is a short stroll.
How the Hour Actually Goes
Every class I’ve seen follows more or less the same rhythm. Expect some version of this:
First 10 minutes: You pick your wood. Most workshops offer three to five options — sandalwood, hinoki (Japanese cypress), ebony, walnut, sometimes cherry. The instructor explains what each one feels like to eat with and how it ages. Don’t agonise here. Pick the one that catches your eye and move on.
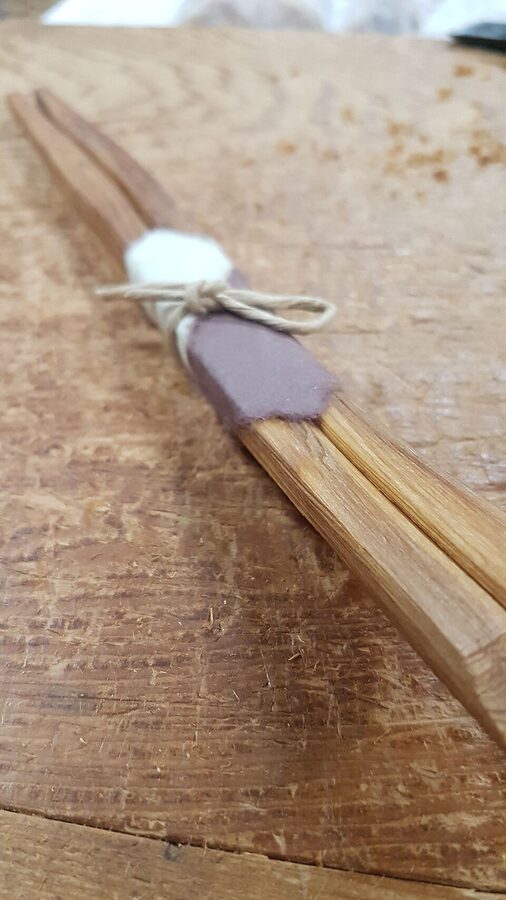
Minutes 10 to 40: The actual shaping. You work the wood through progressively finer sandpaper until the square edges are gone and the surface is glass-smooth. The instructor demonstrates the first few strokes, then hovers. They’ll correct your grip, your pressure, and the angle — and by the end you’ll notice the difference between your first cm and your last.
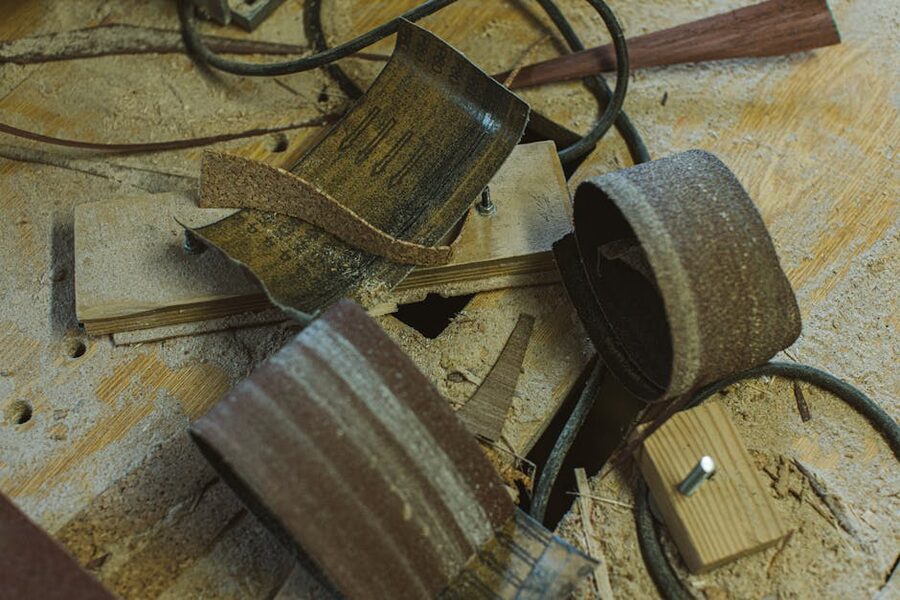
Minutes 40 to 50: Oiling and polishing. Most Japanese wood chopsticks are finished with a thin coat of camellia oil, which seals the grain without making the tips slippery. You rub the oil on with a soft cloth, wait a few minutes, wipe the excess, and you’re done.
Final 10 minutes: Engraving. This is where the Ginza and Kyoto workshops diverge. In Ginza it’s usually optional — you pay a bit extra and the artisan engraves your name, a date, or a short phrase onto one of the sticks. In Kyoto it’s baked into the price and assumed.
Picking Your Wood
This is the decision that actually affects how much you’ll use the chopsticks afterwards. Some woods are gorgeous but fragile. Some are plain-looking and will outlast you.
Hinoki (Japanese cypress): The classic. Light, cream-coloured, slightly aromatic when new. Easy to sand, light to eat with, and has the traditional look most people picture when they hear “Japanese chopsticks.” Downside — the tips wear down faster than harder woods.
Ebony: Dark, dense, and heavy. Feels substantial in the hand and resists staining. The hardest of the common options, which means sanding takes longer but the result is essentially bulletproof. A friend of mine has been using her ebony pair daily for five years and they still look new.
Walnut: Warm brown with visible grain, medium weight. A good compromise if you want something with visual character but more durable than hinoki.
Sandalwood: Offered by some Ginza workshops. Pale, aromatic, beautiful. It’s the “wow” option visually but also the most expensive upgrade, often adding $15-20 to the base price.
Cherry: Pinkish-brown with a tight grain. Nice for engraving because the contrast comes out crisp. A middle option in terms of hardness.
My take — if this is your only pair, pick ebony or walnut. If you already own chopsticks and want something pretty to display, hinoki or cherry.
The Best Tours to Book
1. Chopstick Making Workshop in Ginza — $25
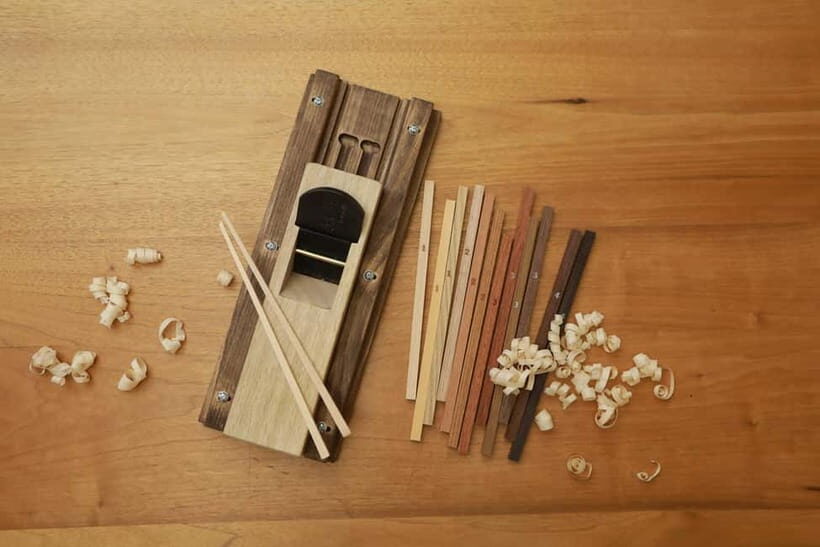
This is the one I’d book if I only had time for one chopstick workshop in Tokyo. Our full review of the Ginza workshop breaks down exactly what the hour looks like from sign-in to take-home, but the short version is that the instruction quality is the selling point — you get proper artisan eyes on your work, not a babysitter.
2. Kyoto Chopstick Making Workshop in Gion with Engraving — $15.25
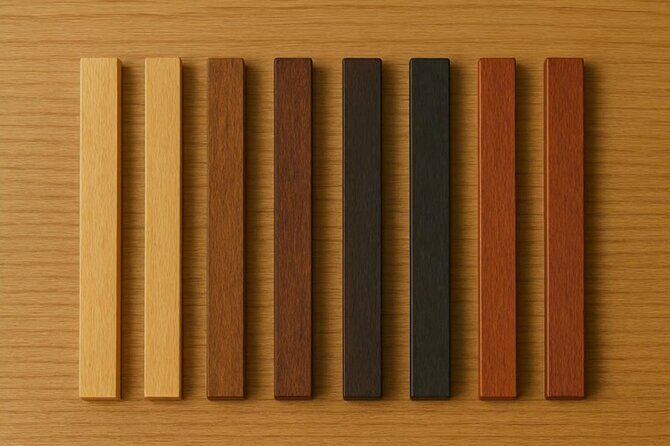
The Kyoto Gion version leans more traditional than the Ginza one — simpler wood options, more focus on the engraving as the finishing act, and the workshop itself sits in a renovated machiya townhouse a few streets off Hanamikoji. Our write-up on the Kyoto Gion class goes through what the machiya setting adds and why the price is so much lower than Tokyo.
3. Kyoto Gion Chopsticks Making Class — $15
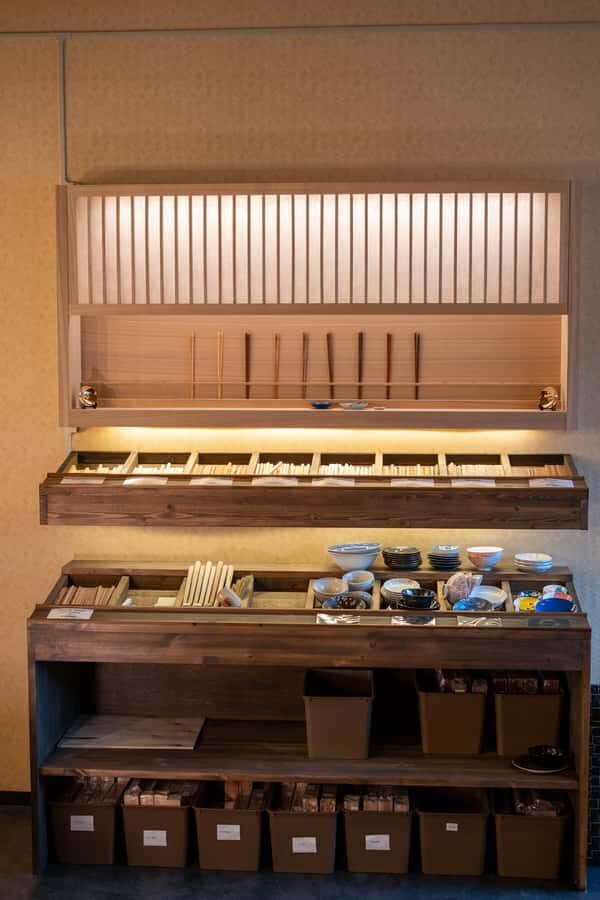
If the Viator Gion class is full — which happens on weekends in cherry blossom and autumn leaf season — this is the one I’d swap to without hesitation. Our review of the GetYourGuide Gion class covers the exact differences between the two, but for most travellers they’re interchangeable and you just pick whichever has the slot you want.
Ginza vs Gion: Which City’s Version Should You Pick?
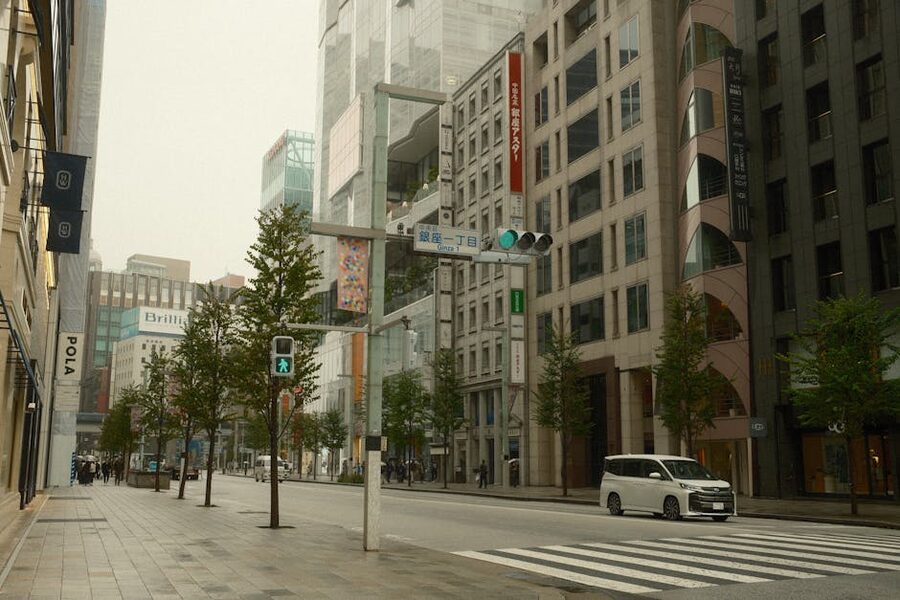
You don’t have to pick. If you’re visiting both cities you can do one in each, and the chopsticks will be different enough to justify two pairs. But if you’re choosing, the decision mostly comes down to what else you want from the day.
Ginza wins on: artisan depth, wood variety, and convenience if you’re Tokyo-based. The instructors tend to be more senior. The wood selection is wider. And you can easily bolt the hour onto a lunch or dinner in the same district — Ginza has more Michelin stars per square kilometre than anywhere else in Tokyo.
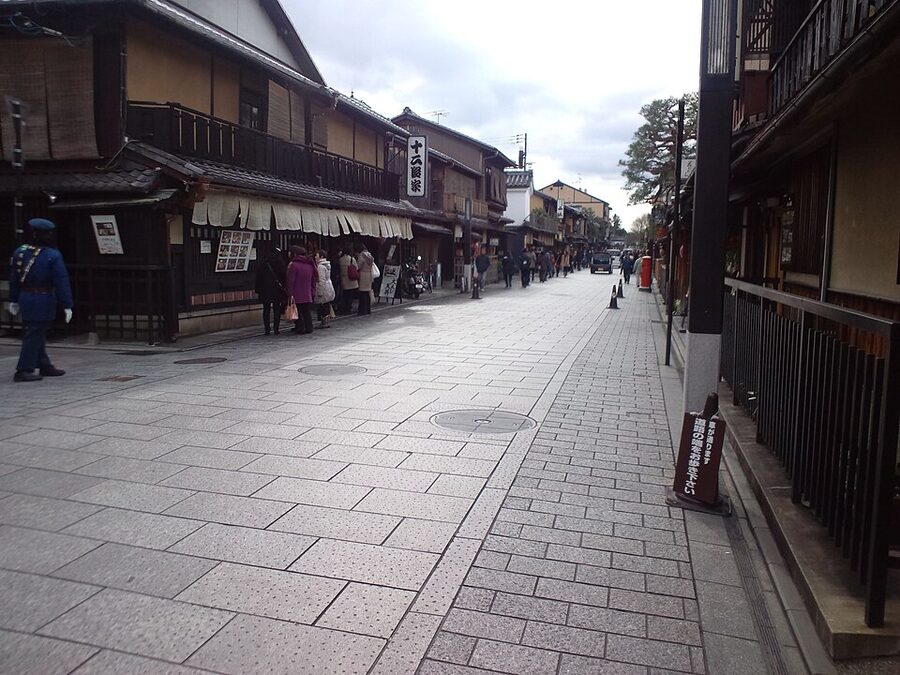
Gion wins on: price, atmosphere, and how much of a “Kyoto experience” the whole thing feels like. You’re paying about 40% less. The machiya settings beat any studio in Tokyo for photos. And because the engraving is included rather than an extra, the finished chopsticks often come out with more personal detail.
My split: Ginza for the craft, Gion for the day. If you want the purest artisan experience, Tokyo. If you want a pleasant afternoon wandering geisha streets that happens to produce chopsticks, Kyoto. You can pair the Kyoto workshop neatly with a Gion geisha walking tour before or after.
What It Costs and What’s Included
Ginza runs about $25 for the base class. That covers the wood blank, full instruction, oil finishing, and a small presentation box to take your chopsticks home in. Engraving is an add-on, usually $5-10 extra depending on how many characters.
Kyoto runs $15-16 and includes the engraving in the base price. Both cities include an apron, towels, and safety gear if you want it.
What isn’t included:
Upgraded wood. If you pick ebony or sandalwood you’ll usually pay a surcharge of $10-20. Worth it in my view because you’re paying for the hour anyway and the wood is the thing you take home.
A second pair. Some workshops let you make two pairs in the same session at a discount. Useful if you want a matching set for a couple, or if you’re buying as a gift and making one for yourself at the same time.
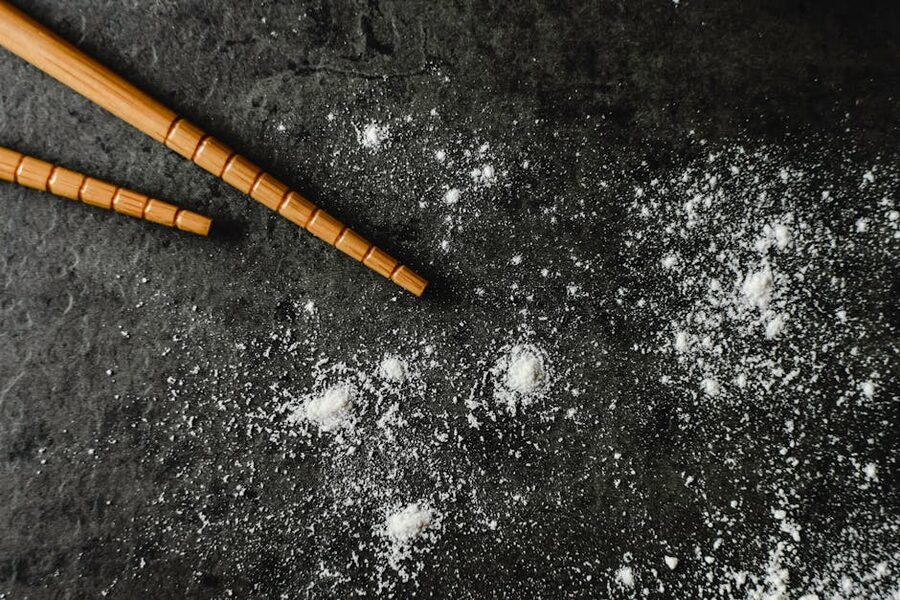
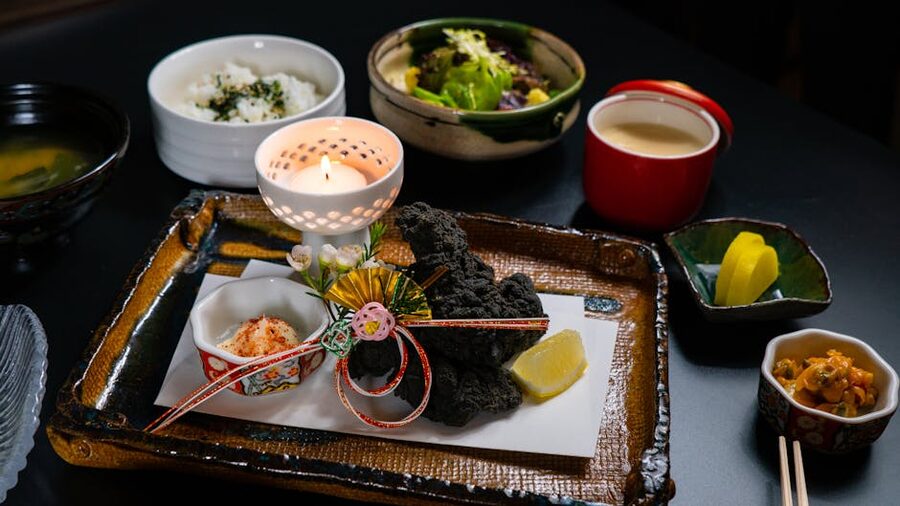
Food or drinks. Nobody serves you lunch. If the class runs over midday, eat beforehand or plan to grab something after. Ginza has everything from $8 tendon counters to $500 omakase sushi within five minutes of any studio.
Booking Timing and What to Actually Expect
Book at least 48 hours ahead. Walk-ins sometimes work on weekdays but you’re gambling. Weekends and holidays regularly sell out a week in advance, especially during cherry blossom season (late March to mid-April) and the autumn colour peak (mid-November).
Class sizes are small. Most Ginza studios cap at 6-8 people per session, Kyoto tends to be 4-6. That’s deliberate — more students and the artisan can’t watch each one’s technique, which is the whole point of paying for instruction.
Language isn’t a problem. Both the Ginza and Gion workshops run sessions in English daily. If you want Japanese instruction for a more authentic feel, you can usually ask — they’ll oblige if the class that day has enough Japanese speakers booked.
Arrive 10 minutes early. The workshop starts on time and if you’re late you miss the wood selection step, which matters more than you’d think. Studios are usually on upper floors of small buildings, so leave a few minutes to find the right door.
A Short History of Japanese Chopsticks
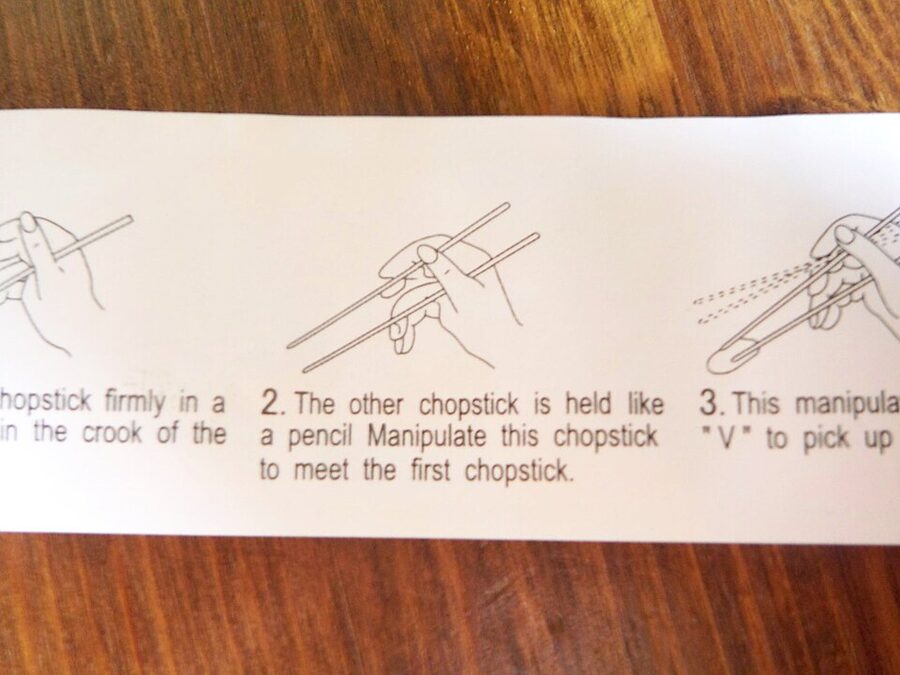
Chopsticks arrived in Japan from China around the 7th century. The first records describe them as ritual implements used at shrines, not everyday tools. For the first two centuries they were exclusively for court ceremonies and offerings — common people ate with their hands.
The shift to daily use came during the Nara period (710-794), when Buddhism spread through the country and vegetarian monastic cooking became a template for civilian meals. Chopsticks were already the utensil of choice in temples, and the habit filtered out.
Japanese chopsticks developed a few traits that set them apart from their Chinese ancestors. They’re shorter — generally 21-24cm for adults, compared to the 25-27cm Chinese standard. They taper to a much finer tip, which suits Japanese cuisine where the food arrives in small pieces that don’t need to be cut at the table.
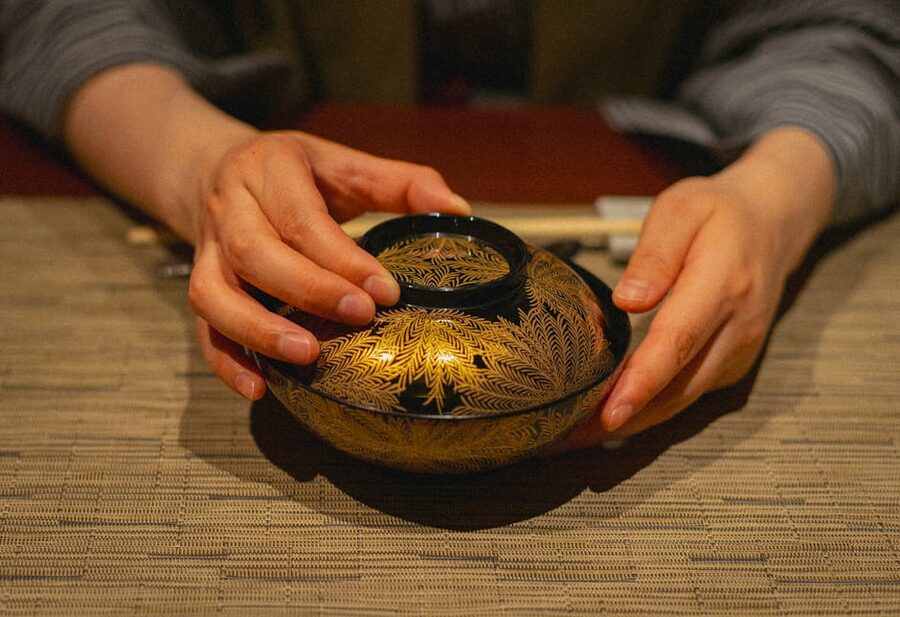
And every person gets their own pair. In Japan you don’t share chopsticks. A household has its own set for each member, often stored in personal holders. Sharing eating utensils is considered strange, which is part of why Japanese families give chopsticks as birthday and milestone gifts — it’s a deeply personal object.
This is why the workshops exist, incidentally. Making your own pair isn’t a gimmicky souvenir thing in Japan. It’s a recognised way to create an object with meaning, which you then take home and use. Plenty of Japanese people do the same workshops — it’s not only for visitors.
What You’ll Take Home
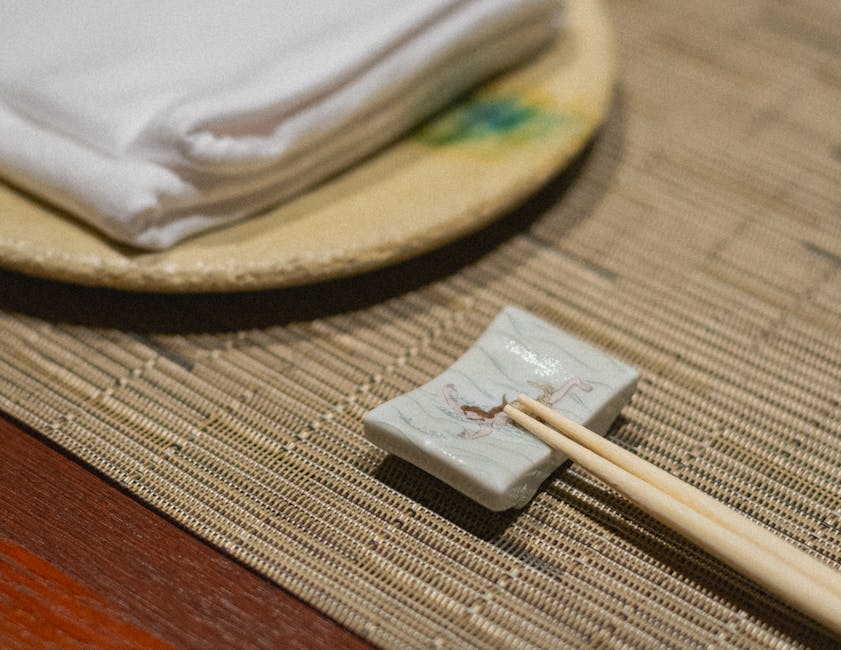
One pair of chopsticks in a small wooden or paper presentation box. The box matters more than you’d think — it’s the difference between “craft souvenir” and “thing that sits in your cutlery drawer forever.” Don’t lose it.
Some workshops also include:
A chopstick rest (hashioki). Small ceramic or wooden thing that holds the tips off the table. Often thrown in as a freebie in Kyoto, occasionally in Ginza.
Care instructions. Usually a single card or QR code. The basics — hand wash, air dry, re-oil once a year with camellia or mineral oil. Don’t put them in the dishwasher unless you want them to warp and split.
A short explanation sheet. Sometimes the workshop includes a printed card about the wood species you chose, its traditional uses, and the name of the artisan who taught your class. Nice to have.
Combining It With Other Tokyo or Kyoto Plans
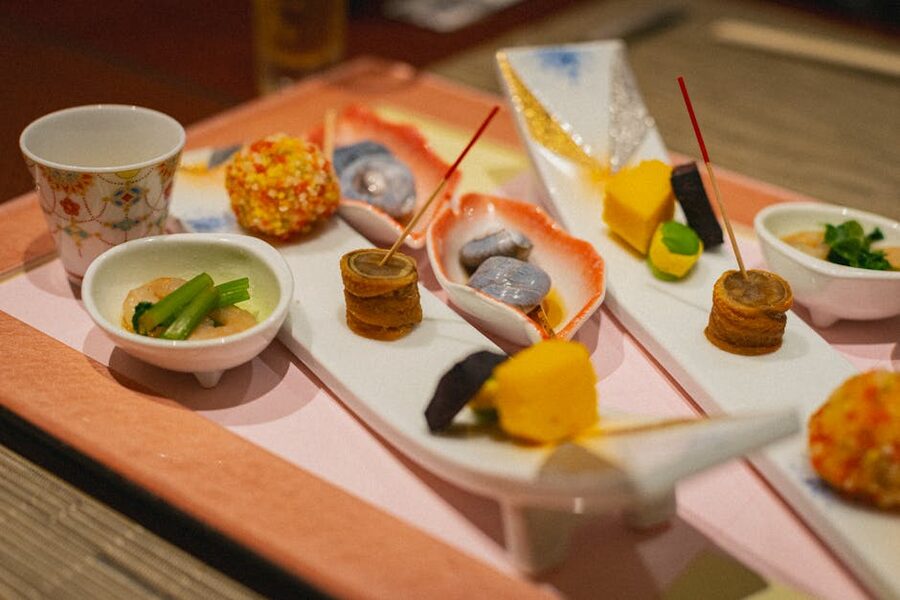
A chopstick workshop is an hour. Plan around it, not the other way around. In Tokyo the obvious pairing is lunch or dinner in Ginza afterwards — eat at a place that serves food where tip precision matters (sushi, kaiseki, yakitori) and you’ll notice the difference.
If you want a full food day, pair the workshop with a Tokyo sushi making class in the morning or a Shinjuku food tour that evening. Both build on the same “making versus eating” theme and complement each other better than either would with sightseeing.
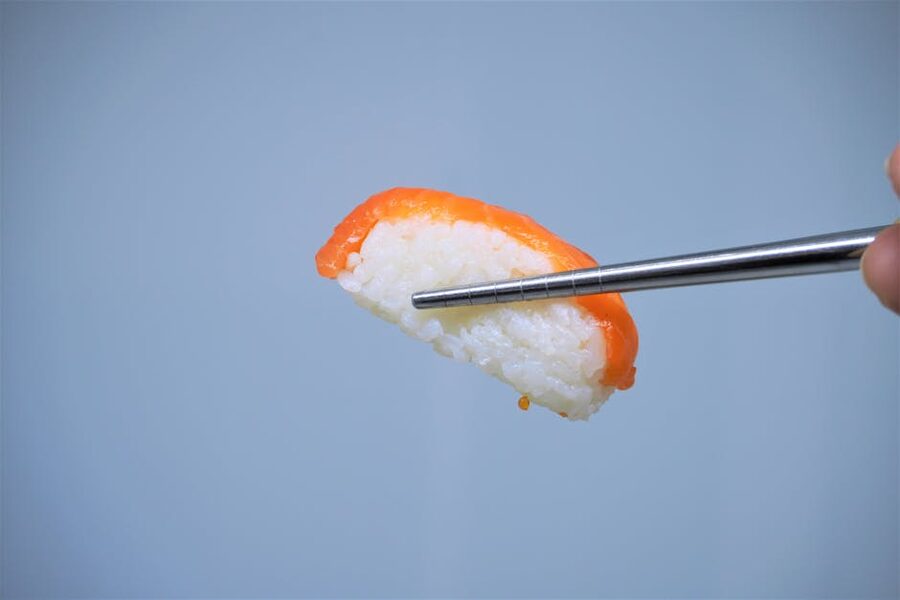
For a culture-heavy day, combine chopsticks with a temple or shrine visit. The Asakusa area is 20 minutes by metro and hosts the most famous temple complex in Tokyo — our Asakusa Sensoji walking tour guide covers the best way to do that. Chopsticks in Ginza before lunch, then Asakusa in the afternoon, works as a compact half-day cultural loop.
A dinner-and-show day is another option. The Tokyo samurai restaurant show pairs well — do the workshop late afternoon, change, and take the metro to Shinjuku for the show. You’ll use your new chopsticks at the dinner.
Kyoto Day Plans Around the Workshop
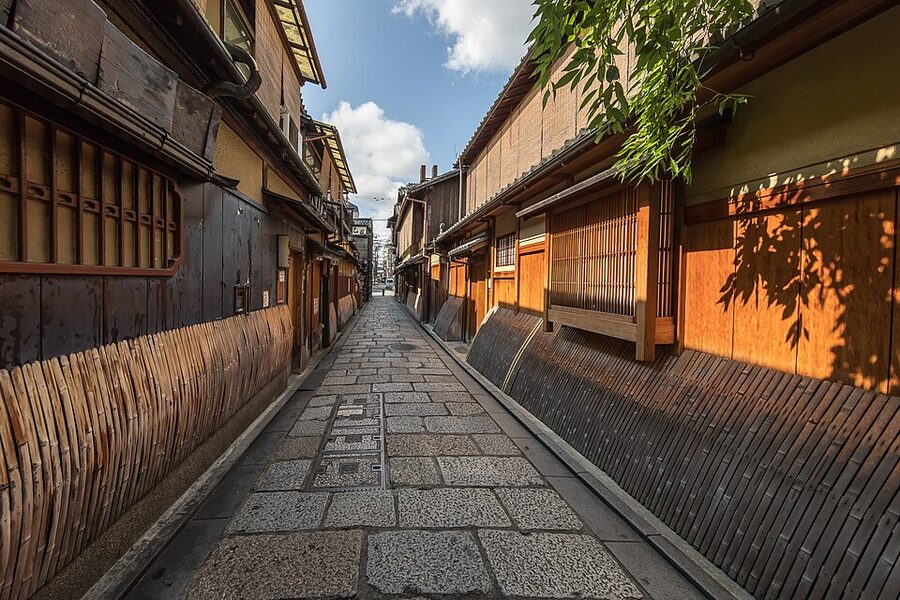
If you’re going the Kyoto route, the chopstick workshop fits neatly into a day centred on Gion. Morning workshop, late lunch at one of the Gion kaiseki spots, then a walking tour through the geisha district in the late afternoon when the light is best.
Our Kyoto Gion food tour covers the evening option, and you can tack a Kyoto tea ceremony onto the morning if you want to triple-stack cultural experiences. The tea ceremony pairs especially well — many Kyoto ceremony houses use handmade wooden utensils similar to the chopsticks you just made, and your new appreciation for the craft shows up immediately.
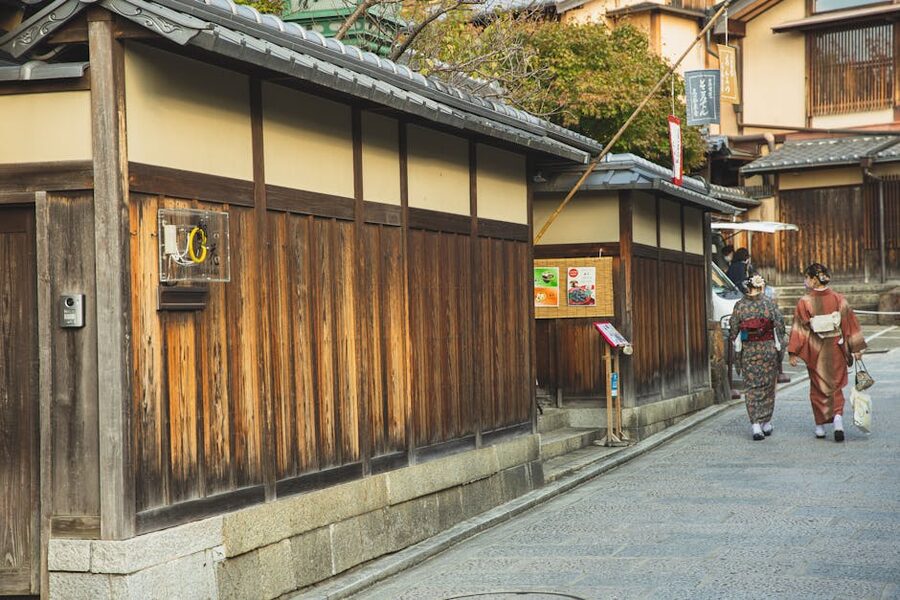
If you want the whole traditional-crafts-day treatment, pair with a kimono rental and tea ceremony package. The workshop slots neatly between the dressing appointment and the tea.
Practical Logistics

Age limits: Most workshops accept 10 and up. Younger kids can do a shorter version in some places (ask when booking) but the knife-block step is awkward for small hands. Teens handle it fine.
Accessibility: The Ginza workshops mostly sit on upper floors reached by stairs. If mobility is a concern, ask specifically about elevator access when booking. The Kyoto ones are more often ground-floor machiya spaces but some have step-up entries.
What to wear: Something you don’t mind getting dusty. Aprons are provided but some wood dust escapes. Avoid long loose sleeves — they drag in the sanding. No open-toe shoes.
Can you bring your own wood? Usually no. The blanks are pre-cut to specific dimensions that fit the knife block. Some workshops will source a special wood on request if you email 2+ weeks ahead, but there’s a surcharge.
Photography: Allowed in every workshop I’ve seen. Some artisans request no photos during the demonstration (so you pay attention) but are happy to pose for shots with the finished product afterwards.
Language: English instruction in both cities. Some Ginza workshops also offer French and Mandarin daily. If you need another language, ask when booking — they’ll tell you which days have the right instructor.
Care and Keeping the Chopsticks You Made
Hand wash only. The dishwasher will ruin them — heat and detergent strip the oil finish and warp the wood. Use warm water and a soft sponge. If there’s stuck-on food, soak briefly then wipe.
Dry flat or tip-up. Standing them in a holder with tips down lets water pool at the wood pores, which leads to splitting over time. Most Japanese households have a small ceramic rest that lets them dry horizontally.
Re-oil once a year. Camellia oil is traditional and available from any Japanese grocer or online. Mineral oil works as a backup. Put a few drops on a soft cloth and rub into the wood, let sit 10 minutes, wipe off excess. The chopsticks will look dull then brighten up as the oil absorbs.
Don’t store them in sealed plastic. Wood needs to breathe. A wooden box or open drawer is fine; Tupperware is not. If you got a presentation box with your pair, keep using it.
If a tip chips, don’t throw the pair out. You can re-sand the tip down with 400-grit and re-oil. The length will be 1-2mm shorter but they’re still perfectly usable. I’ve rescued two pairs this way.
Who Shouldn’t Book This
Anyone looking for a “quick gift shop stop” — this is a proper hour-long activity, not a 15-minute thing. If you just want chopsticks with a story, buy a nice pair at a Ginza store instead.
Anyone who finds fine motor work frustrating. The sanding is repetitive and if you’re not enjoying it at minute 5, you won’t at minute 35. A few people in my classes have tapped out early.
Anyone on a very tight schedule. An hour doesn’t sound like much, but add transit to Ginza, arrival buffer, and the short walk to lunch afterwards and you’re eating 2.5 hours of your day. Fine if you’re in Tokyo for a week. Worth thinking twice if you have one day.
And anyone who doesn’t actually use chopsticks at home. If you don’t own any, won’t use them, and don’t have a relative who does, the finished product will live in a drawer. There’s no shame in that — but knowing this going in helps set expectations.
Booking Final Notes
GetYourGuide and Viator both have free cancellation up to 24 hours before the start time for most chopstick workshops. If weather or plans shift, you can swap without losing money — handy because Tokyo in July/August is hot enough that an indoor workshop may beat whatever outdoor thing you had planned.
Confirm by email. Both platforms send an email within 24 hours with the exact address, which you need because the studio signs are usually in Japanese and tucked on upper floors. Don’t just show up at “the chopstick place in Ginza” — there are several.
If you’re paying with a foreign card, the prices update to your currency at checkout. Ginza at $25 works out to about £20, €23, or AUD 38 at current rates. Kyoto at $15-16 is about £12, €14, or AUD 23.
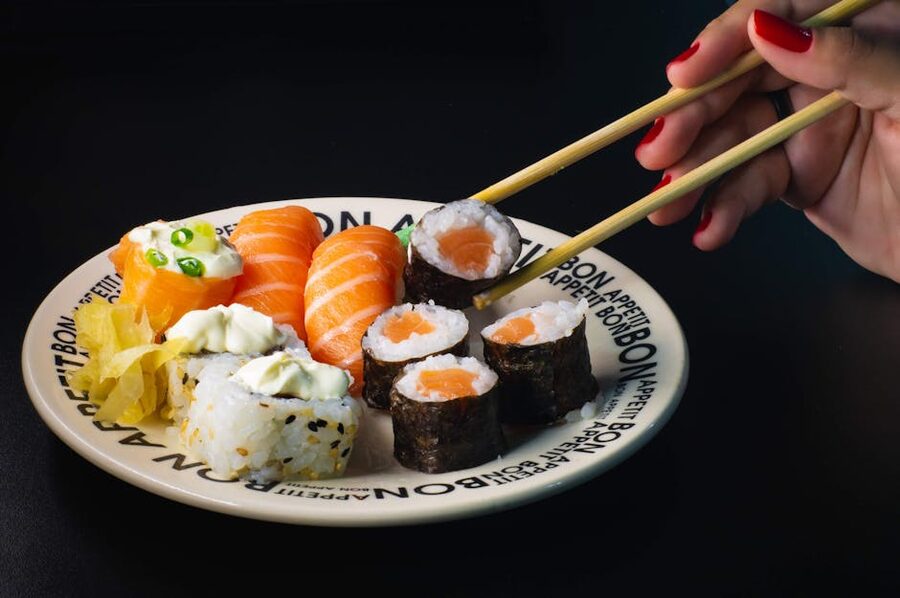
Other Craft Experiences Worth Considering
If the chopstick workshop clicks for you and you want more hands-on craft experiences, Tokyo and Kyoto both have deep benches of similar classes. Our Tokyo ramen tasting tour covers the food side of the crafts scene — eating beats making in some cases, especially for noodles.
For a different sort of craft, the Tokyo Skytree admission guide is the opposite experience — big, loud, crowds — and pairs surprisingly well with the chopstick workshop as a contrast. Do the quiet detailed hour in Ginza in the morning, then the sky-scraping view in the afternoon when you need to move your legs.
The craft day I’d build for a friend visiting Japan for the first time: Ginza chopstick workshop morning, Tsukiji outer market walk for lunch, Asakusa Sensoji temple walk in the afternoon, sushi dinner where they get to use the new chopsticks. Compact, varied, and they go home with a useful thing they made with their hands.