
First time I tried making sushi at home, my rice came out like cement and my rolls unspooled before they hit the plate. It was funny and a little humbling, and it taught me why the class you take on a Tokyo side street is worth every yen. The right teacher, the right rice, thirty minutes with your hands in it — suddenly you know what the thing is actually supposed to feel like.
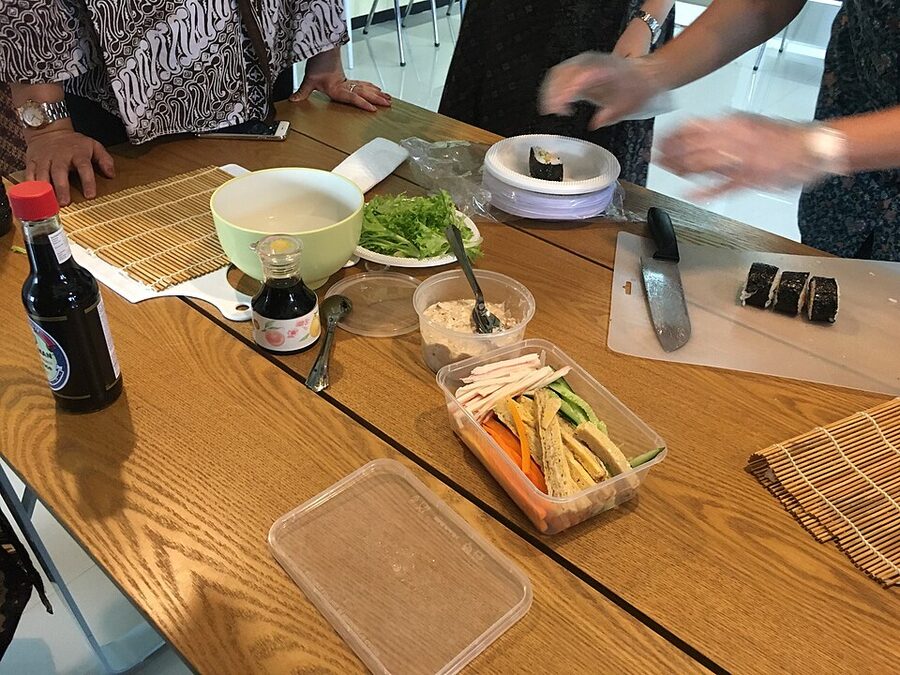
Tokyo has dozens of sushi classes running every day, in small kitchens behind bars, in happi-coat-themed studios near Skytree, and on the edge of the old Tsukiji market where real fishmongers still work the outer stalls. Prices sit in a narrow band — roughly $40 to $65 per person for 90 minutes to two hours. What you eat at the end is what you made, plus a bowl of miso soup and a chance to photograph your work before it disappears.
The three picks below are the ones I’d tell a friend to book. Each one is the most-reviewed option in its bracket, each one runs in English with patient instructors, and each one answers a slightly different question about why you’re here.
Short on time? Here are my top picks:
Most popular Asakusa class: Tokyo: Roll and Authentic Sushi Making Class in Asakusa — $58, nearly 2,000 reviews. Two-hour session, English instructors, covers both maki rolls and nigiri in the heart of old Tokyo.
Best for atmosphere: Tokyo: Sushi Making Class in a Happi Coat near a Famous Spot — $42, 90 minutes, you cook in a traditional happi jacket near Tokyo Skytree. Lowest price point of the three.
Most serious option: Tokyo: Tsukiji Fish Market Sushi Making Class with Pro Chef — $63, includes a Tsukiji market tour before the class. A working chef teaches you on market-fresh fish you pick out together.
- Why Book a Sushi Class in Tokyo (And Not Anywhere Else)
- What You Actually Do in a Sushi Class
- The Three Classes Worth Booking
- 1. Tokyo: Roll and Authentic Sushi Making Class in Asakusa —
- 2. Tokyo: Sushi Making Class in a Happi Coat near a Famous Spot —
- 3. Tokyo: Tsukiji Fish Market Sushi Making Class with Pro Chef —
- Asakusa vs Skytree vs Tsukiji — Which Class Is Actually Right for You
- What It Costs, What’s Included, and What Isn’t
- How Long the Classes Run and When to Book for Peak Practice Time
- A Short History of How Sushi Got Its Modern Shape
- The Tools: Knife, Bamboo Mat, Fan
- Ingredients You’ll Work With (and What They Actually Taste Like)
- What You’ll Make — Maki, Nigiri, and the Occasional Temaki
- Language, Group Size, and What the Class Actually Feels Like
- Dietary Options and Allergies
- Where the Classes Actually Are (and How to Get There)
- Practical Bits — What to Wear, What to Bring, What to Skip
- Booking Timing and Cancellation Policies
- Pairing the Class With Other Tokyo Food Experiences
- What Changes After You’ve Taken the Class
- Other Tokyo Culinary Experiences Worth Booking
- Rice, Technique, and What Actually Makes Sushi Taste Good
- If You Have Kids: What to Expect
- Is the Happi Coat Worth ?
- Seasonal Fish and When to Visit
- One Thing I Wish I’d Known Beforehand
- More Tokyo Experiences to Pair With the Class
Why Book a Sushi Class in Tokyo (And Not Anywhere Else)
Sushi didn’t start in Tokyo, but modern nigiri did. The style you’ll learn in any class here — a small oval of vinegared rice with a piece of fish pressed on top — was invented in the 1820s by a fishmonger named Hanaya Yohei working out of an Edo street stall. Edo is the old name for Tokyo. The form has barely changed in 200 years.
You can take a sushi class in Osaka, Kyoto, or Kanazawa. They’re all good. But Tokyo has the most teachers, the most price points, the most specialised formats, and the shortest walk from the Shinkansen to a classroom. Every serious sushi chef in Japan has worked in Tokyo at some point. The density of skill here is unmatched.
Booking ahead matters more than you’d think. The headline classes sell out two to four days in advance in peak season, and the small-venue ones (especially the Tsukiji class) can fill a week early. Walk-ins used to be possible at a few places; post-2023 they almost never are.
What You Actually Do in a Sushi Class
The structure is almost identical across venues. You walk in, you get a happi coat or apron, you wash your hands, and the teacher introduces themselves in English plus enough Japanese to know what to call things. Then you sit at a long wooden counter with a bamboo mat and a small pile of tools in front of you.
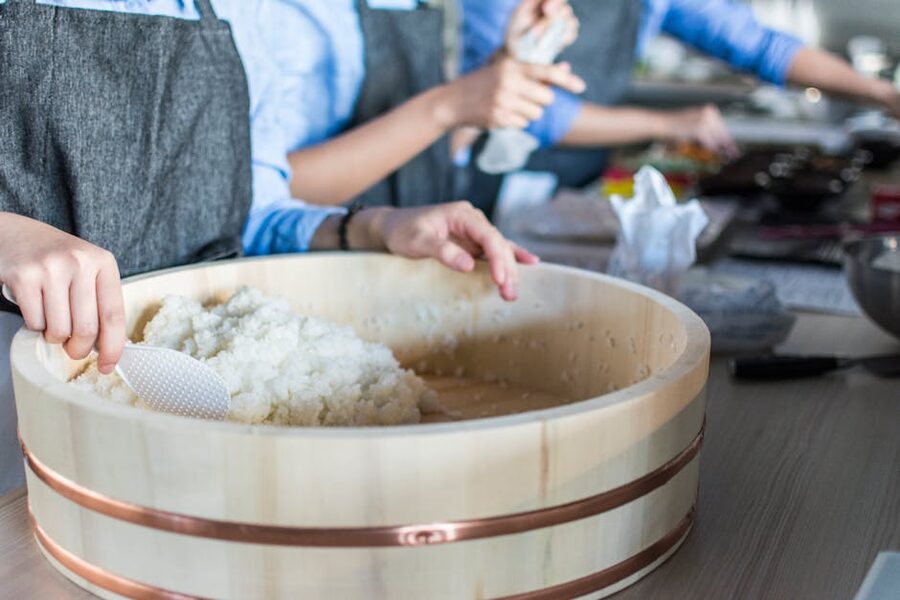
The first lesson is always rice. You’ll learn how seasoned sushi rice differs from regular cooked rice (it’s vinegared, salted, sugared), how to cool it with a flat fan while you fold it with a wooden paddle, and how warm it’s supposed to be when you shape it — body-temperature, never cold. Cold rice hardens and tastes wrong.
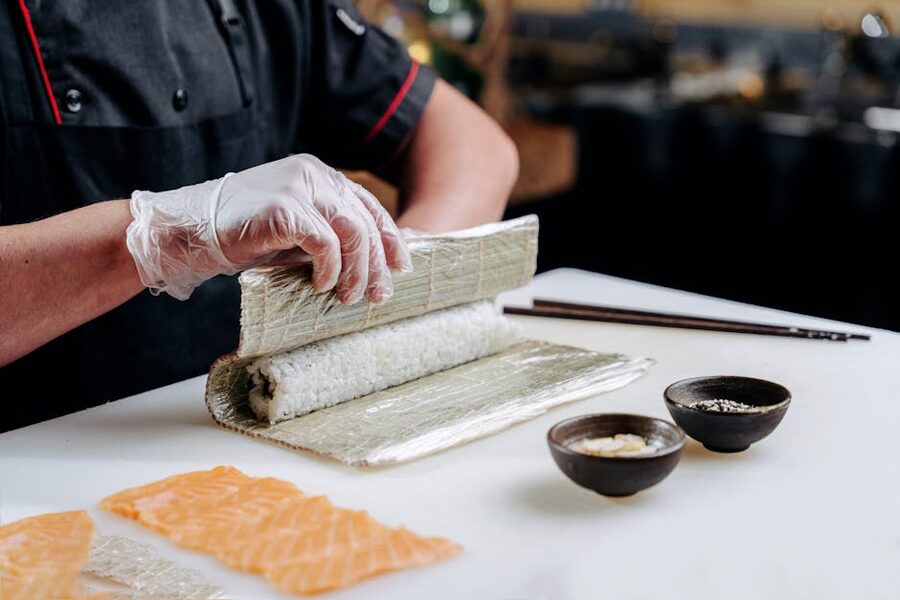
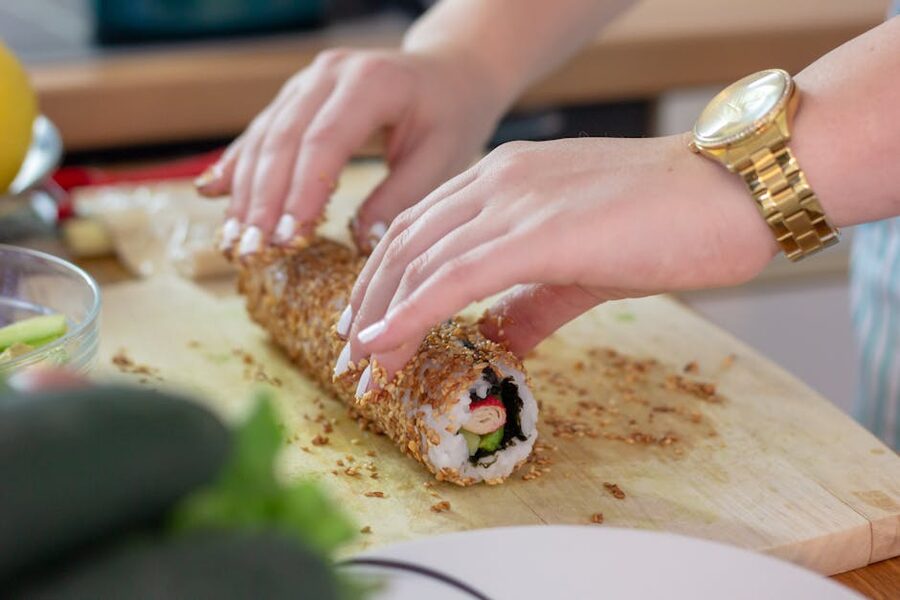
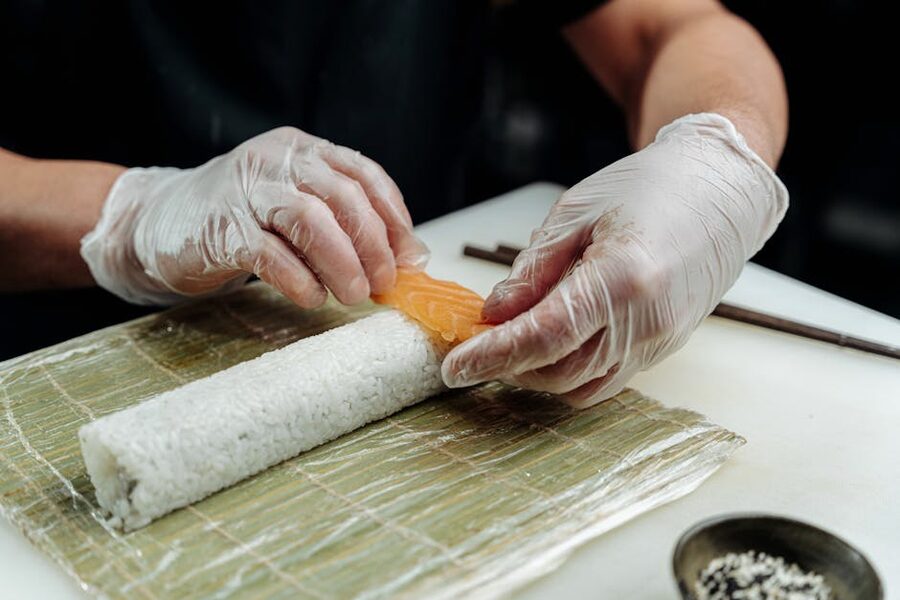
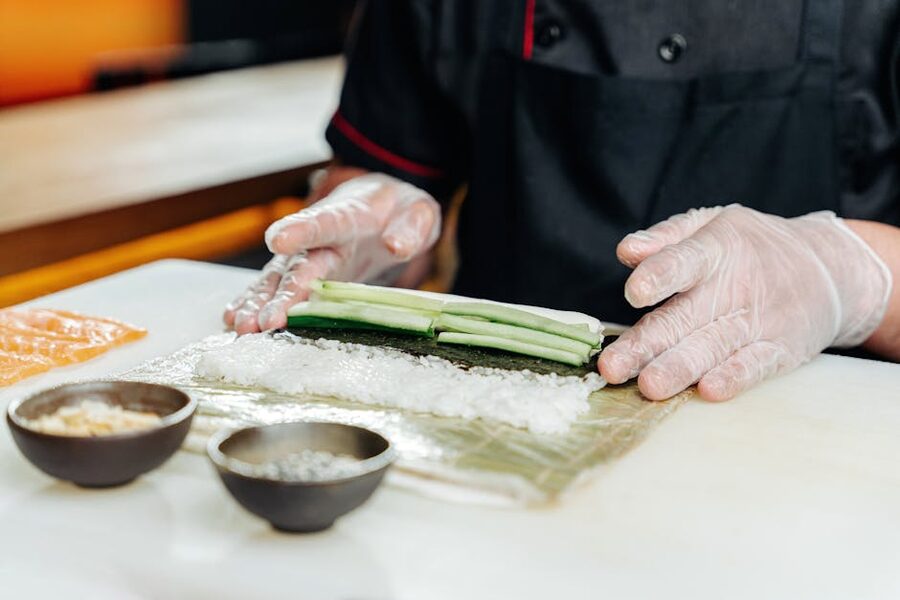
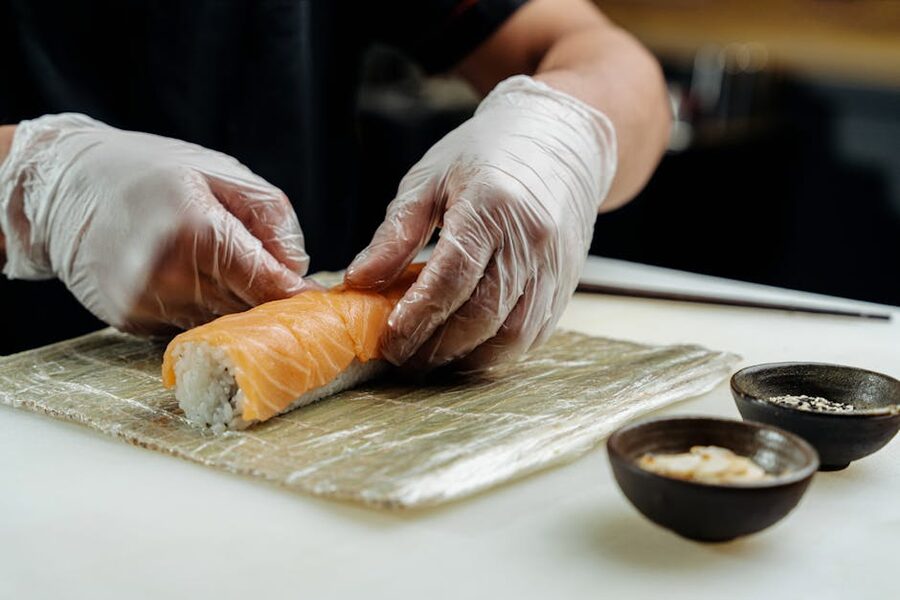
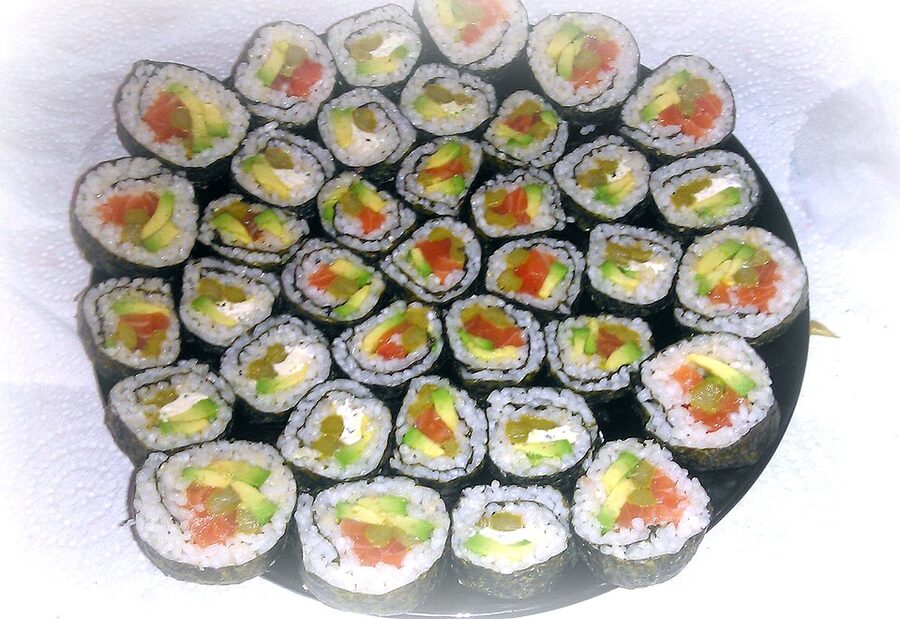
Then you roll maki. This is the technique most first-timers find satisfying: nori sheet down, rice spread in an even layer, fillings along the centre line, roll with the mat, slice with a wet knife. The wet knife is the trick. Water on the blade stops the rice from sticking and tearing.
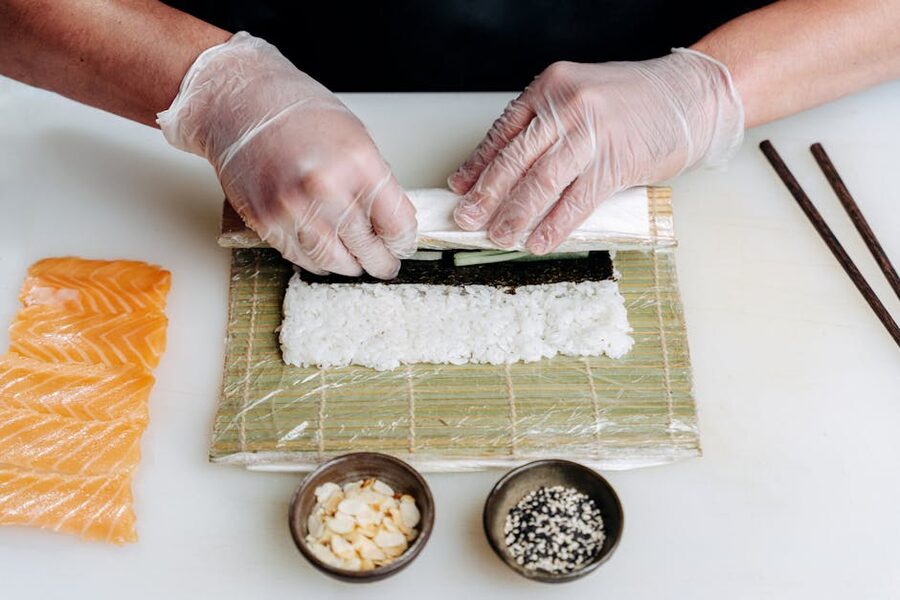
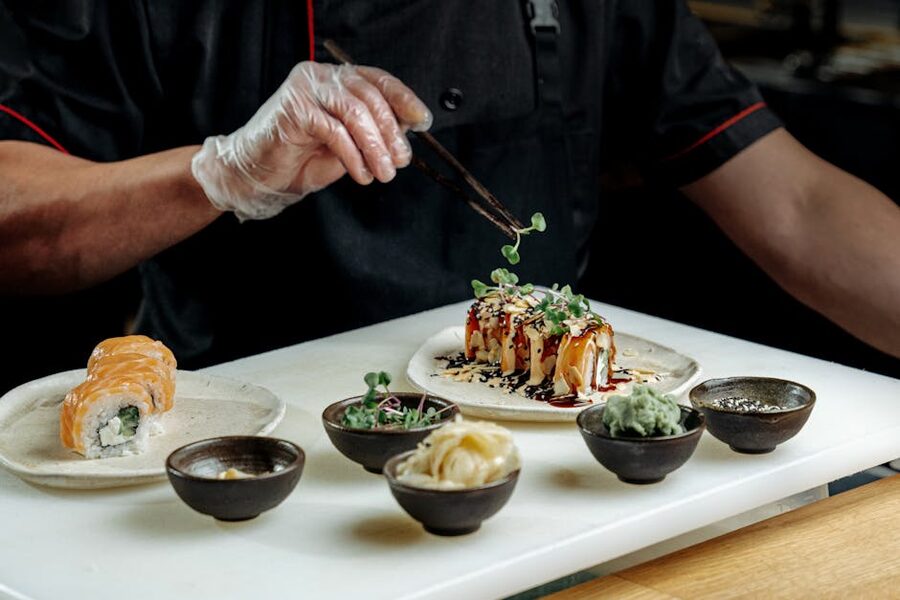
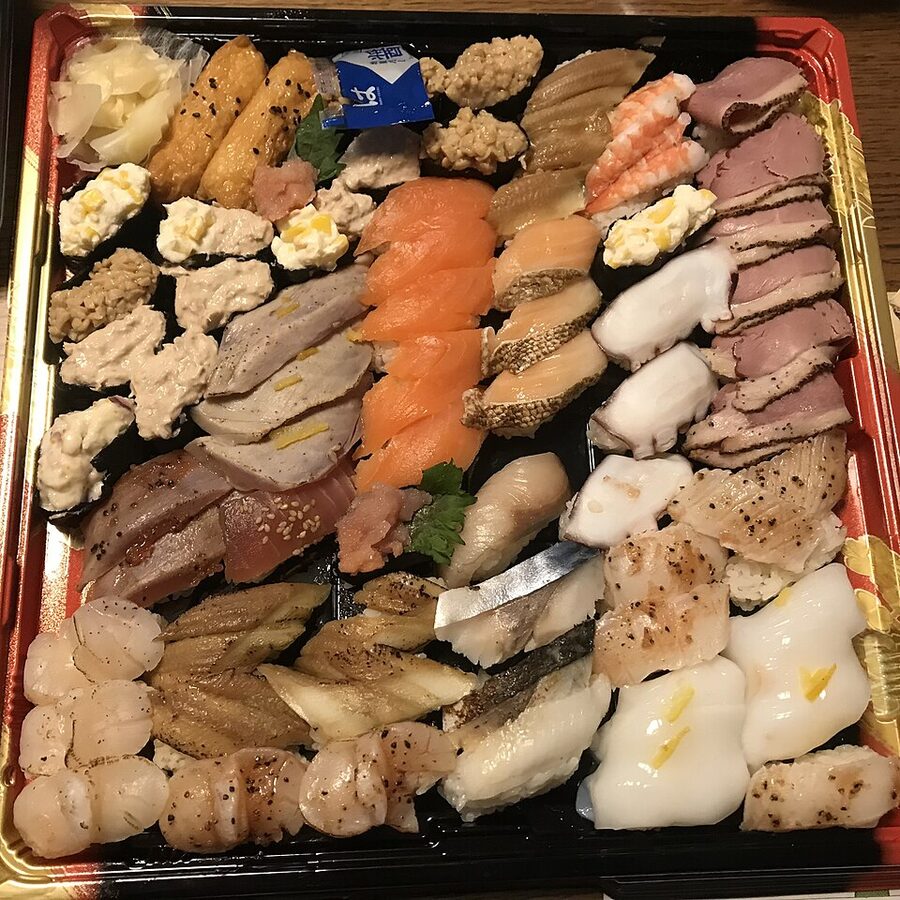
After the rolls, you move to nigiri — the hand-pressed oval. This is harder than it looks and the part that usually gets a laugh from at least one person in the group. The rice needs to be formed in one squeeze, the fish laid on top with a dot of wasabi between, and the whole thing presented with the fish facing up. Your first three will look wobbly. Your sixth will look respectable.
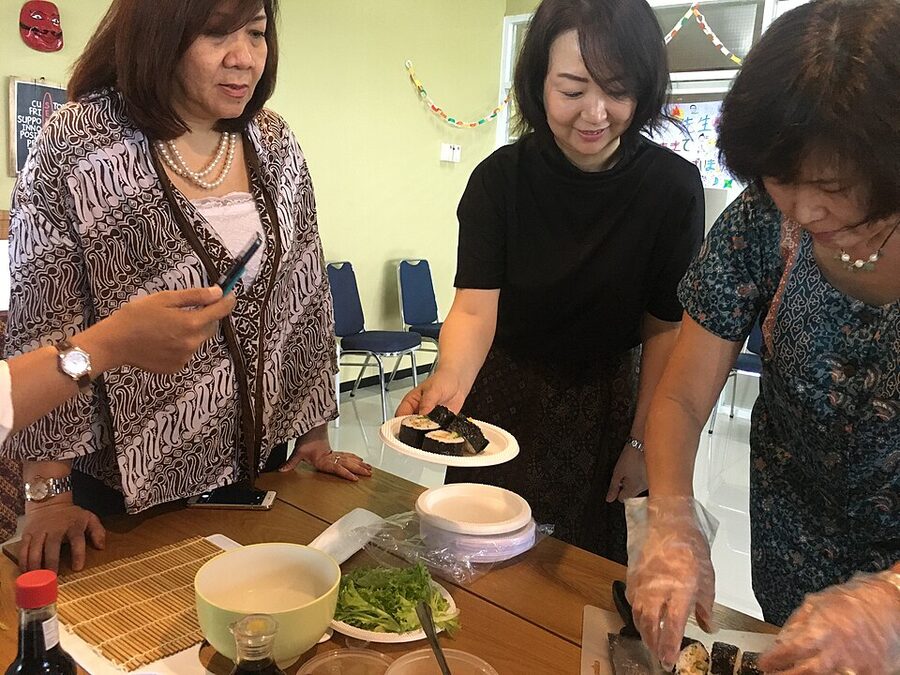
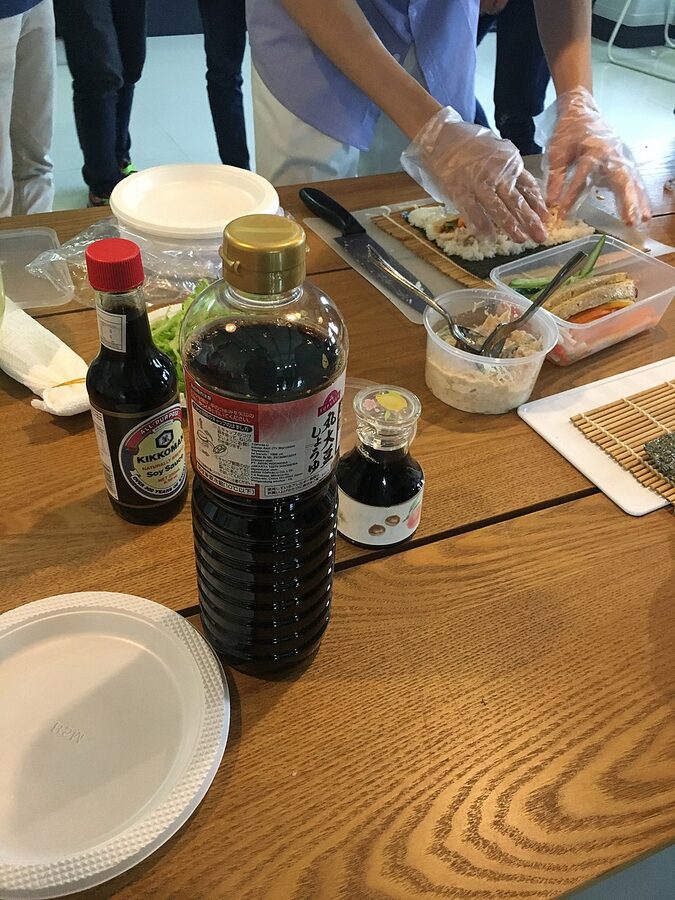
Classes finish with tasting. You eat what you made, dipped in real Japanese soy sauce (darker and less salty than the grocery-store American version), with a side of pickled ginger and miso soup. Most venues send you home with a photo and a printed recipe card.
The Three Classes Worth Booking
Here are the three I’d recommend. They sit at different price points and teach slightly different things. Pick the one that matches what you’re actually in Tokyo to do — food tour, cultural experience, or serious cooking lesson.
1. Tokyo: Roll and Authentic Sushi Making Class in Asakusa — $58
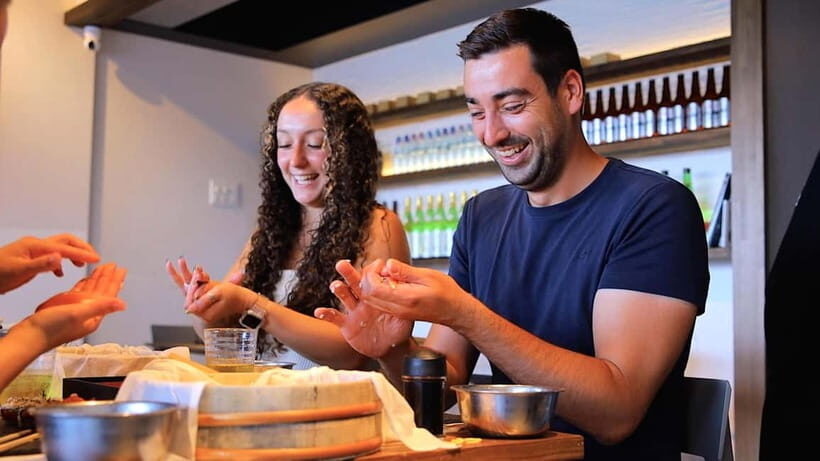
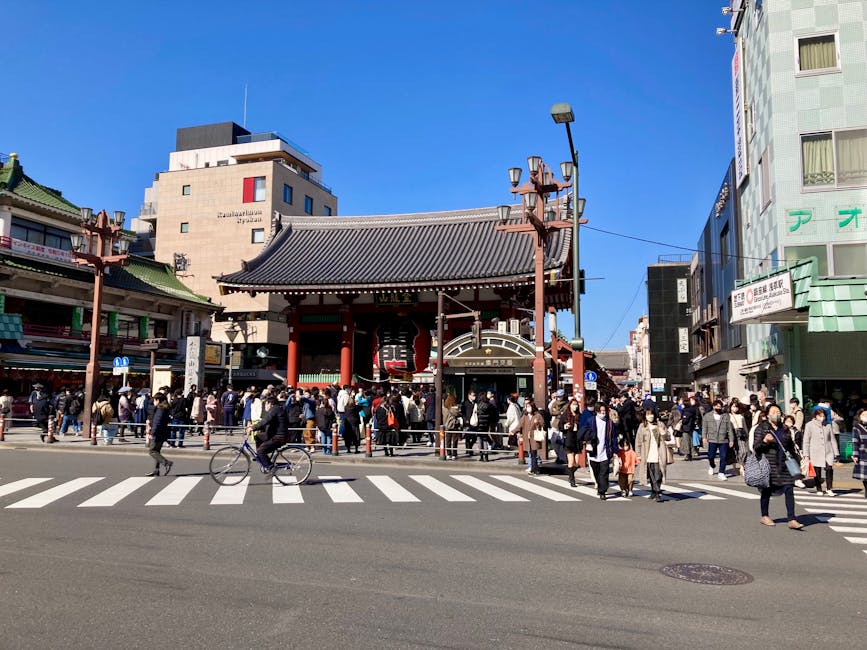
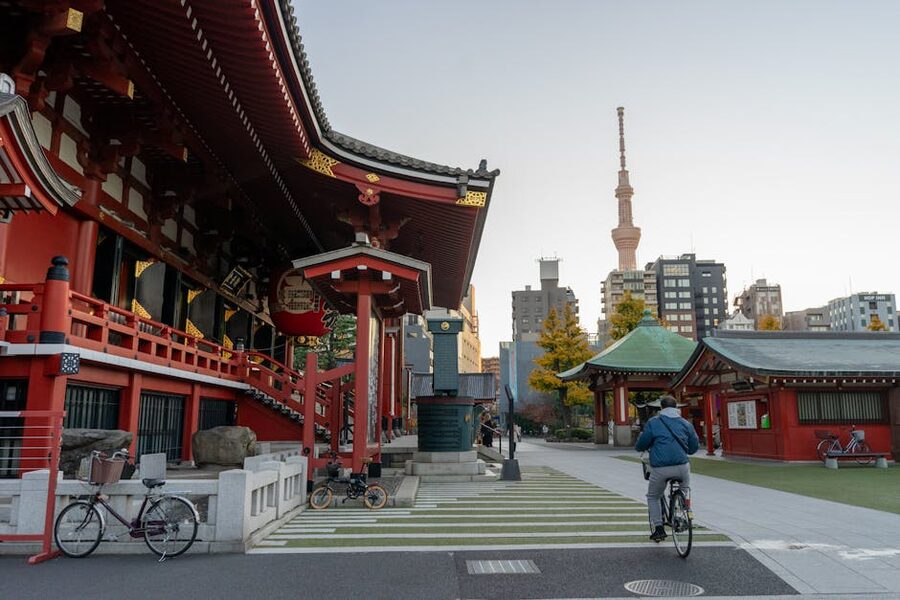
Asakusa is the oldest entertainment district in Tokyo and the logical place to learn sushi — Hanaya Yohei’s original stalls were a 15-minute walk from where this class runs. The format is generous: two hours covers rice prep, four maki rolls, two nigiri, and tasting. The instructors handle English well and the kitchen is small enough (10-12 students max) that you actually get individual feedback — our full review covers the specific instructor rotation and what the menu variations cover. If you can only book one class, this is it.
2. Tokyo: Sushi Making Class in a Happi Coat near a Famous Spot — $42
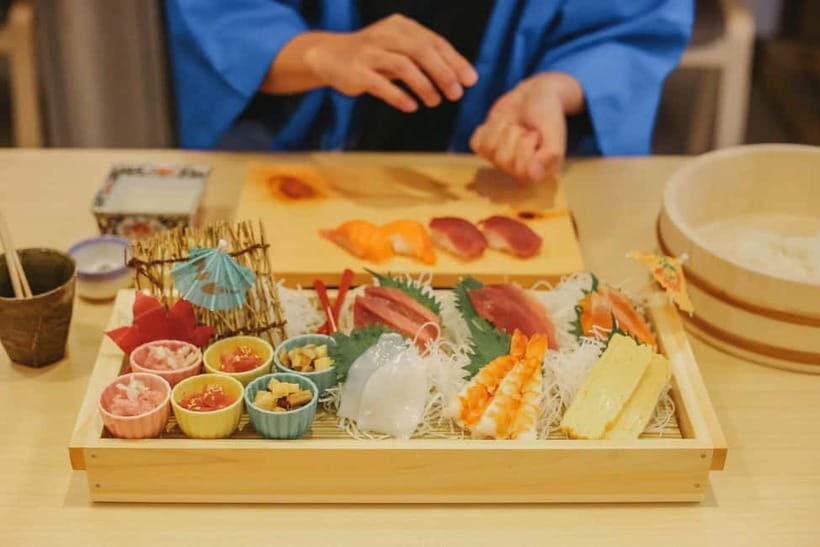
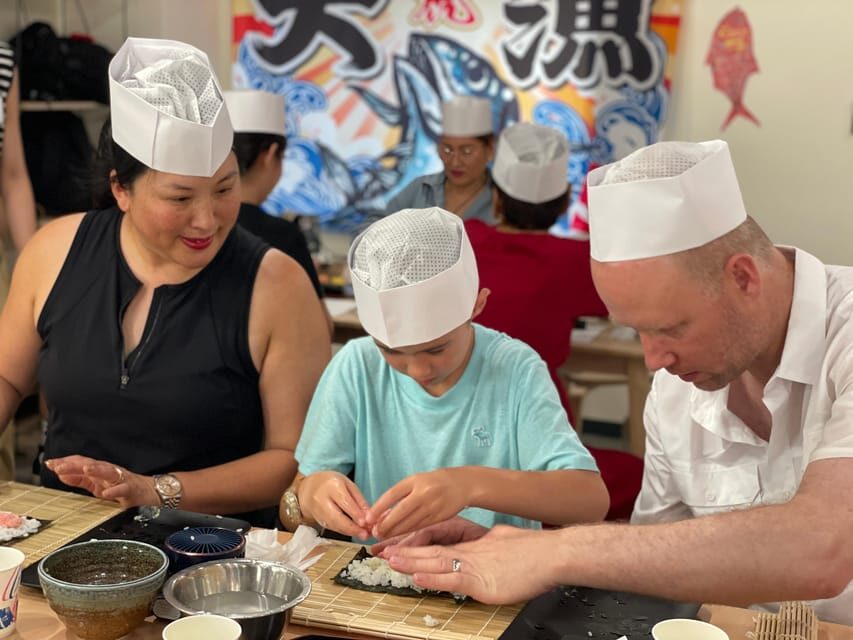
The cheapest of the three picks and the one with the best atmosphere for a first-timer. You walk in, get fitted into a traditional happi jacket (cotton, festival-style, very photogenic), and work through a 90-minute programme that covers both rolls and nigiri without rushing. The venue is a short walk from Tokyo Skytree, which makes this a natural pair with a morning at the tower — our review breaks down exactly what’s in the menu and which instructors run which slots. The $42 price is the lowest in the category and the class doesn’t feel short for it.
3. Tokyo: Tsukiji Fish Market Sushi Making Class with Pro Chef — $63
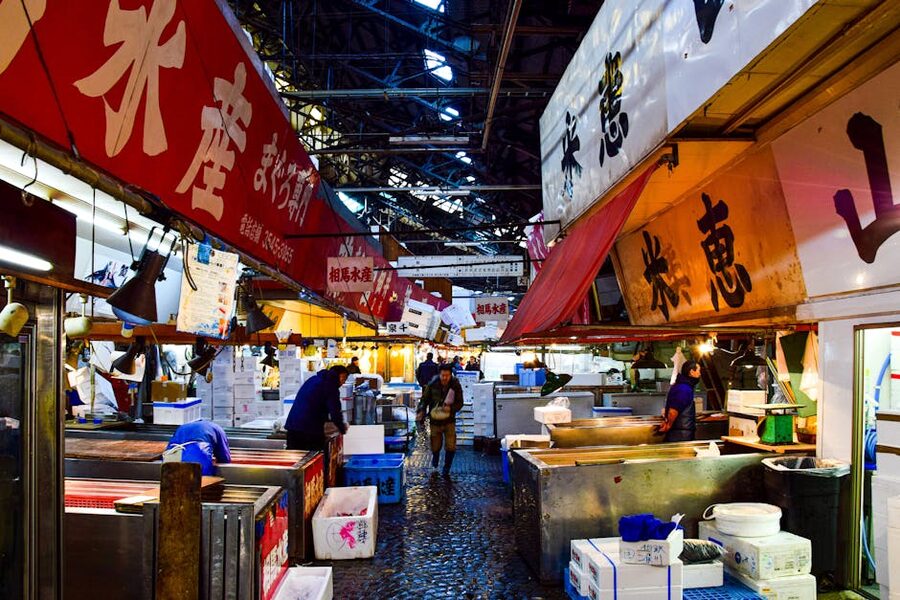
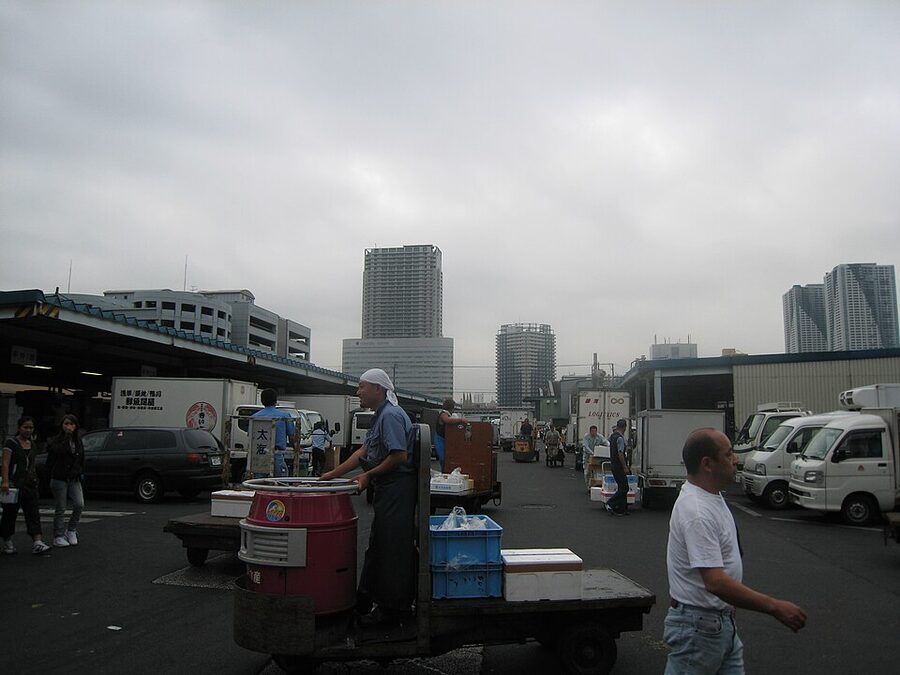
Tsukiji’s wholesale inner market moved to Toyosu in 2018, but the outer market — 400+ shops, fishmongers, knife dealers, and dried-goods stalls — is still very much alive and still the most fun fish market in Tokyo. This class starts with a walk through it. You pick out ingredients with the chef, learn what to look for, then head to a nearby kitchen for the hands-on session. The $63 price reflects the market tour, the higher-grade fish, and the teacher’s background — these are chefs who ran their own counters before they started teaching. If you’re serious about food, our full review explains why this class rewards the extra $5 over the Asakusa option and which mornings run the best market tours.
Asakusa vs Skytree vs Tsukiji — Which Class Is Actually Right for You
All three are excellent. The difference comes down to what else you’re doing that day and what you most want out of the session.
Book the Asakusa class if you’re into Tokyo’s old-town side, you want the longest class of the three, and you’re planning temple-and-food time in Asakusa anyway. The two-hour runtime gives you the most hands-on practice, and the neighbourhood has the best afternoon walk in the city.
Book the Happi Coat class if price matters, you’re going to Skytree on the same trip, or you want a class that photographs well. The jacket isn’t a gimmick — it changes how you feel in the kitchen and the photos are better than the standard-apron alternatives.
Book the Tsukiji class if you care about the ingredients as much as the technique. The market walk-through is genuinely educational and the chef’s background shows in what you learn. This is the one I’d recommend to someone who already cooks seriously and wants to go deeper.
What It Costs, What’s Included, and What Isn’t
The three picks sit in a $42–$63 range and the pricing is straightforward. Here’s what that money buys you in each case.
Included in all three: instructor-led class, all ingredients, tools on loan for the session, the food you make (you eat it), miso soup, green tea, pickled ginger, recipe card to take home. Hand towels, aprons, and (in the happi-coat class) a traditional jacket are provided.
Not usually included: alcohol, extra fish beyond what the menu specifies, and transport to and from the venue. Most classes sit a 5-minute walk from the nearest subway station, so transport is rarely a problem.
The Tsukiji class includes the market tour — that’s the main reason it runs $5 more than the Asakusa option. If you’d pay for a market tour separately, you’re getting both experiences at a discount here.
How Long the Classes Run and When to Book for Peak Practice Time
Runtimes in the category range from 90 minutes to just over two hours. The Asakusa pick runs the longest at 100-120 minutes. The happi-coat class is 90. The Tsukiji class is 90-240 depending on how long the market walk takes — the advertised “up to 4 hours” is unusual in practice; most sessions land at two to two and a half hours total.
Morning slots (9–11 a.m.) are the best value. The fish is freshest, the instructors are at their sharpest, and you have the rest of the day free. Afternoon slots work fine too but the market tour in the Tsukiji class is definitely better in the morning window.
Book four to seven days ahead for weekdays, seven to ten for weekends, and two weeks out in cherry blossom season (late March to mid-April) or New Year week. The classes don’t take many students, so they sell out faster than most Tokyo activities.
A Short History of How Sushi Got Its Modern Shape
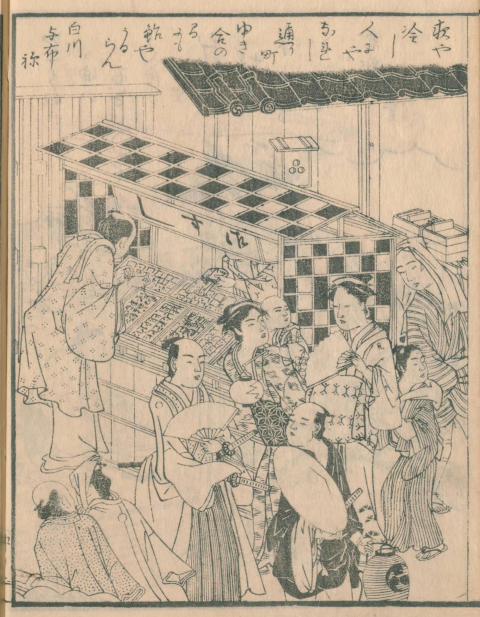
Modern nigiri is a surprisingly young food. The form you’ll learn in any Tokyo class — pressed rice, raw fish on top, eaten in one bite — dates to around 1824, when Hanaya Yohei opened a street stall in what was then Edo. His innovation was speed. Sushi before him meant narezushi, a fermented version that took weeks or months to prepare.
Yohei compressed the process. Rice seasoned with vinegar (a Kyoto technique) got paired with a slice of raw fish from Edo Bay, pressed in one motion, served immediately. A customer could walk up to his stall, eat three pieces in under a minute, and walk away. It was Edo-period fast food.
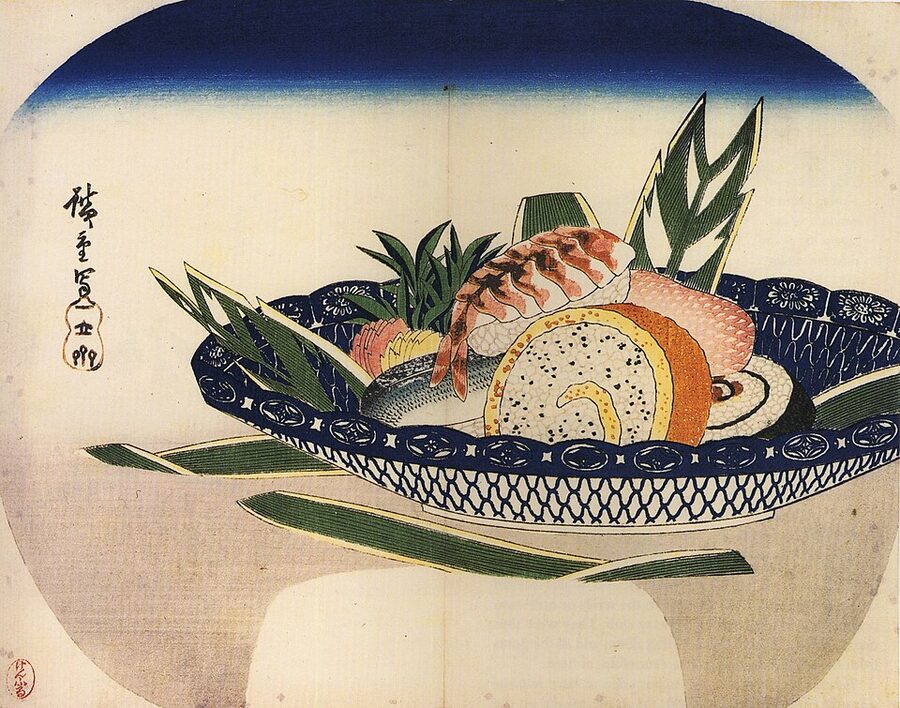
The style caught on fast. Within two decades, nigiri stalls lined the streets around Ryogoku Bridge. By the Meiji era (1868 onwards) the format had spread to every major Japanese city. The Hiroshige print below — showing a ceramic bowl of sushi from the 1840s — captures the form already familiar enough to appear in ukiyo-e art.
What you’ll learn in a Tokyo class today is essentially Yohei’s format, refined over 200 years. The rice-to-fish ratio, the wasabi placement, the single squeeze to shape the rice — all of it lineages back to one Edo fishmonger trying to feed the crowds walking past his stall. The classes you book are, in a small way, continuing a conversation that started in the 1820s.
The Tools: Knife, Bamboo Mat, Fan
Every class hands you the same three tools. It’s worth knowing what they do.
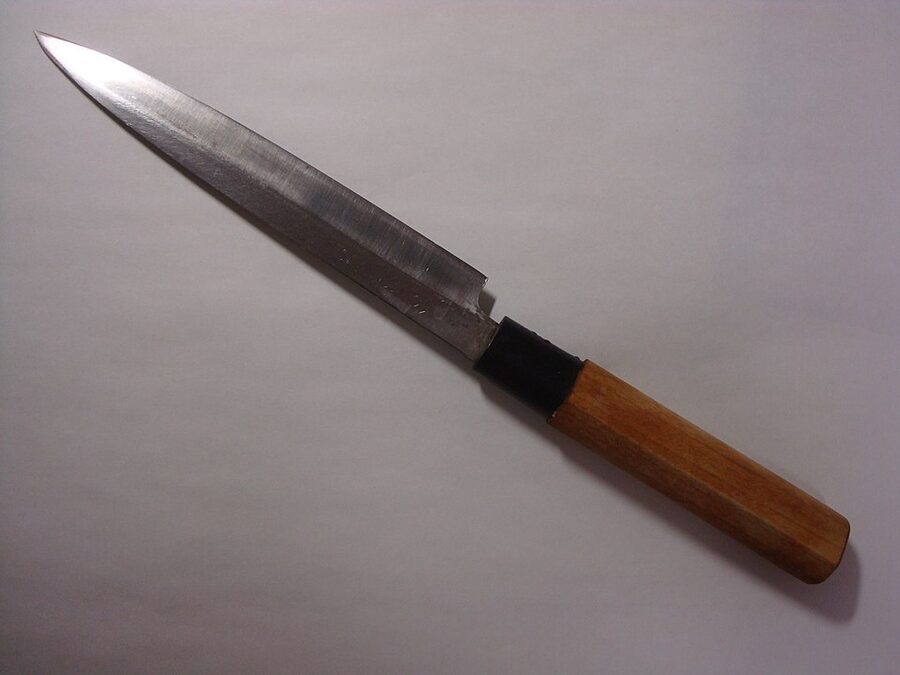
The yanagiba knife is the long single-edge blade used to slice fish. It’s sharpened on one side only — a Japanese technique that produces a cleaner cut on flesh than any double-sided Western knife. Most classes don’t let you handle the yanagiba (safety), but you’ll watch the instructor use it and you’ll slice your rolls with a shorter Western-style cook’s knife.
The makisu bamboo mat is the rolling tool. Small enough to fit in your palm, tightly woven, and always used with the smooth side facing up. The knotted threads on the underside don’t touch the food. If you buy one to take home, look for a mat with dark-coloured twine — the cheap pale-wood ones are for display, not cooking.
The uchiwa fan (flat paddle fan) is what cools the rice while you fold the vinegar in. You’d be surprised how quickly rice cools under a fan. Two minutes of gentle fanning takes it from steam-hot to body-temperature, which is the target.
Ingredients You’ll Work With (and What They Actually Taste Like)
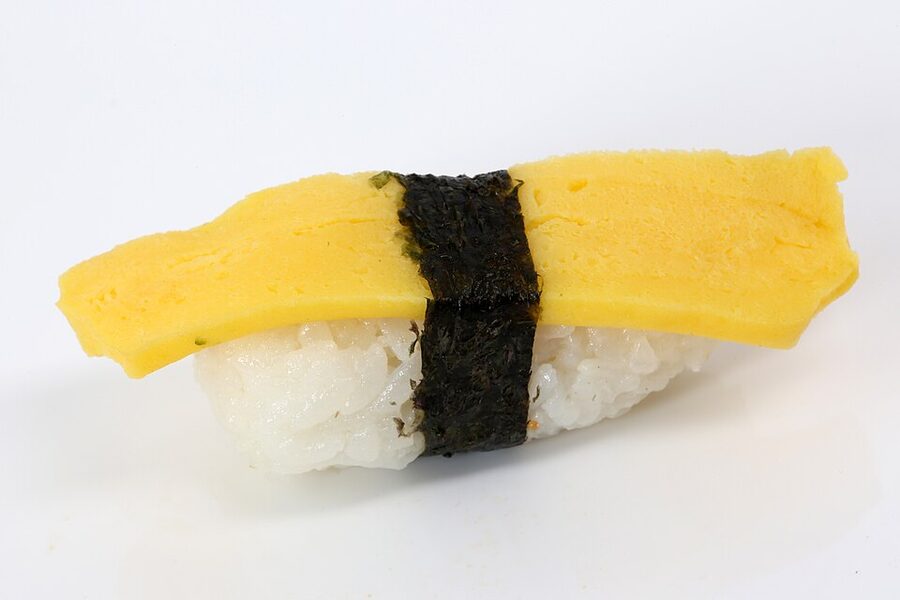
Most classes work with three or four fish, not a full market range. The standard lineup is salmon, tuna, shrimp, and usually either tamago (sweet omelette) or eel. Fresh wasabi (real hon-wasabi grated from the rhizome) is rare even in classes — most venues use the paste, which is a mix of horseradish and dye. The Tsukiji class is the exception; real wasabi does sometimes appear when the market supply is good.
The rice is the star. Japanese short-grain, always. You’ll smell the difference immediately when the instructor opens the rice cooker — the scent is sweet and slightly nutty, nothing like the cheap long-grain you find in supermarkets outside Japan. The vinegar mix (rice vinegar, salt, a touch of sugar) gets folded in hot, which is counterintuitive if you’ve cooked rice before.
Soy sauce in these classes is almost always Kikkoman, which is fine but not the best in Japan. If you want to taste the good stuff, the dark koikuchi styles from Chiba Prefecture are noticeably richer — worth a trip to a dedicated soy sauce shop if you love the stuff enough.
What You’ll Make — Maki, Nigiri, and the Occasional Temaki
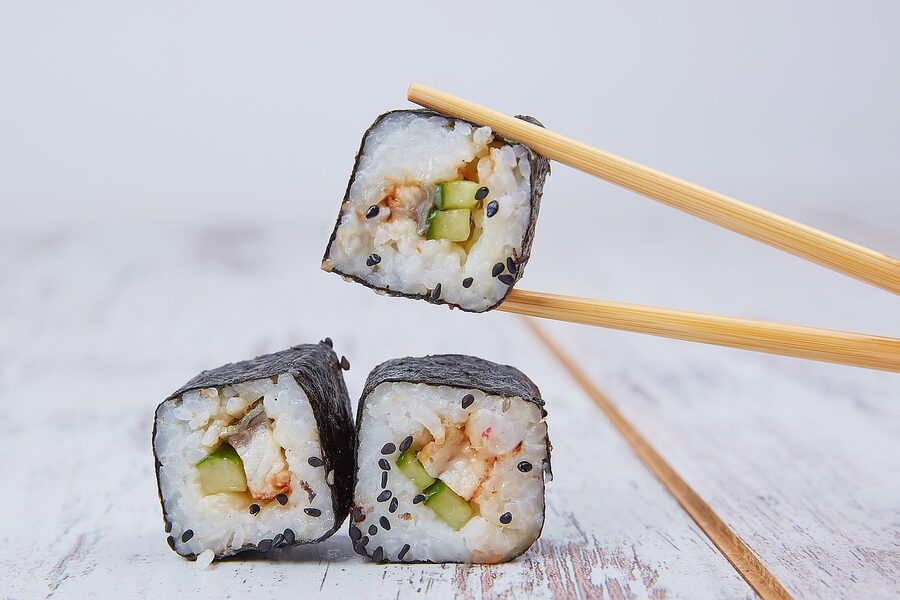
The three picks all teach maki (rolled sushi with rice inside the nori) and nigiri (hand-pressed rice with fish on top). Some classes throw in a third form, temaki — a hand-rolled cone that’s the sushi equivalent of a wrap.
Maki is the starter form. Rice on nori, fillings along the centre, roll tight, slice into 6-8 pieces. Every beginner’s first roll falls apart at the seam. Every beginner’s second roll doesn’t.
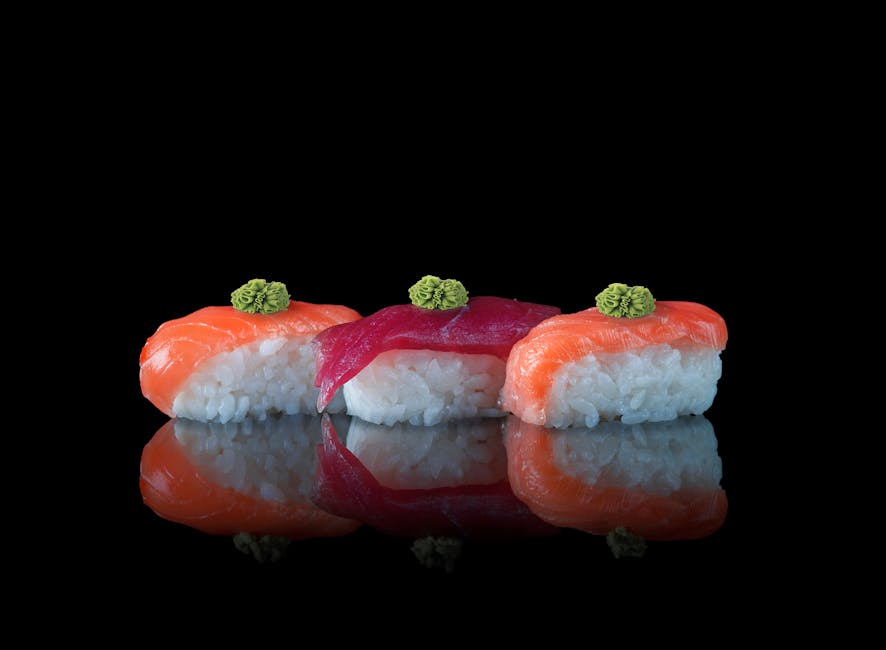
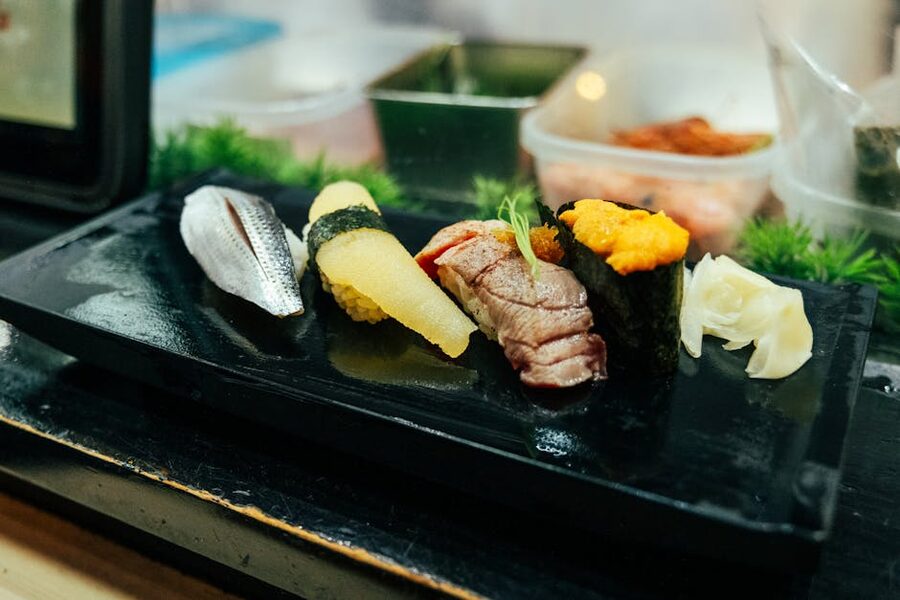
Nigiri is the harder form and the one that actually measures skill. The rice has to be shaped in one motion — press, tuck, release — with enough pressure to hold but not so much that it compacts. The fish lies flat on top, a dot of wasabi between, and the piece should hold together when you pick it up with chopsticks but break apart in your mouth on the first bite.
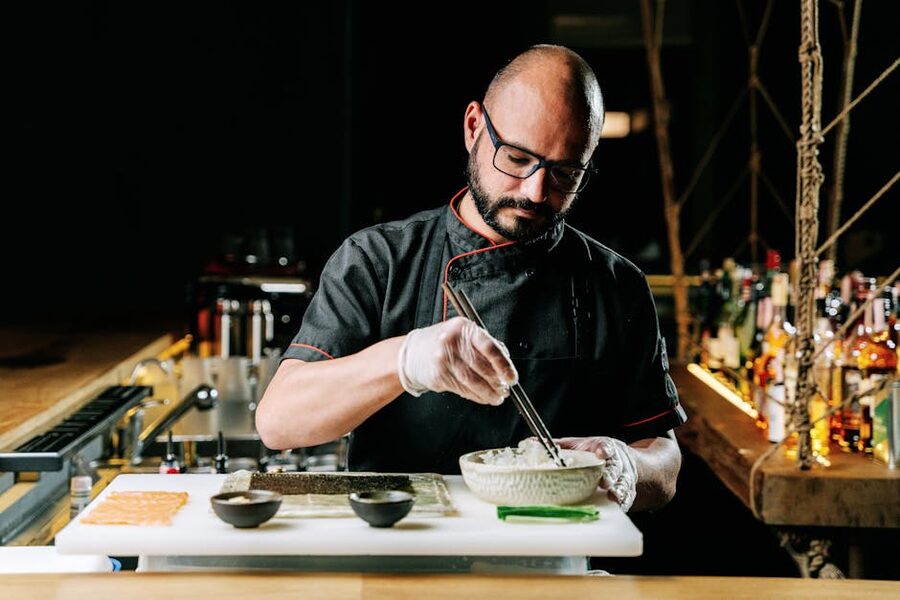
Temaki cones come up in about a third of classes, usually as the last course. They’re fun, easy, and the closest to real-world “I could do this at home” cooking. A temaki night at home after Tokyo is an easy way to keep the skill alive.
Language, Group Size, and What the Class Actually Feels Like
All three picks run in English. The instruction is clear, not watered down — Japanese cooking vocabulary gets introduced in both languages, so by the end you know what shari (rice), neta (fish topping), gari (pickled ginger), and agari (tea) actually mean.
Group sizes sit at 6-12 students in most slots. Private bookings are usually available for an extra fee (roughly 2× the per-person rate), which is worth considering if you’re a couple on an anniversary trip or a small group who wants a fully private evening.
The atmosphere leans warm rather than formal. These aren’t culinary school environments — they’re working kitchens run by people who genuinely like teaching. Expect laughter when the nigiri goes sideways, jokes about rice that “ran away from you,” and real patience when you ask to try a technique a second or third time.
Dietary Options and Allergies
All three classes accommodate vegetarians, but you need to flag it at booking. The standard swap is avocado and cucumber for the fish, sometimes tamago (sweet omelette) if eggs are on the table. Vegan is possible but rarer — the rice vinegar and the miso broth are usually fine, but the tamago isn’t, and the chefs need notice to prepare the substitutes.
Gluten-free is doable. Rice and nori are gluten-free by default; the soy sauce is the problem. A few venues stock tamari (wheat-free soy sauce) but you need to request it in advance.
Fish allergies cut the class down significantly — if you can’t eat any fish, the Tsukiji class especially loses its point. The Asakusa and happi-coat classes can substitute with a fully vegetable menu. Fish-and-shellfish allergies specifically (no tuna, no salmon, but yes to shrimp is common) work fine with a quick email to the operator 48 hours ahead.
Where the Classes Actually Are (and How to Get There)
All three venues are a short subway or walking distance from major Tokyo stations. Here’s the quick geography.
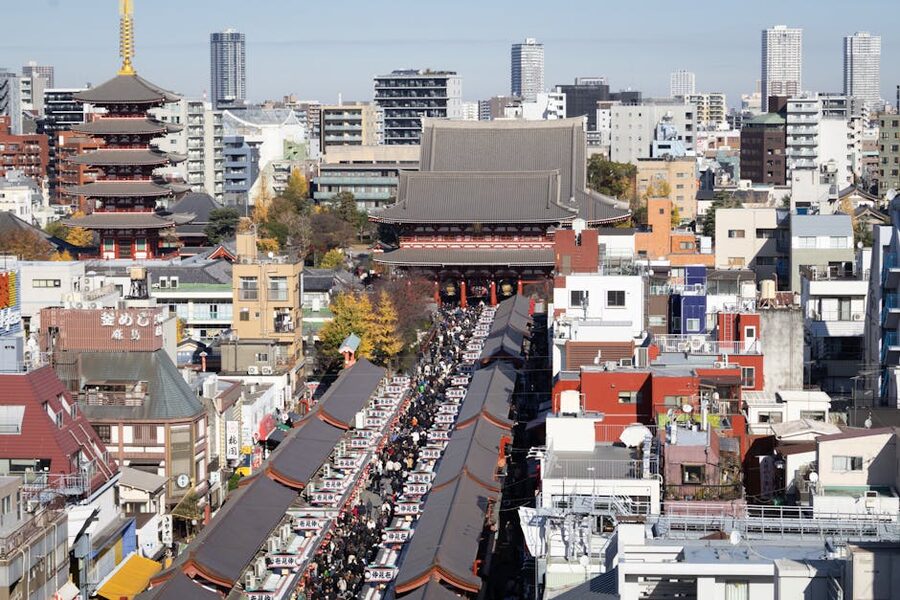
The Asakusa class runs from a kitchen near Senso-ji temple. Nearest station is Asakusa (Ginza Line, Asakusa Line, or Tobu Line). Walk five to seven minutes east from the temple gate and you’re there.
The happi-coat class is near Tokyo Skytree in Sumida Ward. Nearest station is Oshiage (Hanzomon Line, Asakusa Line, or Keisei Line) or Tokyo Skytree (Tobu Line). From Oshiage exit A2, it’s a five-minute walk.
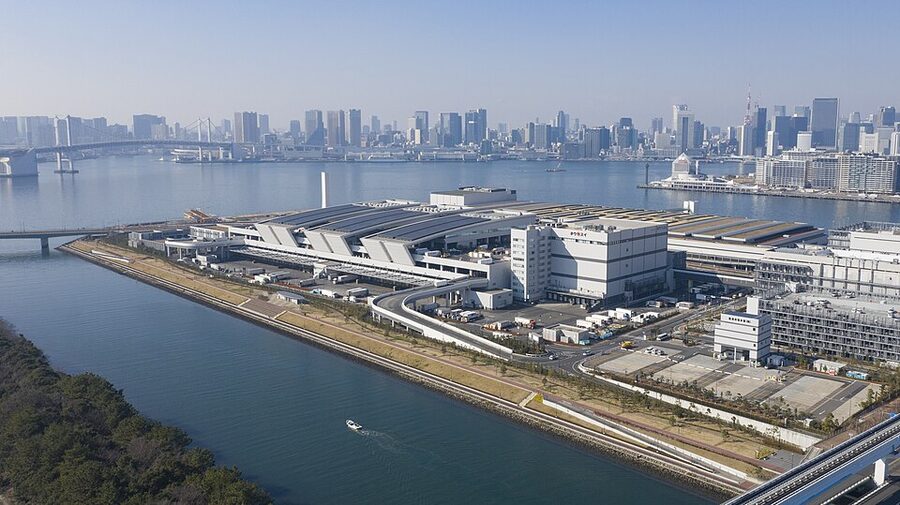
The Tsukiji class meets at the outer market. Nearest station is Tsukijishijo (Oedo Line) or Tsukiji (Hibiya Line). The class usually gathers at a specific fishmonger’s stall for the market walk — the exact meeting point is in the booking confirmation email.
Practical Bits — What to Wear, What to Bring, What to Skip
Wear clothes you don’t mind getting a little rice on. The aprons cover most of you but not your sleeves, and sushi rice is sticky. Avoid long dangling sleeves. Closed-toe shoes are appreciated though not required.
Bring a phone for photos and that’s about it. The venues provide everything else — aprons, towels, tools, ingredients. A small appetite helps; you eat the food you make at the end and most classes produce about 10-12 pieces per person, which fills you up.
Skip the “bring your own fish” suggestion that turns up on a few blog posts. Japanese food safety rules make this genuinely impossible at licensed venues. The ingredients come from the venue, sourced by the chef, always.
Booking Timing and Cancellation Policies
All three picks use GetYourGuide’s booking system, which means the cancellation terms are the same across the three. Free cancellation up to 24 hours before the class start is standard. Inside 24 hours, most operators charge the full price.
Book as far out as you can comfortably commit. The four-to-seven-day window I mentioned earlier is the minimum for weekdays; for weekends, plan further ahead. Same-day availability shows up occasionally but you can’t count on it.
Weather doesn’t affect the class (it’s indoors), so rain days are a rare opportunity to pick up last-minute slots as locals defer bookings. If you’re flexible, a rainy morning in Tokyo is the single best time to grab a same-day sushi class at a discount.
Pairing the Class With Other Tokyo Food Experiences
A sushi class is a compact 90-120 minutes, which leaves most of the day for other eating. The classes in Asakusa and Skytree pair naturally with neighbourhood food walks. The Tsukiji class is the start of a whole morning’s-worth of market eating — the outer stalls run tamagoyaki, grilled eel skewers, and fresh uni that are worth trying after the class wraps.
If you’re building a three-day Tokyo food itinerary, I’d anchor day one with a Shinjuku food tour covering the izakaya side, day two with the sushi class plus a Tsukiji food tour or ramen tour, and day three with a deeper cultural craft like a chopstick-making workshop in Ginza. The class slots cleanly into any of those days.
What Changes After You’ve Taken the Class
The short answer: how you eat sushi at home will never be the same. You’ll get snobbier about rice. You’ll learn to see when a restaurant is using pre-cooked rice versus warm-fresh rice, and you’ll develop a strong opinion about which you prefer. You’ll hold your chopsticks differently at Japanese restaurants back home.
You’ll also probably want to buy a bamboo mat. Most souvenir-shop mats are decorative, not functional — the fibres loosen after two or three uses. Spend the extra $5 on a proper one at a kitchen-goods shop; the ones in Tsukiji outer market and at Kappabashi (Tokyo’s restaurant-supply district) are the best value.
And you’ll probably make sushi at home within three months of getting back. The class plants a hook. The first two attempts back home will go sideways — your rice will be cold, your rolls will fall apart, your nigiri will look sad. By try four or five, it’ll click.
Other Tokyo Culinary Experiences Worth Booking
A sushi class is one node in a much bigger Tokyo food map. If you’re in town for a week, it’s worth pairing with at least one other hands-on session. A chopstick-making workshop in Ginza runs about two hours and sends you home with a pair of handmade chopsticks — a nice complement to the sushi you’ll be eating with them. A ramen tasting tour covers a completely different side of Japanese food (fast, loud, heavy) and makes the sushi class feel even more meditative in contrast.
For evening entertainment after a food-heavy day, the samurai restaurant show delivers a dinner with live performance — not what you’d cook yourself, but a different kind of Japanese dining experience. And the sumo show with chanko nabe pairs a very different kind of cooking (sumo wrestler hot pot) with the athletic side of Japanese culture.
If you’re heading out of Tokyo, the Asakusa Senso-ji walking tour covers the temple side of the neighbourhood where the Asakusa class runs. And if you make it to Kyoto, the Gion food tour shows how Kyoto cuisine (more formal, more vegetable-forward) sits alongside the Tokyo sushi tradition.
Rice, Technique, and What Actually Makes Sushi Taste Good
The instructor at my own class put it simply: “70% rice, 20% fish, 10% everything else.” That ratio still sounds right. The fish matters, obviously — a bad piece of tuna can’t be saved by good rice — but the rice is where most home cooks fail and where most sushi chefs invest most of their skill.
Good sushi rice should be body-temperature when shaped, not cold. It should taste sweet and sour in balance, with the vinegar clearly present but not sharp. It should hold together when squeezed but fall apart in your mouth. When you bite into a well-made nigiri, the rice should almost dissolve while the fish stays intact on your tongue.
The technique that produces this is both simple and hard. The rice is folded (not stirred) while warm, so the grains stay whole. It’s cooled to body-temperature, not chilled. It’s shaped in one pressure-smooth motion, not several squeezes. None of this is complicated to understand. All of it takes practice to do well.
If You Have Kids: What to Expect
All three classes accept children, but they work better for ages 8 and up. The happi-coat class is the most kid-friendly because of the costume element. The Asakusa class has the longest runtime, which can stretch for younger children. The Tsukiji class involves the market walk, which is a lot of sensory input for a 6-year-old.
Pricing for kids usually runs at 60-70% of adult rates. Infants (under 3) are generally free. The classes don’t offer separate kids’ menus — children eat what they make, which works fine for most older kids but can be a harder sell for picky eaters.
If you’re booking a family trip, build a buffer into the day. Post-class, most kids crash from the sugar-vinegar-rice combination. Plan a low-key afternoon (Ueno Park, Asakusa temple gardens, a quiet cafe) rather than another high-energy activity.
Is the Happi Coat Worth $42?
Yes, and not for the reason you’d think. The coat isn’t the point — the coat is what makes the class feel like a scene rather than a lesson. You’re in costume, which drops the self-consciousness of cooking in front of other people. The photos look good. The whole thing feels like an event rather than a class.
The cheapness of the class (it’s the lowest-priced of the three) also reflects the shorter runtime (90 minutes vs 2 hours for Asakusa) and the simpler menu (fewer variations, less custom work). You’re not getting a worse class — you’re getting a shorter class with a costume hook.
Couples and small groups love it for exactly this reason. The Asakusa class feels like a cooking course. The happi-coat class feels like a date.
Seasonal Fish and When to Visit
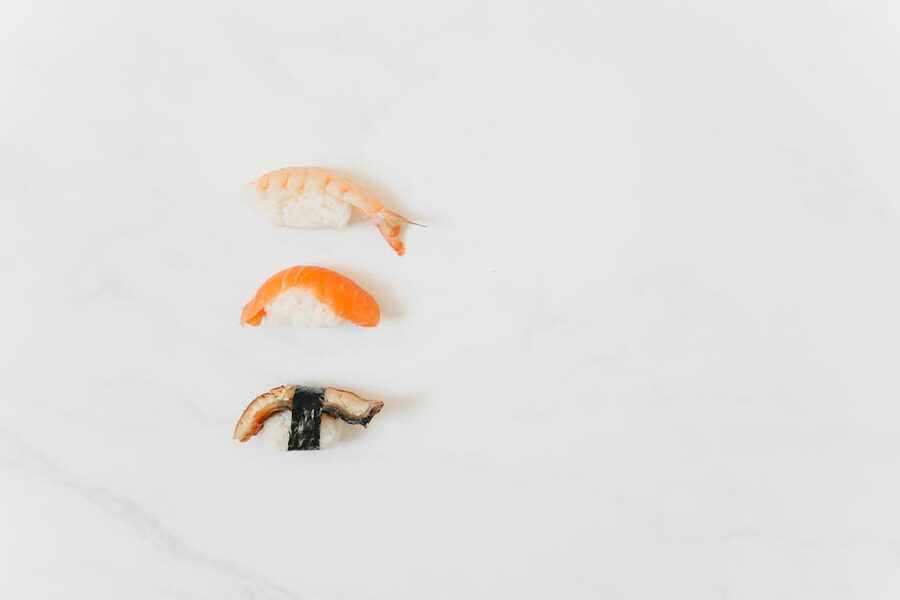
Tokyo sushi has a year-round rhythm but some fish are clearly better at specific times. Otoro (fatty tuna) is best in late autumn and winter. Aji (horse mackerel) peaks in early summer. Uni (sea urchin) is a winter treat from Hokkaido. The classes don’t always specify which fish you’ll work with — it depends on what the chef sources that morning — but the quality is noticeably higher in off-season travel windows (January, February, late September, early November) when the markets get the best of each species.
Cherry blossom season (late March through mid-April) is the hardest time to book because every visitor in Tokyo wants the same sushi class that week. New Year’s week is a close second. Summer (July-August) is the easiest to book but the fish is worse — hot weather hurts the shorter-shelf-life species.
If you have flexibility in your itinerary, book the class for a week that isn’t cherry blossom or New Year’s and you’ll get both lower prices and better fish.
One Thing I Wish I’d Known Beforehand
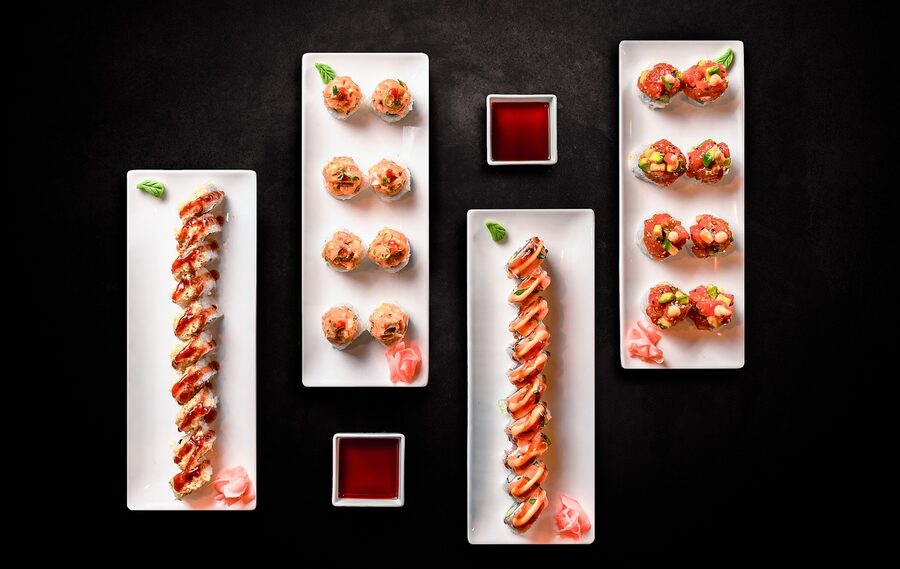
The class is the easy part. The hard part is what you do with it afterwards. If you take the sushi class and then don’t cook sushi at home for six months, you’ll lose most of what you learned. The rice technique is muscle memory; it fades fast.
What I wish I’d done: booked the class on day two of my first Tokyo trip, not day five. That way I had most of the week to eat sushi with the lessons still fresh. I’d compare what I’d just made to what the chef at Sushiro made to what the counter-service place near my hotel made. Three days of eating sushi after a class teaches you more than three days of eating sushi without one.
Do this if you can. Book early in your trip. Eat sushi deliberately afterwards. Take mental notes. You’ll leave Tokyo with a skill you can actually use — not just a memory of a fun afternoon.
More Tokyo Experiences to Pair With the Class
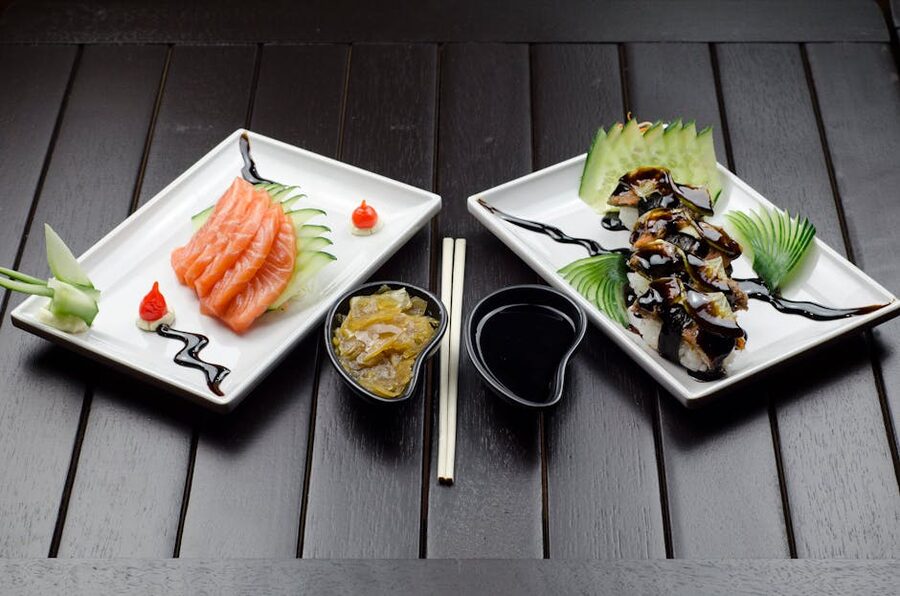
A sushi class is a natural anchor for a Tokyo food day, but it works even better as part of a longer itinerary. If you’re in Tokyo for the first time and building your week, I’d combine the class with the Tsukiji fish market food tour (if you book the Asakusa or happi-coat class rather than the Tsukiji one — otherwise you’re doubling up on market walks) and the Asakusa Senso-ji walking tour to pick up the temple and neighbourhood side of Edo culture.
Evening options that work well after a midday class include the Tokyo Skytree (especially nice at sunset, when the city lights come on while you’re 450 metres up) and the samurai restaurant show. Both are a complete change of pace from the quiet focus of the cooking class and help rebalance the day.
And if you’ve got a second or third cooking-curious day in the itinerary, take a look at the Ginza chopstick-making workshop. It’s the natural complement to learning sushi — you’re making the tool you’ll use to eat the food you’ve already learned to cook. Very symmetrical. Very satisfying.