The hammer comes down on the silver strip and the sound is wrong — not the heavy clang you expected but a quick, bright tap, like a spoon against a wine glass. The strip flattens a millimetre, rolls slightly on the block, and the guy next to you says “again, harder, trust it.” You hit it again.
The smell in the workshop is odd — a faint acid, a little burnt sugar, something metallic that lives at the back of your throat. That’s the solder. Outside the open doors of the workshop the rice fields start about ten metres away and a cockerel is having an argument with a scooter. You are making a ring. It is 10am in Ubud, and you will wear this thing on your finger in four hours’ time.
This is the honest version of what a Bali silver jewelry making class actually is. Not a craft activity tacked onto a cooking tour. Not a pottery class with metal.
n

You turn up, a Balinese silversmith hands you a strip of sterling silver wire, and by the end of a couple of hours you walk out with a piece you made by hand — usually a ring, sometimes a pendant, sometimes earrings — that you can actually wear. The design is yours. The metal is real. The technique is the same one Celuk silver village has been using for a thousand years.
I’ve now done three of these workshops across two trips to Bali, one in Ubud, one in Canggu, and one out at Uluwatu. They are the single best thing I have added to a Bali itinerary. They cost less than a decent dinner, you leave with a souvenir you couldn’t buy in a gift shop, and they teach you something about how Bali actually works — because Bali doesn’t just sell silver jewelry, it makes silver jewelry, and has for generations.
Short on time? Here are my top 3 picks:
Best overall (Ubud): Ubud Silver Jewelry Workshop – Craft Your Own Piece — $28. 1,789 reviews, 4.9 stars, flexible 1.5-3 hour format, right in Ubud town. The obvious pick.
Best for beach travellers (Canggu): Canggu Jewelry Workshop – Craft Silver Jewelry — $46. Two hours, seven grams of silver included, perfect if you’re based on the south coast and don’t want the two-hour Ubud drive.
Best small-group experience (Ubud): Silver Jewelry Making Class in Ubud — $37. Viator pick with a smaller class size and more one-on-one guidance from the instructor.
- Why a Silver Workshop Is the Most Underrated Thing to Do in Bali
- The Three Workshops I’d Actually Book
- 1. Ubud Silver Jewelry Workshop – Craft Your Own Piece —
- 2. Canggu Jewelry Workshop – Craft Silver Jewelry —
- 3. Silver Jewelry Making Class in Ubud (Viator) —
- What You Actually Do — Stage by Stage
- Stage 1: The Design Sketch
- Stage 2: Cutting the Silver
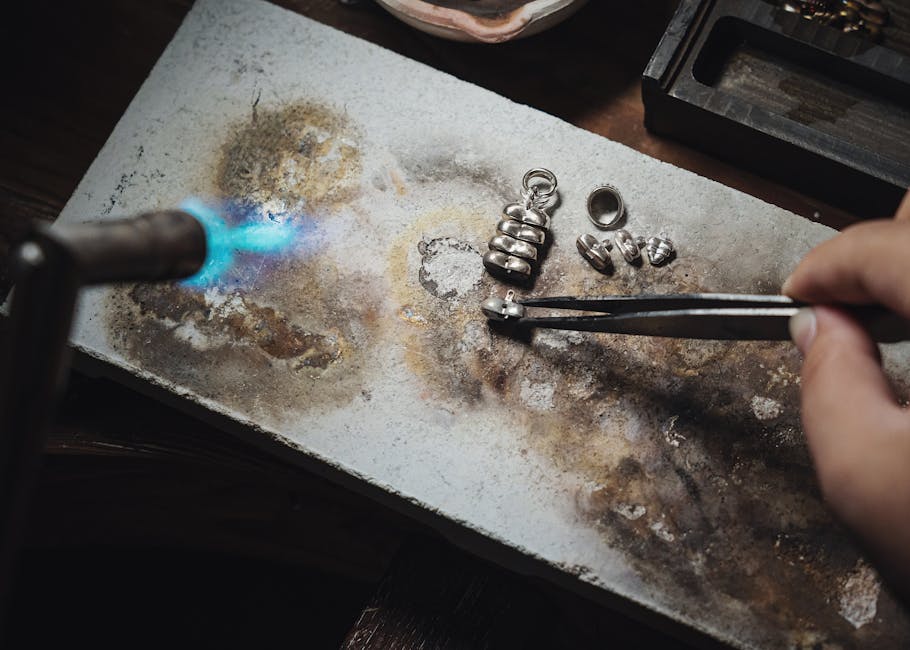
- Stage 3: Annealing With the Torch
- Stage 4: Shaping and Hammering
- Stage 5: Soldering the Join
- Stage 6: Filing and Polishing
- Celuk Village — Where All of This Comes From
- What to Wear and What to Expect Physically
- Can You Make Something Other Than a Ring?
- What the Finished Piece Is Actually Worth
- Combining the Workshop With Other Ubud Activities
- Booking Logistics — What Actually Matters
- Honest Annoyances and Things That Can Go Wrong
- Frequently Asked Questions
- Do I need any jewelry-making experience?
- Can kids do the workshop?
- What if I’m left-handed?
- Can I make something for someone else?
- Is the silver real?
- Can I get the piece resized at home?
- What if I drop or lose the ring on holiday?
- Will the silver tarnish?
- Can I bring my own silver?
- How do I get there from my hotel?
- A Few Final Thoughts
- Related Reading
Why a Silver Workshop Is the Most Underrated Thing to Do in Bali
Most of the things you do in Bali leave you with a photo. A silver workshop leaves you with an object. That sounds small but it actually changes the whole experience — six months later, when you are back home in the rain, you look down at your hand and the ring you hammered flat in a shed in Ubud is still there, and you remember the whole day. Nothing I bought in any Bali market has lasted like that.
There’s also something specific about this particular activity that you don’t get anywhere else. Bali has been a silversmith centre for generations — Celuk village, about 20 minutes south of Ubud, is the traditional home of it. Every workshop you’ll see on GetYourGuide or Viator is either based in Celuk, trained in Celuk, or employs silversmiths who grew up there.
You’re not doing a tourist activity that happens to use silver. You are, for two hours, standing at the end of a very long tradition.
The other thing nobody tells you in advance: the workshops are small. Almost all of them cap at four to six people per session, some at two. That means you are not in a classroom, you are at a work table with an actual silversmith who is showing you what to do with their hands, in their own shop. The vibe is much closer to “hanging out with a friend who happens to be very good at something” than to “taking a class.”
The Three Workshops I’d Actually Book
There are about twenty silver workshops listed on the booking platforms for Bali. Most of them are fine. These three are the ones I’d send a friend to without hesitation — each for a slightly different reason.
1. Ubud Silver Jewelry Workshop – Craft Your Own Piece — $28
This is the one I’d book for ninety percent of travellers. $28 per person on GetYourGuide, 1,789 reviews, a 4.9-star rating, and a completely flexible 1.5 to 3 hour format — you pay the flat fee and stay as long as your piece takes. If you’re designing something simple, you’re out in 90 minutes. If you want something ambitious with a stone setting and hand-engraving, you can take the full three hours without anyone hurrying you along.
The studio is right in Ubud, so if you’re staying anywhere near the Monkey Forest or the Ubud Palace you can walk. That matters more than it sounds — the other Ubud workshops are often out in the surrounding villages and involve a 30-minute scooter ride, which eats the morning. This one you just show up.
What you make: a ring is the default and the easiest, but you can also ask for a pendant, a pair of stud earrings, or a simple bangle. The instructor will sketch your design on paper first, then walk you through every stage — cutting the wire, annealing it with the torch, shaping it around a mandrel, soldering the join, filing the rough edges, and polishing the final piece. Total silver included is around 5 grams.
n
Real review from Grace (February 2026): “My partner and I made matching rings with moonstone. Very happy with them. Please note this is not a comprehensive class teaching theory and skills, it’s more a ride along and help process.”
Grace’s note matters — this is not a class where you leave qualified to open your own workshop. It’s a class where you leave wearing a ring you made, which is the actual thing most people want. Another reviewer, Sam, wrote “Wonderful experience! The staff were accommodating, friendly and helpful.
Would absolutely recommend for visitors to Ubud!” and Shannen summed it up as “Super happy with my ring and all the guidance throughout the process, the staff was really fun to hang out with and very kind!”
2. Canggu Jewelry Workshop – Craft Silver Jewelry — $46
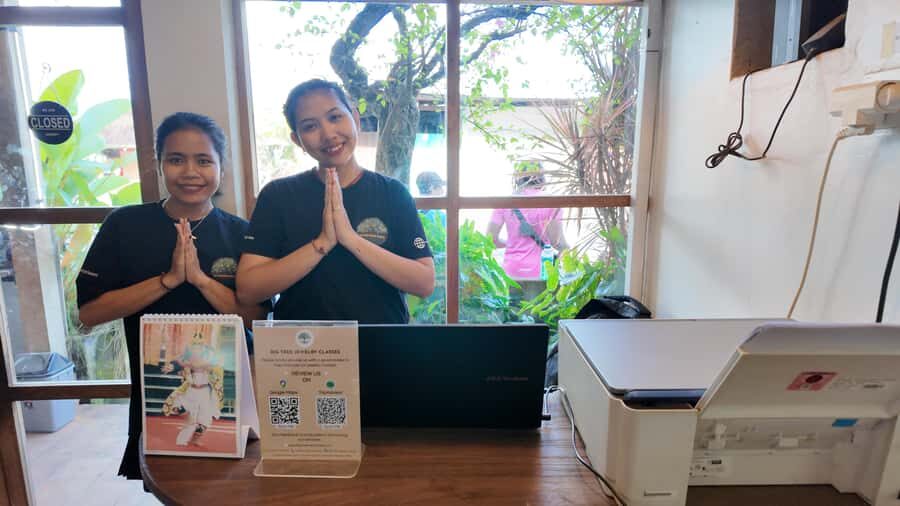
If you’re basing yourself on the south coast — Canggu, Seminyak, Kuta, or even Berawa — this is the workshop to book instead of driving all the way up to Ubud. $46 per person is a bit more than the Ubud option, but it saves you the Bali traffic tax: the drive from Canggu to Ubud can easily take 90 minutes each way during the day, and that is three hours of your trip gone.
The format is a tighter two hours with a flat 7 grams of silver included per person. That is a decent chunk of metal — enough for a substantial ring, a chunky pendant, or two thinner pieces if you want to split it. The workshop is run by Big Tree Jewelry Classes out of a small open-air studio in Canggu, walking distance from most of the main beach clubs, so you can make a ring in the morning and be in the pool by 2pm.
What I liked about Canggu specifically versus Ubud: the vibe is different. Ubud silver workshops lean into the traditional Celuk tradition, which is wonderful but serious. Canggu studios are much more hangout-ish — younger instructors, surf-shop music, and a general feeling that you’re making something cool rather than learning something ancient. Both are valid, depends on your mood.
Real review from Chloe (February 2026): “Had the best time making a ring during this class. Duck was super helpful, explained everything and had such patience with me. Would 100% recommend” — and there it is. Every workshop I’ve been to in Bali has someone like Duck, and it is entirely these people that make the experience what it is.
Victoria (January 2026) adds “This was an amazing experience. I really loved doing this. Our artists were very knowledgeable and guided and helped us through the entire process. I would highly recommend.” And Danice keeps it short and accurate: “Such a fun and unique activity. I really enjoyed making my own personalised ring and had great guidance.”
3. Silver Jewelry Making Class in Ubud (Viator) — $37
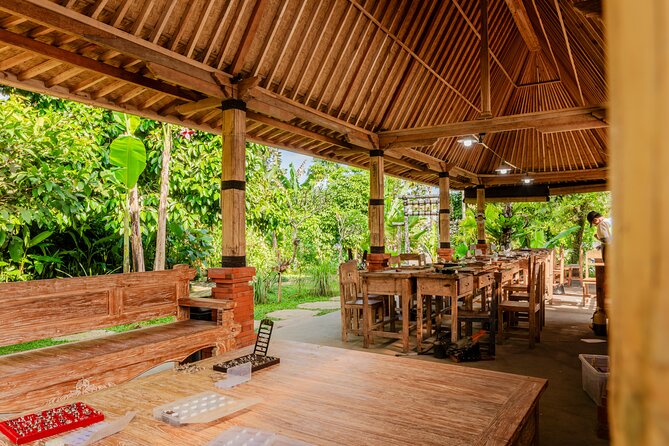
This is the Viator alternative for Ubud and it’s worth knowing about because the class sizes tend to be smaller — often just you and one other booking, versus the GetYourGuide pick which can hit the full cap of six on a busy day. $37 per person, 978 reviews, a perfect 5-star average, run by Genuine Bali Experience who also do a combo version that pairs the silver class with a half-day coffee plantation and rice terraces tour (worth it if you have limited days in Bali and want to combine activities).
The format is similar to the GetYourGuide Ubud pick — sketch your design, learn the technique, hammer and solder and polish, go home with a ring — but the pacing is slightly slower and you’ll get more individual attention. If you’re travelling alone and want a conversation rather than a crowd, this one. If you’re travelling as a couple and want the shared experience of a small group, also this one.
Real review from Tania M: “We had a great time. The attention to detail from the three lovely young men who worked with us (6 middle aged women with no experience) was” — the quote cuts off but you get the idea. Six complete beginners, no experience, still made rings. Jane L wrote “Very fun experience!
The instructor was very detail oriented and helped ensure my rings fit & turned out just like the reference designs I showed them!” — which hints at the other nice thing about this workshop: you can bring a reference photo from Pinterest and they will actually try to make it.
Ilisha Regina F did the combo tour and said: “Fun & Adventurous! My husband and I chose to do the silver making class & coffee plantation/rice terraces tour. Olen picked us up at our hotel and brought us around in his car…” — proof that the combo works if you want to kill two birds with one morning.
What You Actually Do — Stage by Stage
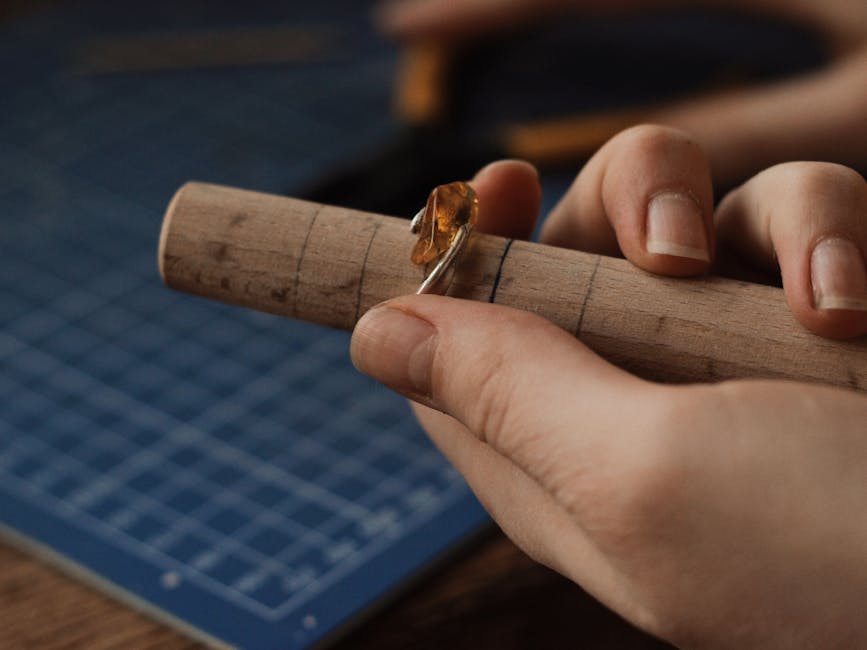
It’s worth knowing what you’re signing up for before you get there, because every workshop on the island runs roughly the same pipeline. The specific order changes but the stages don’t. If you’ve ever watched a cooking show and wished someone would just show you the whole recipe without cutting to adverts — this is the recipe.
Stage 1: The Design Sketch
You arrive, sit down at a small worktable, and the instructor hands you a sheet of paper and a pencil. They ask what you want to make. Most beginners say “a ring” because a ring is the easiest — one closed loop, one join, one size to worry about. Some ask for pendants (slightly harder because you need a loop for the chain) or earrings (hardest because you need two identical pieces).
Sketch roughly what you want. The instructor will redraw it cleanly, mark the sizes, and show you options — twisted wire versus flat band, stone setting versus no stone, smooth versus hammered finish. This whole stage takes about 15 minutes and it’s actually the most important one, because everything downstream is constrained by the drawing.
If you have absolutely no idea what you want: ask to see the showcase of pieces previous students have made. Every workshop has one. Point at something you like and the instructor will help you make a version of it.
Stage 2: Cutting the Silver
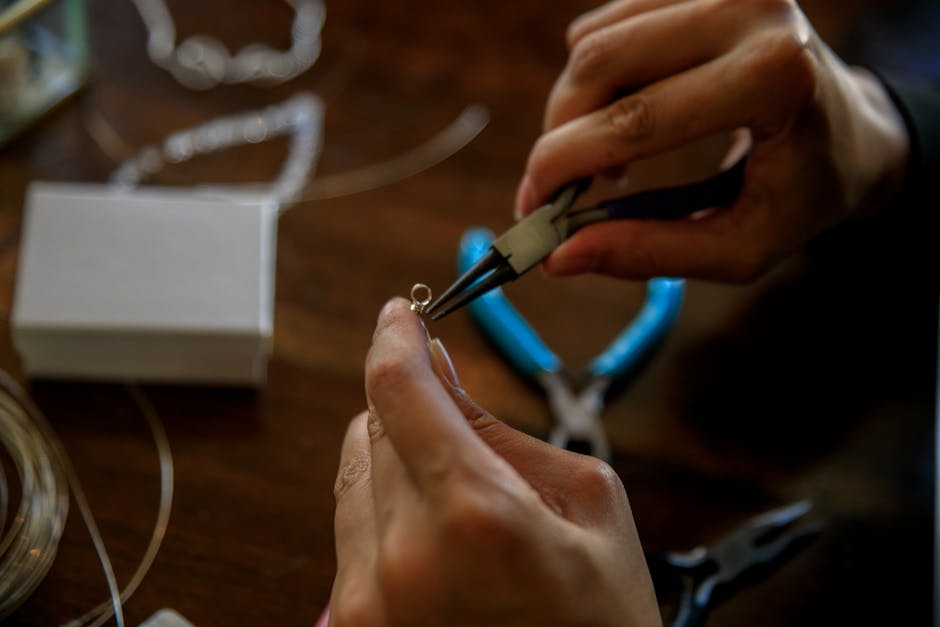
The silver arrives as wire or as a flat sheet, depending on what you’re making. The instructor measures it against your sketch and snips off your portion. You will feel, at this moment, a weird responsibility — this is now your silver and you are about to do things to it.
If you’re making a ring, you’ll get a strip of sterling silver about 1.5mm thick and the length of your finger circumference plus a bit extra. If you’re making a pendant, you’ll get a small flat square. The instructor weighs it to confirm the grams, sometimes in front of you — good workshops are transparent about this so you know you’re getting real 925 silver.
Stage 3: Annealing With the Torch
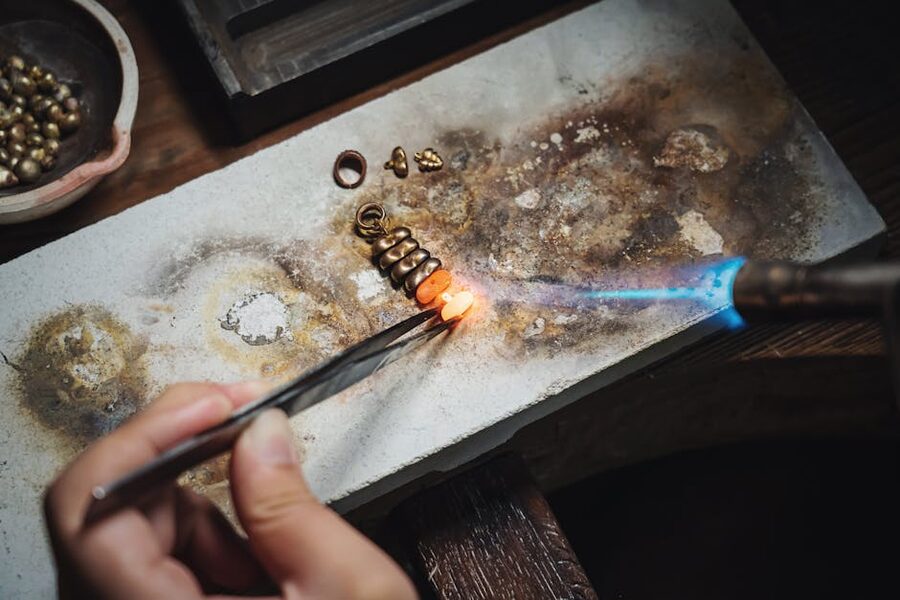
Sterling silver hardens when you work it. To make it bendy again, you have to heat it with a blowtorch until it glows a soft red, then quench it in water. This is called annealing and it is genuinely one of the most satisfying things I’ve ever done at a craft workshop.
n
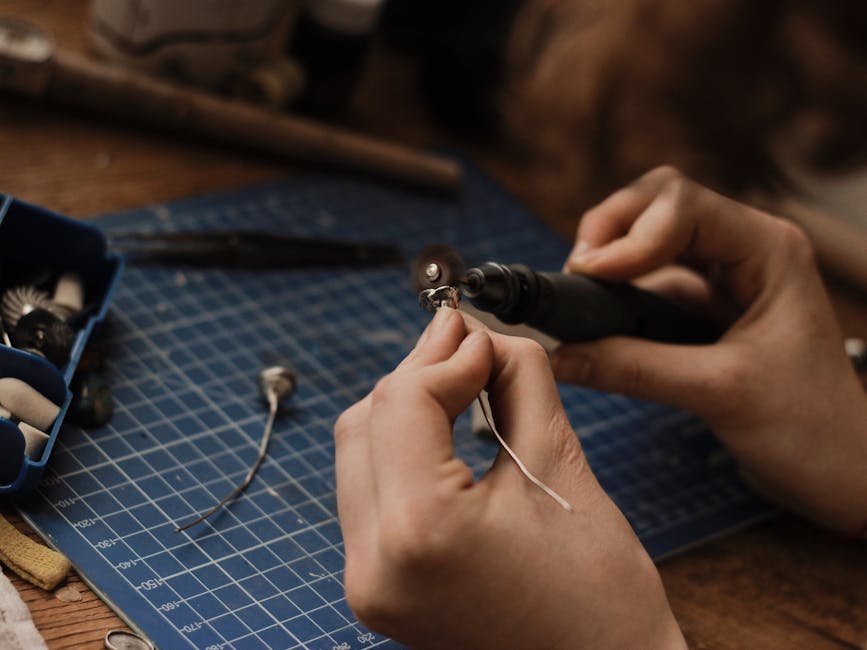
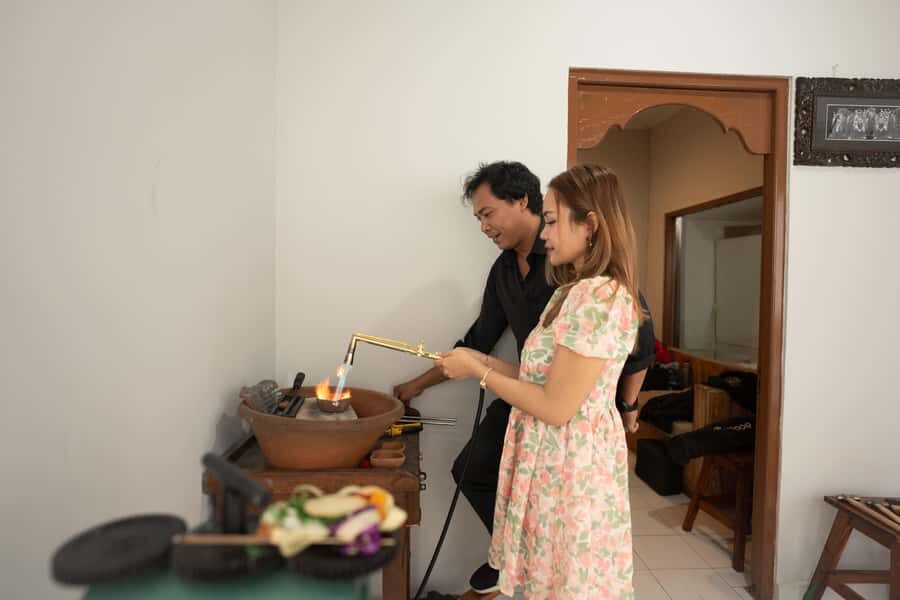
The instructor runs the torch — you don’t need a health-and-safety briefing because you’re not holding it. You hold the silver in a pair of locking tweezers and they play the flame over it for about 20 seconds. The metal goes through a series of colours — dull silver, straw, cherry red, bright orange — and when it glows the right shade, you plunge it into a bowl of water with a satisfying hiss.
Now the silver is soft enough to bend with your fingers.
Stage 4: Shaping and Hammering
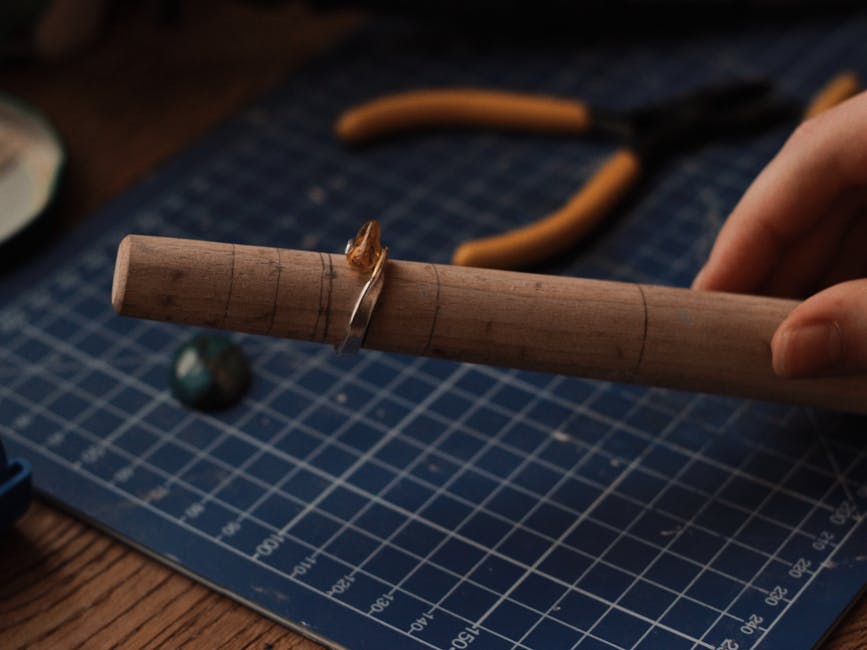
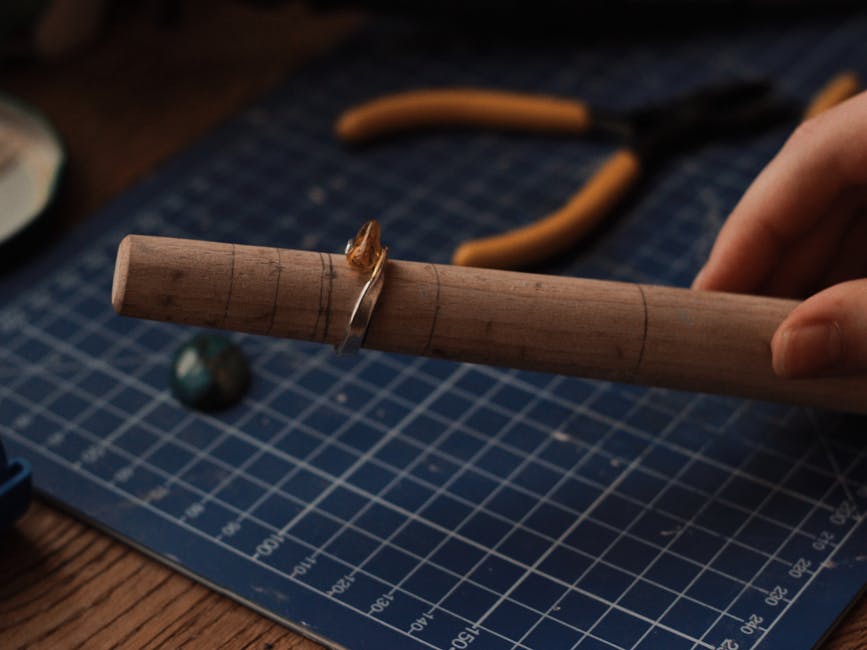
This is the most hands-on part and the part where you’ll make the most mess. You wrap the softened silver around a steel mandrel — a tapered rod marked with every ring size — until it closes into a loop the right size for your finger. Then you hammer it gently with a wooden or rubber mallet to make the shape even.
If you want a hammered finish (the slightly textured look that’s popular right now), you swap to a small steel hammer and tap gently along the surface, rotating the ring on the mandrel between taps. Each hit leaves a shallow dimple about the size of a grain of rice. Do this all the way around until the texture is even.
This is the stage that takes the longest — usually 20 to 30 minutes — and it’s also the stage where you can mess it up, because if you hit too hard with the steel hammer you’ll dent the ring in a way that’s hard to fix. The instructor is right there and will stop you before it gets out of hand.
Stage 5: Soldering the Join
The ring right now is just a closed loop with a gap where the two ends meet. To make it a real ring, you need to solder that gap shut. The instructor does this part — you’re not soldering your own jewelry on your first day — but you’re right there watching and it only takes about two minutes.
They dab a tiny flake of silver solder at the join, play the torch over it until the solder flows (you can actually see it — a bright silver seam suddenly runs across the gap), and then quench it. Done. The ring is now one continuous piece.
Stage 6: Filing and Polishing
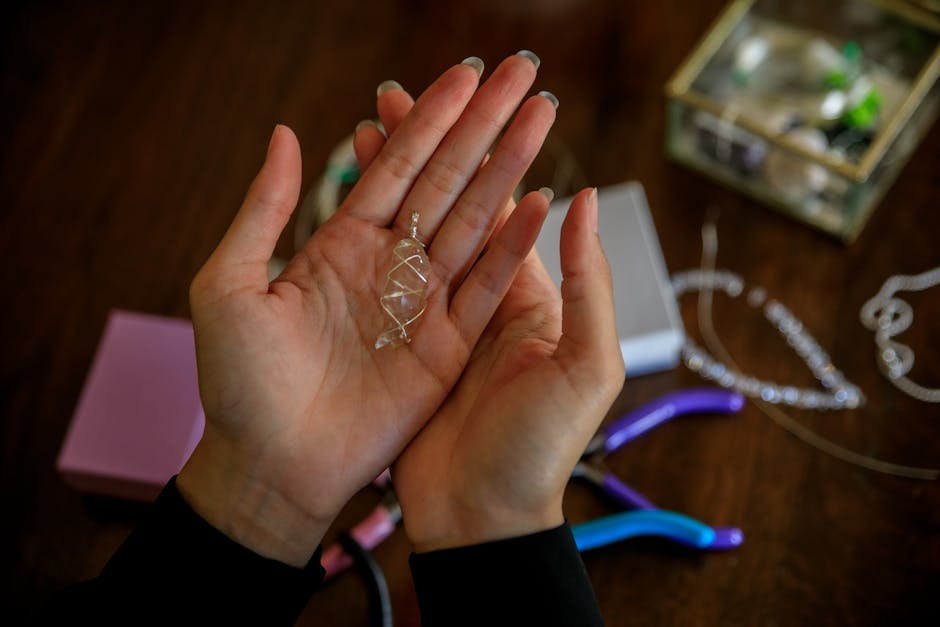
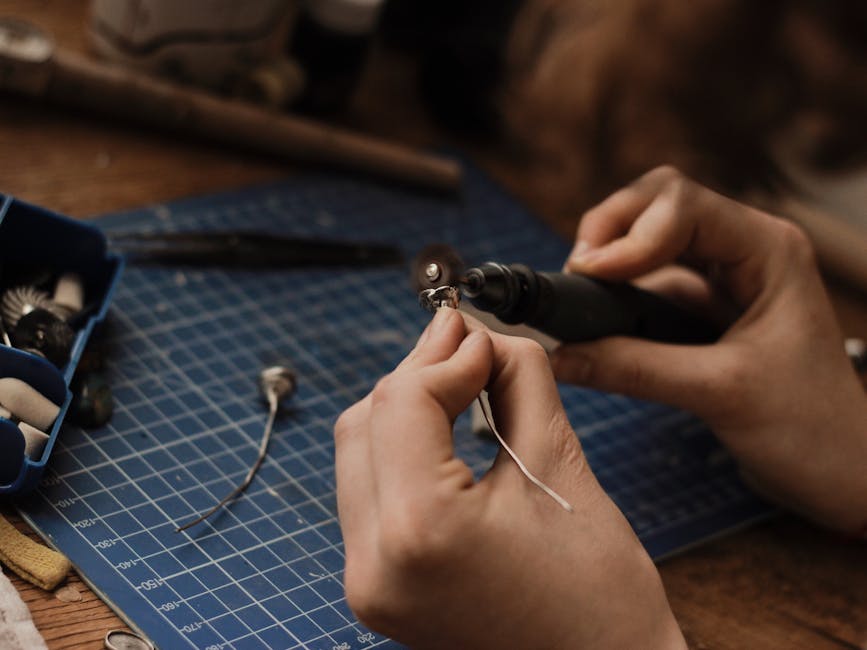
The solder join will be slightly messy — a bit of extra silver bulging at the seam. You file this flat with a small flat file, working along the inside and outside until you can’t feel the join any more. This is surprisingly meditative. It’s also the stage at which the ring starts to look like an actual piece of jewelry rather than a bent bit of wire.
Then you polish. Most workshops have a small motorised polishing wheel with three compounds — a coarse grey one to take out the file marks, a finer red one to build up a shine, and a white one for the final mirror finish. You hold the ring against the spinning wheel, rotating it slowly. Ten minutes and it’s glowing.
This is the moment you first really see the thing you made and it’s genuinely a surprise. The dull grey strip of wire from the start of the workshop has turned into a shiny, symmetrical, wearable ring with your fingerprints on it.
Celuk Village — Where All of This Comes From
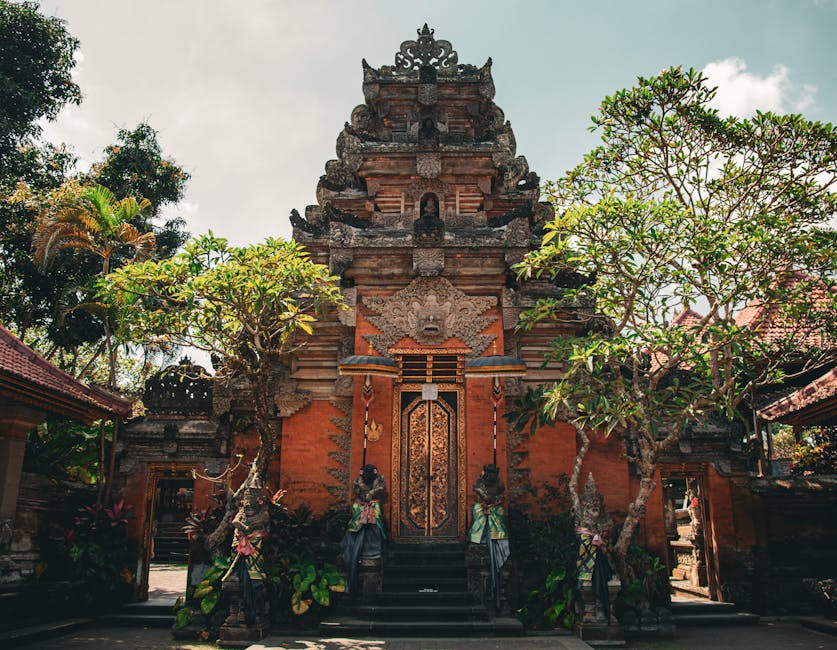
If you’re doing a silver workshop in Bali, it’s worth knowing about Celuk, because every workshop on the island is descended from it. Celuk is a village on the main road between Denpasar and Ubud — you will literally drive through it on your way to any Ubud tour — and it has been the centre of Balinese silversmithing for a thousand years.
The story goes that the village was originally settled by a caste of court metalworkers who served the kings of Gianyar, and when the courts dissolved the silversmiths stayed. Today almost every family in Celuk makes silver in some form — some in small home workshops visible from the main road, some in large export businesses shipping to the US and Europe.
The traditional Celuk techniques that show up in every Bali silver workshop are:
n
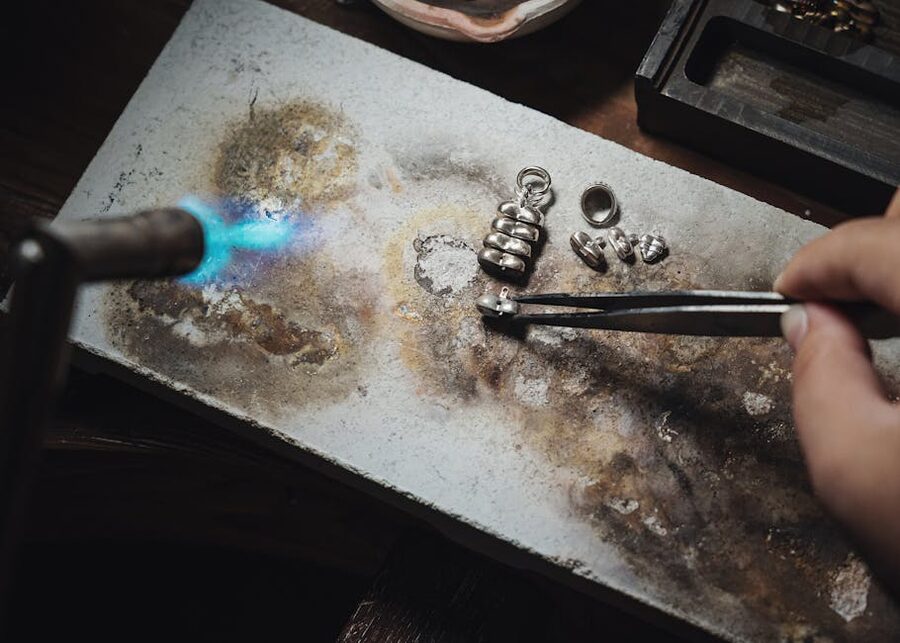
- Granulation — tiny silver beads are soldered onto a base to create a pebbled texture. You see this on a lot of traditional Balinese jewelry and some beginner workshops will teach you a simplified version.
- Filigree — thin silver wires twisted into delicate openwork patterns. This is the hardest technique and you won’t learn it in a two-hour class, but the example pieces in every workshop showcase are often filigree.
- Repoussé — hammering a design into a flat sheet from behind so it stands out in relief. Some workshops offer this as an upgrade for pendants.
If you’re already going to do a workshop, it’s worth asking your instructor where they trained. Nine out of ten will say Celuk, or say their teacher’s teacher was from Celuk. That is the living tradition you’re stepping into for two hours.
You can also visit Celuk directly as part of an Ubud day trip if you’re curious — most Ubud tour routes include a silver shop stop in or near Celuk. Be warned that the shop stops on group tours are sales-funnel silver, not workshop-made-by-you silver, and the prices are tourist prices. The workshops are the better value by a distance.
What to Wear and What to Expect Physically
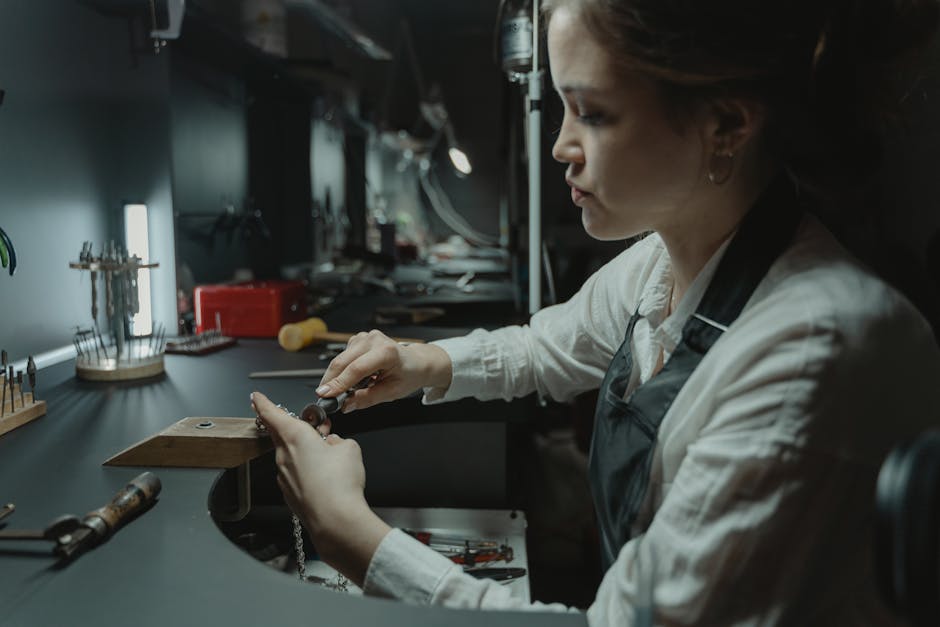
The workshops are more physically involving than you’d think. You’re sitting at a small table, leaning over your work, for two to three hours. Your back will feel it. The hammering stage makes your shoulders ache if you’re not used to it. The polishing stage involves holding your hands steady against a spinning wheel. None of this is strenuous but it’s not “sit in a chair and sip wine” either.
What to wear:
- Closed-toe shoes or at least proper sandals. You’re in a workshop with metal filings on the floor. Flip-flops are a bad idea.
- Clothes you don’t mind getting a bit dirty. The polishing compounds can fleck onto your shirt and some of them don’t come out easily. Dark colours are safer than light.
- Hair tied back if it’s long. You’re going to be leaning over flame, acid baths, and a spinning polishing wheel.
- No dangly jewelry of your own. If you’re wearing a long necklace or bangles, take them off when you sit down. They’ll either get in the way or get damaged.
What to bring: nothing, really. The workshop provides everything — the silver, the tools, the safety gear if any, water. Some workshops will offer coffee or Bali tea at the start which is a nice touch.
Can You Make Something Other Than a Ring?
n
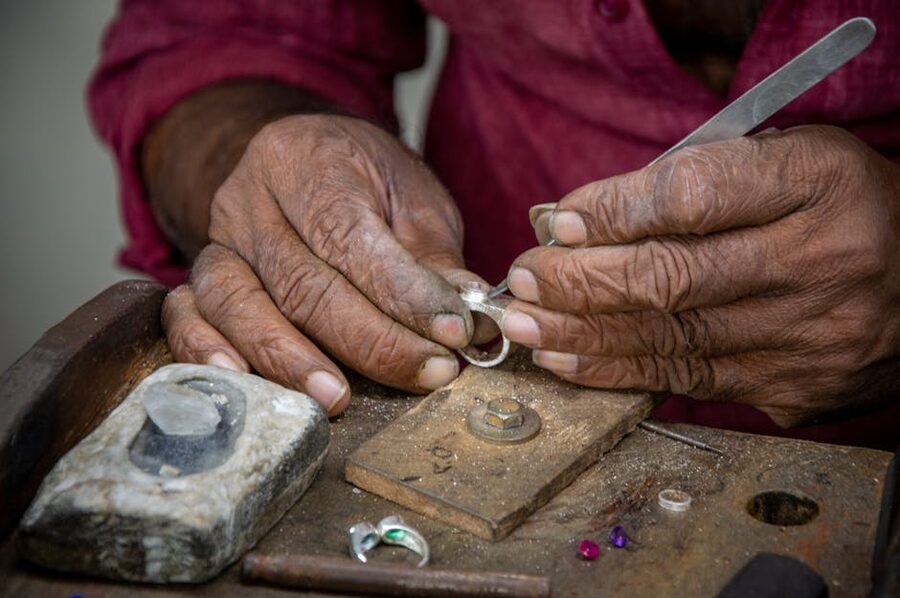
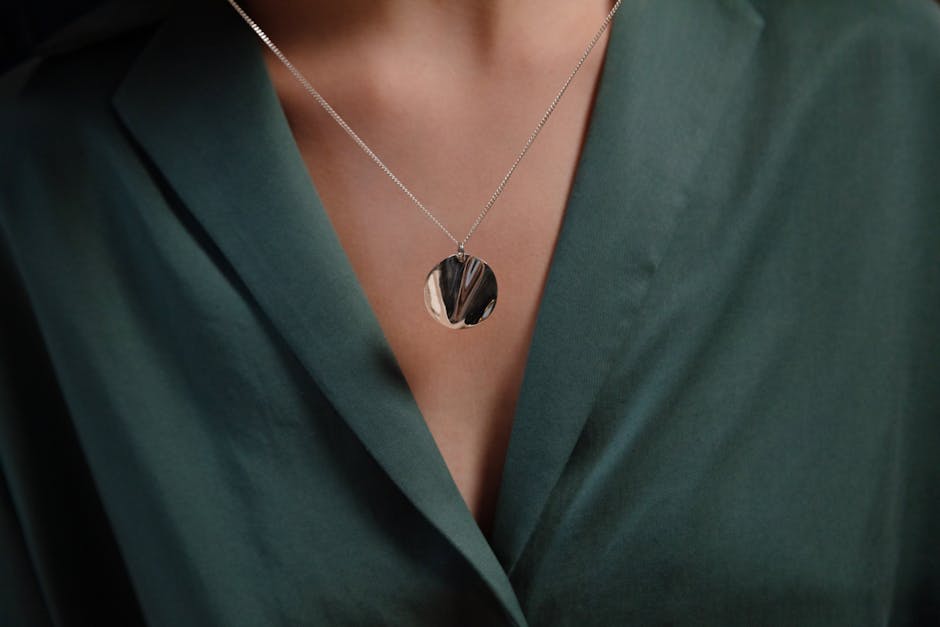
Short answer: yes, but with caveats. The default offering at every workshop is rings because they’re the easiest for beginners and finish cleanly in the time allotted. Here’s what else is usually on the menu:
- Pendants — a flat shape (heart, leaf, circle, letter) with a loop at the top for a chain. Slightly harder than a ring because you need clean edges and a symmetrical loop, but totally doable in the same time. The chain is usually not included and costs about $8-15 extra.
- Stud earrings — a pair of matching small pieces with posts. This is the hardest beginner option because you have to make two identical items and the posts are fiddly. Budget the full three hours.
- Bangles — a simple hammered band that wraps around your wrist. Easier than a ring in some ways (no solder join, just open ends) but uses more silver so the price may bump up $10-20.
- Engraved signet rings — a standard ring with a flat face that the instructor helps you stamp letters or a small design into. Good if you want something personal.
If you have a specific piece in mind that you’ve seen on Pinterest, bring a photo and ask if it’s possible before you book. Most workshops will say yes within reason — they’ve seen a lot of Pinterest photos and they know which designs are beginner-friendly and which aren’t.
What they won’t do: anything with a ethically sourced precious stone as the centrepiece (you can add a small moonstone or turquoise to a ring for an extra fee, usually $10-25, but nothing serious), or anything larger than about 10 grams of silver (material cost starts to dominate).
What the Finished Piece Is Actually Worth
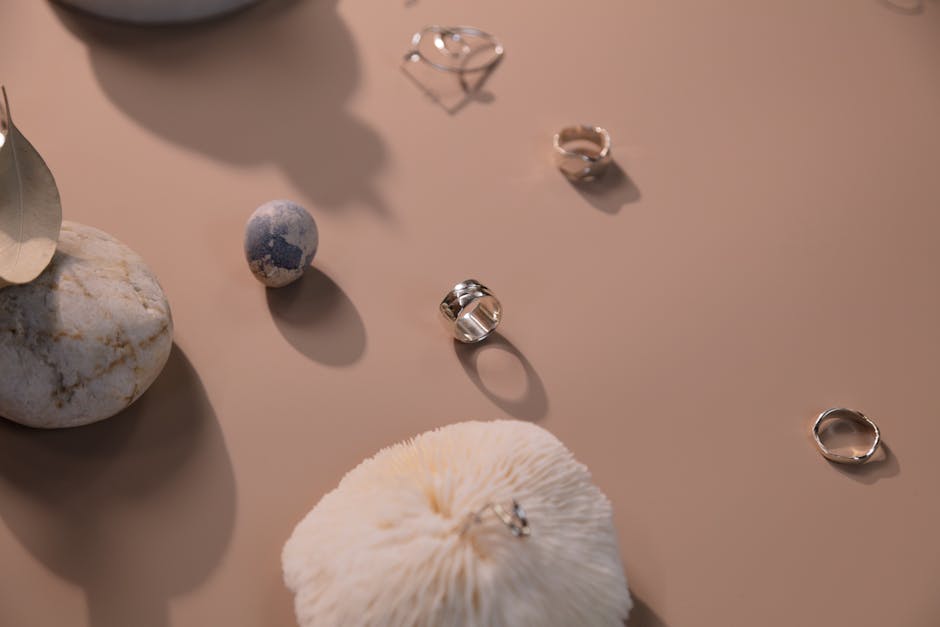
Let me break the pricing down because it’s a question that comes up a lot. A typical workshop ring uses about 5-7 grams of sterling silver. At current spot prices that’s roughly $4-6 of raw metal. The workshop charges you $28-46, which means you’re paying $22-40 for the two-hour lesson, the use of the tools, and the skill of an instructor who has been doing this for years.
Is this a good deal? Yes, and here’s why. If you walked into a jewelry shop in Ubud town and bought a handmade silver ring of similar quality, you would pay $25-60 for the ring alone — no lesson, no experience, no story. You would also have no idea whether it was really made by hand or whether it was stamped out in a factory in Java. At the workshop you watched every step happen in front of you, and you also did most of the work yourself.
The ring you make at the workshop has about the same retail value as the ring you’d buy in a shop, roughly $30-50, but the experience you paid for on top is the whole point.
One thing worth knowing: the silver is genuine 925 sterling. You can check by looking for the stamp — the instructor will usually stamp “925” on the inside of the ring at the end if you ask. That stamp means 92.5% pure silver, which is the international standard. If you ever need to resize, repair, or get it appraised back home, any jeweler will recognise it.
Combining the Workshop With Other Ubud Activities
n

The workshops run either morning or afternoon, usually 9am-12pm or 2pm-5pm. That leaves exactly half a day for something else. Here’s what I’d pair it with depending on where you’re based:
If you’re in Ubud already: do the workshop in the morning, then take a half-day Ubud circuit in the afternoon covering Tegalalang rice terraces and one waterfall. This is the efficient version. The only catch is you can’t do a full Ubud day trip plus the workshop on the same day — there’s not enough time.
If you’re in Canggu or Seminyak: do the Canggu workshop in the morning, then the beach clubs or a surf lesson in the afternoon. The math on the Canggu workshop really works if you’re based on the south coast — the two hours you save on the Ubud drive gives you a proper afternoon.
If you want a cultural day: pair the workshop with an Ubud cooking class on consecutive days. Cooking in the morning, silver in the afternoon the next day, and by the end of 48 hours you have a hand-made ring and you can cook a proper nasi campur. Both workshops cost about the same and both leave you with something real.
If you want a waterfall day: morning silver workshop in Ubud, then a waterfall tour in the afternoon. Tibumana and Tukad Cepung are both within 30 minutes of Ubud and you can easily do two waterfalls between 1pm and 6pm.
If you want to see more of Bali’s craft traditions: the silver workshop pairs beautifully with a day out to Lempuyang or a temple, because you’ll notice the silverwork in the offerings and the priest ceremonies in a completely different way after you’ve made a piece yourself.
Booking Logistics — What Actually Matters
n
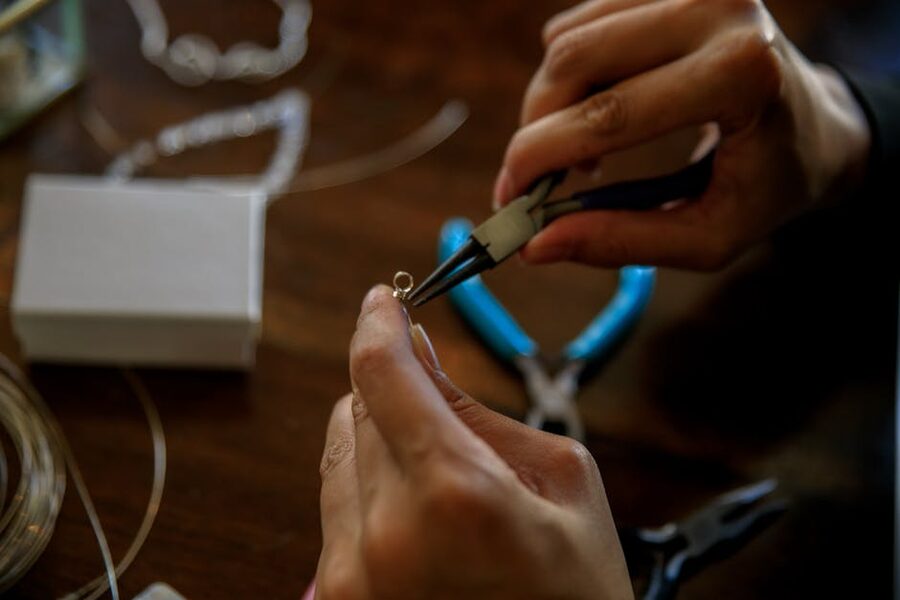
A few practical things to know when you’re actually booking:
Book in advance. The popular workshops fill up 2-3 days in advance in high season (July-August, Christmas-January, Easter). 24 hours is the minimum safe margin. Last-minute same-day bookings sometimes work for the smaller Viator operators but don’t count on it.
Pickup is rarely included. Most workshops are in or near Ubud town and assume you can get there yourself. Factor in a Grab or scooter to the workshop — 30,000-50,000 rupiah each way from central Ubud. The Canggu workshop is walking distance from most Canggu hotels.
Pay in advance on the platform. GetYourGuide and Viator both lock in the price at booking and handle the payment. The workshop won’t ask you for additional cash unless you add an upgrade (a larger ring, a stone, a pendant chain). In that case expect to pay in cash rupiah at the end, not card.
Check the meeting point carefully. Some “Ubud” workshops are actually in villages 20 minutes north or south of Ubud proper — Mas, Peliatan, Lodtunduh, or further. Double-check the map on the booking page before you commit. The GetYourGuide Ubud workshop I recommend is actually in central Ubud, which is the exception.
Cancellation. Most workshops on both platforms offer free cancellation up to 24 hours in advance. Don’t wait longer than that — if rain or a stomach bug hits on the morning of, you’re paying for a session you don’t attend.
Honest Annoyances and Things That Can Go Wrong
n
To be fair to the workshops and honest to you, here are the things that have occasionally not been perfect across the three sessions I’ve done:
The solder join is visible sometimes. Even after filing, if you look really closely at the inside of the ring on a well-lit day, you can see a faint seam where the two ends of the silver were joined. This is totally normal for hand-made silver and any jeweler would tell you the same, but if you’re expecting machine-finish perfection, you won’t get it. The tradeoff is that the ring has character and is provably handmade.
Ring sizing is approximate. The mandrel gives you a close size but it’s not perfect. Once the ring is finished it might be half a size too big or too small. Most workshops will resize on the spot for a small fee ($5-10) if you realise at the end. Some will not, and you’ll need to get it resized at home, which is easy at any jeweler for about $20.
Workshop size can vary. The listed cap is four to six people but on a quiet day you might be the only one there — great for attention — and on a busy day you might be one of six at the same small table, which means waiting your turn for the hammering block. If you want guaranteed intimacy, book a private workshop session (some operators offer this as an upgrade for $20-40 more).
You might not finish in the quoted time. If your design is ambitious or you’re slow with the filing, you might run over. Most workshops are relaxed about this — they’d rather you finish properly than walk out with a rushed piece — but if you’ve got a tight afternoon schedule, plan conservatively.
The tools are hot. Nobody has ever burnt themselves in a workshop as far as I know, because the instructors are careful, but the silver right after annealing and soldering is hot enough to singe you. Don’t grab it with your bare hand even if it looks normal. Wait for the quench.
Frequently Asked Questions
n
Do I need any jewelry-making experience?
No, and this is genuinely true for every workshop listed. Every session I’ve seen has included people who have never held a hammer before. The instructors assume zero experience. If you can hold a pencil and follow instructions, you can make a ring.
Can kids do the workshop?
Most operators allow kids from about age 10 upwards with a parent. Anything younger and the torch and polishing wheel become safety concerns. A 12-year-old I saw at my last session made a better ring than I did, so don’t underestimate them.
What if I’m left-handed?
Fine. All the tools are ambidextrous except possibly the pliers, and the instructor will just hand you a left-handed pair. The hammer is the same either way. Nobody will mind.
Can I make something for someone else?
Yes, absolutely. Lots of people come in to make engagement rings, anniversary gifts, or friendship rings for someone back home. Bring a ring you know fits the person (or a string that matches their finger circumference) and the instructor will size to match.
Is the silver real?
Yes, it’s 925 sterling silver — 92.5% pure with 7.5% copper alloy for strength, which is the worldwide standard for jewelry silver. Ask for the 925 stamp on the inside and most workshops will do it.
Can I get the piece resized at home?
Yes, any high street jeweler can resize a sterling silver ring. It costs about $15-25 depending on where you live. Bring the ring and ask for a resize — they’ll melt a small bit of solder at a new join.
What if I drop or lose the ring on holiday?
You can actually book a second session and make a replacement — most workshops will recognise you and give you a discount if you come back within a week. I know this because a friend of mine dropped his in a temple pond, went back the next day, and paid half price for a second ring.
Will the silver tarnish?
Yes, sterling silver darkens over time with exposure to air and skin oils. This is normal and reversible. Rub it gently with a silver polishing cloth ($5 on Amazon) every few months and it’ll be bright again. Don’t use toothpaste — it’s too abrasive despite what the internet says.
Can I bring my own silver?
Usually not, for liability reasons and because the workshops buy sterling in bulk and know exactly what grade they’re working with. If you have a specific old piece you want melted down and reshaped, some workshops will do this as a custom job for a higher fee, but it’s not a standard beginner offering.
How do I get there from my hotel?
Grab is by far the easiest — the app works all over Bali and a ride from central Ubud to any workshop is 30,000-50,000 rupiah. Scooter rental is $5-8/day if you’re comfortable riding. Taxi drivers waiting at the end of the street will quote you triple; use the app instead.
A Few Final Thoughts
The reason I keep going back to these workshops, and the reason I keep recommending them to everyone who asks me what to do in Bali, is that they are the rare tourist activity where you actually participate in the place. You don’t just watch a dance, ride past a rice field, or eat at a warung.
You sit at a work table in a village that has been making silver for a thousand years, you put your hands on the tools, and you leave with an object that didn’t exist before you arrived.
Nobody I have ever taken to one of these has regretted it. Nobody has ever said “that wasn’t worth $28.” The rings I’ve made are all still in my jewelry box, worn most days, and every time I look at them I remember the rooster arguing with the scooter and the smell of solder and the guy next to me saying “again, harder, trust it.”
Book the workshop. You won’t be sorry. And if you do, tell them you heard about it from us — they won’t give you a discount, but they will smile, and in Ubud that counts for something.
Related Reading
-
n
- How to Book an Ubud Tour in Bali
- Bali Waterfalls Tour: How To Book Tibumana, Tukad Cepung and Tegenungan
- Nusa Penida Day Trip from Bali: How to Book the Best Tour
- Mount Batur Sunrise Hike and Hot Spring: How to Book the Best Tour
- Bali ATV Quad Bike Adventure: How To Book
- Bali Instagram Tour: How to Book the Most Famous Photo Spots