Planning a visit to Tasmania’s lively capital? Then this private Hobart: Mt Wellington & MONA tour offers a balanced blend of natural scenery and cutting-edge culture in just five hours. It’s an experience tailored for those who want a personalized touch—think luxury transport, flexible pacing, and expert guides.
What really shines? The breathtaking views from Mt Wellington, the chance to explore MONA at your own speed, and the comfort of a private vehicle. That said, it’s worth considering that the tour involves some walking, especially at MONA, so comfortable shoes are a must. This trip is ideal for travelers craving a curated, intimate look at Tasmania’s diverse highlights without the hassle of organizing transportation or navigating alone.
Good To Know
- Private, personalized experience with expert driver-guides
- Ascend Mt Wellington for panoramic vistas of Hobart, the Derwent River, and beyond
- Flexible, self-paced exploration of MONA’s bold art collection and underground architecture
- Comfortable luxury transport suited for families, couples, or friends
- Weather considerations at the summit, so pack appropriately
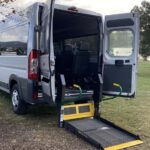
- Accessible vehicle options available for those with mobility needs
👉 See our pick of the 4 Best Workshops And Classes In Hobart
- Good To Know
- An In-Depth Look at the Experience
- Starting Point and Ease of Access
- The Scenic Drive to Mt Wellington
- Ascending to the Summit
- The Descent and Journey to MONA
- Exploring MONA at Your Own Pace
- Practical Details and Tips
- The Return and Overall Duration
- Why This Tour Works for Different Travelers
- What We Love
- Considerations
- Final Thoughts
- Who Will Love This Tour?
- Frequently Asked Questions
- The Best Of Hobart!
- More Private Tours in Hobart
- More Tours in Hobart
- More Tour Reviews in Hobart
- Not for you? Here's more nearby things to do in Hobart we have reviewed
An In-Depth Look at the Experience
You can also read our reviews of more private tours in Hobart

Starting Point and Ease of Access
The tour kicks off at the central Campbell Street & Davey Street bus stop, conveniently located next to the Hotel Grand Chancellor Hobart, just a 500-meter walk from the cruise terminal. This spot offers easy access whether you’re arriving by cruise or land-based. The private vehicle picks you up here, setting a tone of comfort and exclusivity.
The Scenic Drive to Mt Wellington
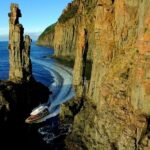
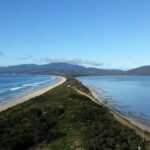
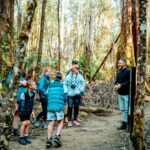
The journey to Kunanyi / Mt Wellington takes approximately 45 minutes, during which your guide shares insights about Hobart’s landscape and history. The road winds upward through lush forests and rugged terrain, building anticipation for the expansive views awaiting you. The vehicle itself is often lauded for its comfort and quietness, making it easy to relax or chat with your guide.
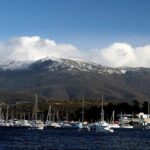
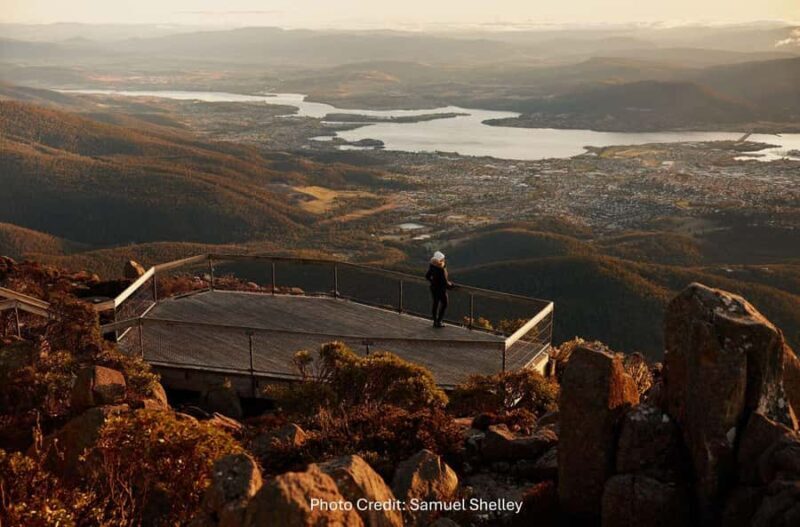
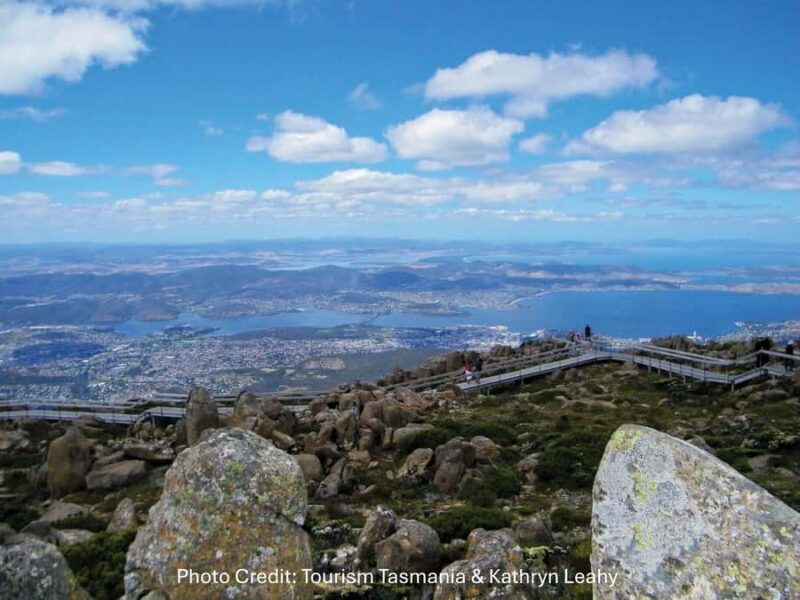
Ascending to the Summit
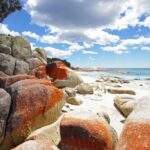
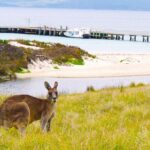
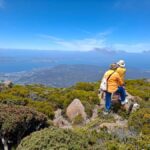
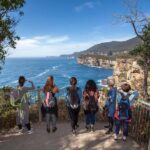
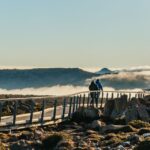
Once at the top (about 25 minutes spent here), you’ll enjoy spectacular 360-degree vistas from over 1,200 meters above sea level. On clear days, the sights stretch across Hobart, the Derwent River, Bruny Island, and Tasman Peninsula. Even in mist or snow, the mountain’s dramatic presence makes it worth the trip. Reviewers love the way the guide combines storytelling with practical tips, like the best spots for photos or brief historical anecdotes.
More Great Tours NearbyThe Descent and Journey to MONA
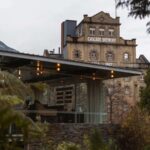
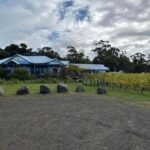
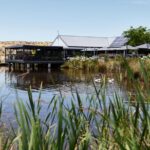
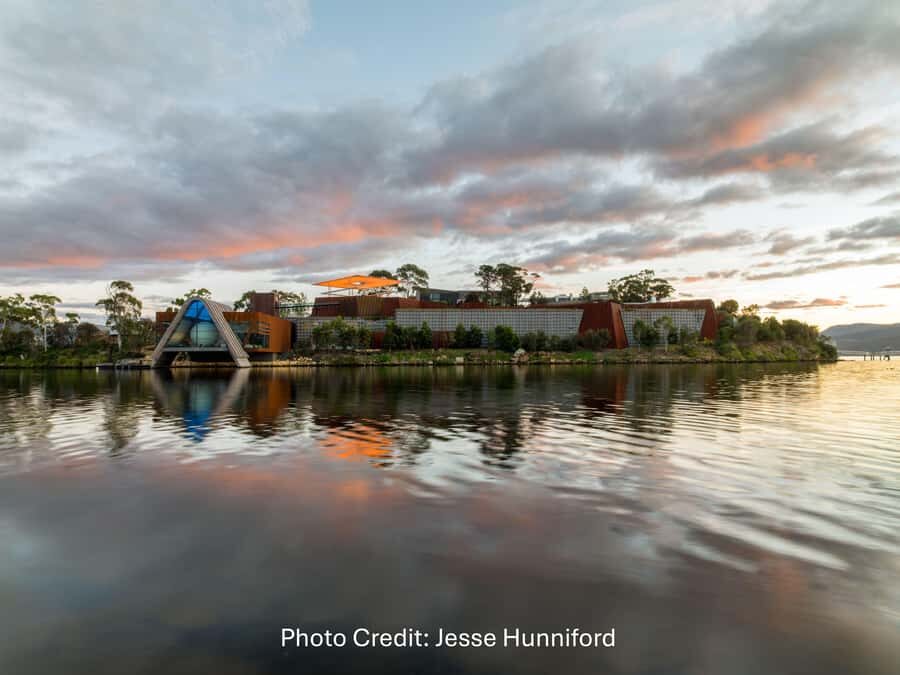
After descending from Mt Wellington, your vehicle takes you to the charming waterfront suburb of Berriedale, home to the Museum of Old and New Art (MONA). The drive lasts around an hour, giving you time to appreciate Hobart’s vibrant port area and pass by local neighborhoods.


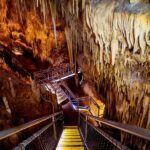
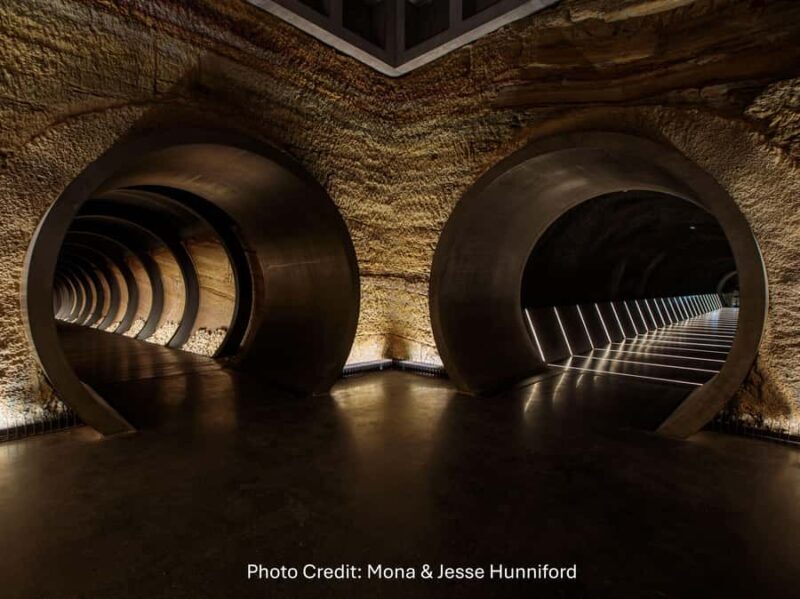
Exploring MONA at Your Own Pace
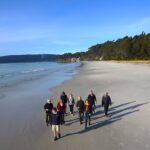
The highlight for many visitors is spending about two and a half hours exploring MONA independently. The museum’s underground architecture alone is an experience—winding tunnels, bold lines, and immersive spaces create a unique atmosphere. Visitors have the freedom to wander through galleries filled with provocative and diverse works that range from ancient artifacts to contemporary art.
The self-paced nature of the visit lets you linger over pieces that catch your eye, or relax with a glass of Tasmanian wine or craft beer overlooking the Derwent River. Many reviews underscore the importance of knowing your own rhythm here, as it’s easy to get lost in the museum’s extensive collection. The museum’s layout is designed to encourage exploration and reflection, making it suitable for art enthusiasts and casual visitors alike.
Practical Details and Tips
The tour’s inclusions—luxury transportation, a knowledgeable local driver-guide, and flexible scheduling—create a seamless experience. The vehicle options are wheelchair accessible, and you only need to specify accessibility needs when booking. The overall value shines through in the personalized service and the opportunity to skip the crowds and queues typical of larger group tours.
The Return and Overall Duration
You’ll be back at your starting point around 5 hours after departure, making this an efficient yet comprehensive snapshot of Hobart’s highlights. The tour’s flexible nature means you get the best of both worlds: guided comfort and personal freedom.
Why This Tour Works for Different Travelers
This private tour appeals to a range of visitors. Nature lovers will revel in the scenic drive and panoramic views, while art enthusiasts will appreciate the leisurely exploration of MONA’s impressive collection. Couples, families with children, or small groups benefit from the tailored service—no noisy crowds or hurried schedules. The luxury vehicle ensures comfort, even if Tasmania’s weather turns unpredictable.
What We Love
- The splendid views from Mt Wellington give a true sense of Tasmania’s rugged beauty
- The flexibility at MONA allows you to explore at your own pace—no rush or group constraints
- The knowledgeable guides provide context and fascinating stories that enhance the experience
- The luxury transport adds a touch of indulgence and convenience
Considerations
- The tour involves some walking, particularly at MONA, so suitable footwear is recommended
- Weather at the mountain summit can vary—packing a warm jacket is advisable
- While the tour is well-paced, art lovers should anticipate spending some quiet time exploring MONA’s extensive galleries
Final Thoughts
This private Hobart: Mt Wellington & MONA tour offers a thoughtful balance of natural beauty and cultural discovery. It’s ideal for travelers who want a curated experience with flexibility, comfort, and expert insights. The ability to explore MONA at your own pace adds a personalized touch that large group tours often lack.
For those seeking a hassle-free way to see two of Hobart’s top attractions without sacrificing comfort or independence, this tour delivers well on both fronts. The combination of scenic mountain vistas and provocative art makes it a memorable way to spend half a day in Tasmania’s vibrant capital.
Who Will Love This Tour?
This experience is perfect for curious travelers eager to enjoy Tasmania’s scenic landscapes and innovative art scene without the stress of planning every detail. It suits couples, families, or friends who value personalized service and flexible pacing, especially if you enjoy cultural sights with a side of natural beauty.
Frequently Asked Questions
Is this tour suitable for people with mobility issues?
Yes, wheelchair accessible vehicle options are available; you should advise when booking if needed.
How long do we spend at Mt Wellington?
Approximately 25 minutes at the summit, enough to enjoy the views and take photos.
Can I explore MONA at my own pace?
Absolutely. The self-paced visit allows you to linger over exhibits or take a break with a drink overlooking the river.
What should I bring for the mountain visit?
Comfortable shoes are a must, and weather-appropriate clothing—mountain weather can change quickly.
How flexible is the schedule?
The tour lasts about 5 hours, with a set itinerary, but the self-guided part at MONA offers some flexibility.
Is the vehicle suitable for larger groups or families?
The vehicle is private and can accommodate small groups, with wheelchair accessibility available.
Can I cancel if my plans change?
Yes, free cancellations are allowed up to 24 hours in advance for a full refund.
What kind of views will I see from Mt Wellington?
Expect sweeping vistas of Hobart, the Derwent River, Bruny Island, and the Tasman Peninsula.
Is there any food included in the tour?
The tour includes transport and guiding but not meals. At MONA, you can enjoy a meal or drinks at your own discretion.
In essence, this private Hobart tour delivers a well-rounded, comfortable, and culturally rich snapshot of Tasmania’s capital. Whether you’re a lover of natural scenery or contemporary art, it offers a personalized experience that makes the most of your time—without the fuss.
You can check availability for your dates here: More Great Tours Nearby